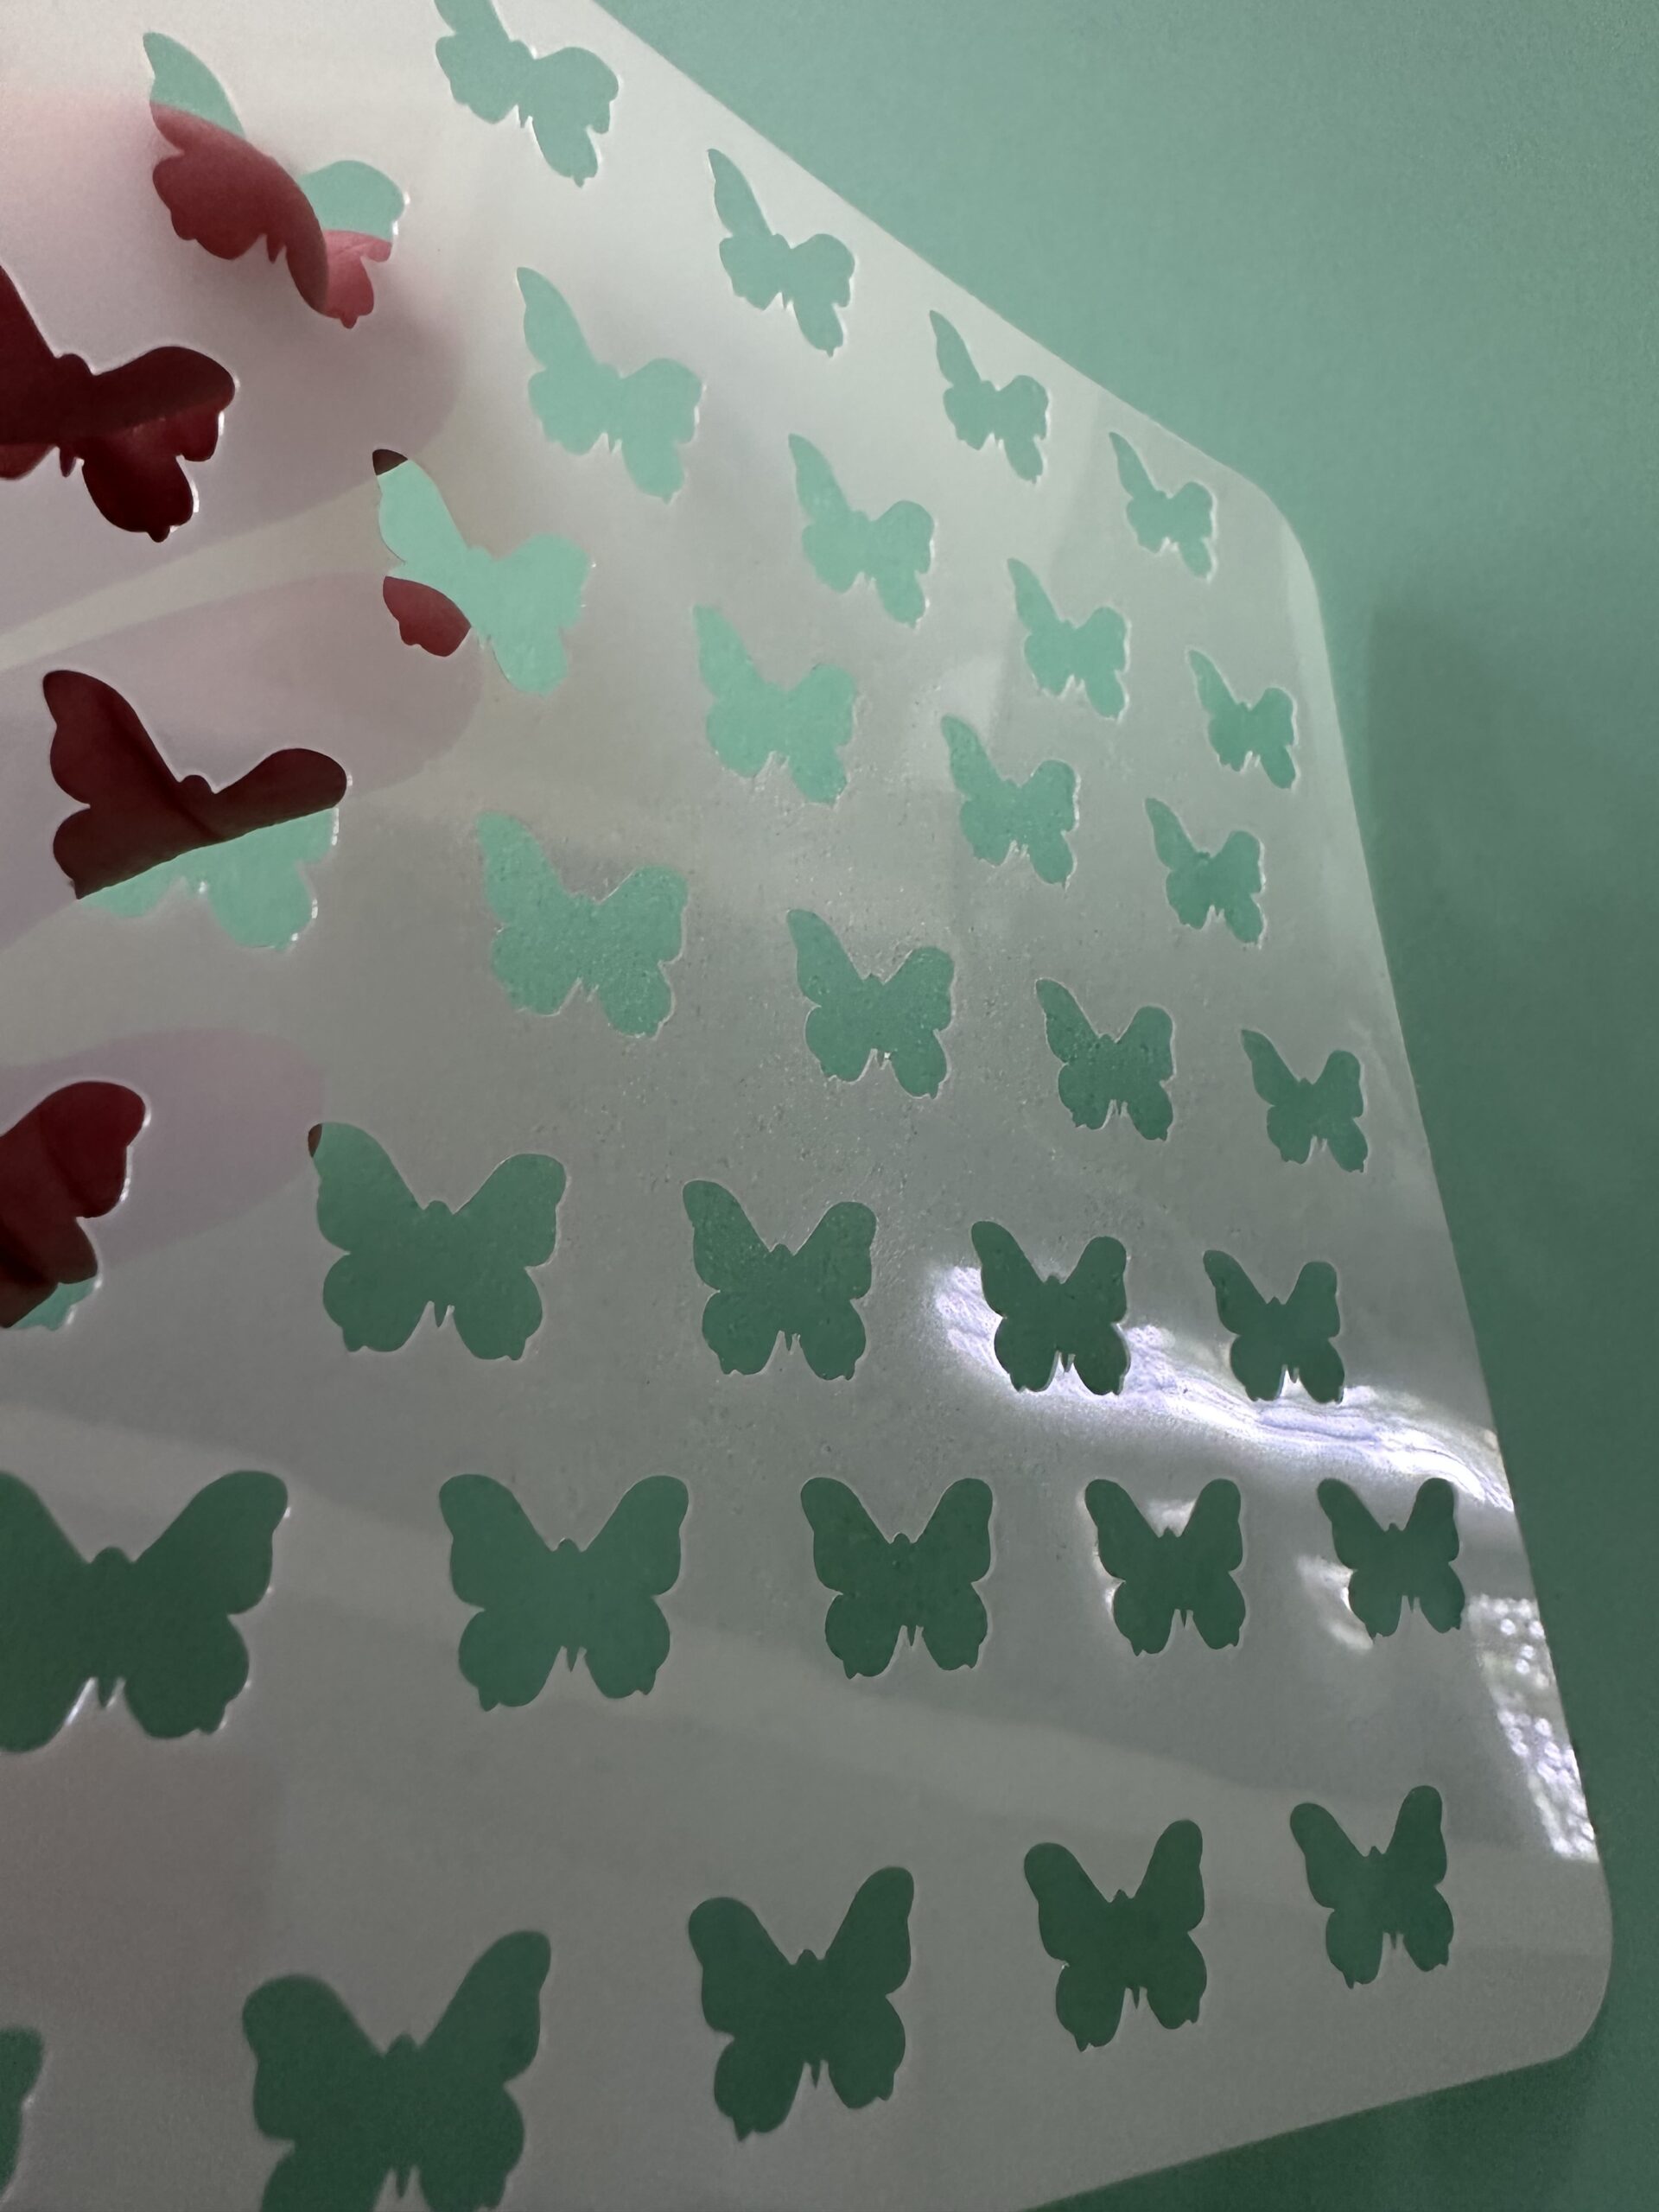

This is AWESOME!
Hello and welcome to my studio! I’m so happy to have you here with me today! Because today I’m sharing with you something I find to be absolutely awesome! We can make our very own reusable stencils using our CRICUT smart cutting machine. I’m very excited about this. Can you tell? 🙂
So, I’ve been paper crafting for many years. But only just recently did I begin to use stencils. I’ve collected a few stencils and have vowed to keep adding to my collection. Well, I’ve been shopping for stencils for a couple of weeks now and I’ve found several stencils I like. However, I feel as if my options are kind of limited. Don’t get me wrong, I’ll still purchase stencils when I run across one that I want. In fact, I’ve seen a few that would be great for building patterns and for creating mixed media layers.
Yet, sometimes we want to make a very specific background or design for which we don’t have a ready-made stencil. Also, we may want or need that stencil today. Right now. You know what I mean? We don’t want to have to shop for what we’re looking for and then have to wait several days for it to arrive. ( Or is that just me? ) I can be very impatient, I admit. So, I realized we could make our own stencil patterns using a CRICUT or other smart cutting machines. I’ve shared a list of supplies I used to make these stencils along with links to where you can find them. I’ve also added a little video tutorial. So, without further ado, let’s get krafty!

List of Supplies
- Any Smart Cutting Machine: I used the CRICUT JOY XTRA: Find it HERE
- Mylar Sheets: 12 x 12 Inch Translucent Blank Stencil Paper: Find it HERE
Want more card making & crafting inspiration?
Follow me on social media
Let’s Get Krafty: Video
WANT TO SEE MORE?
VISIT MY BLOG ARCHIVES
Let’s Get Krafty: Step by Step
- Go onto Cricut Design Space: Your Canvas: SELECT the rounded corner square and size it to about 5 inches.
- Choose an IMAGE you’d like to stencil. Like the little butterfly in my stencil. I sized it to about .5 inch or so.
- Create an array of your chosen IMAGE. And place them on your square however you want them.
- Now, SELECT the entire square with your little images (butterflies) inside.
- Go To the functions. And select the COMBINE tab: Now select the SUBTRACT tab. This removes the butterflies from inside of the square. Your machine will know to cut all of the butterflies out from within the square. And this creates the STENCIL!
- When you go to MAKE IT> and it’s time to select your MATERIAL. Choose the FOILED ACETATE: MORE PRESSURE ( This is what works best with my machine. Yours may be different. )
- Place your 12 x 12” Translucent Mylar Sheet onto your cutting mat and feed it into your cutting machine.
- Your machine will cut out your little images and then it will cut out the square.
- { NOTE } I chose the rounded corner square shape because it doesn’t have any sharp edges when I’m using it.
- REMOVE all of your little negative cutouts and now you have your very own REUSABLE STENCIL! 🙂
Keeping It Krafty
In closing, I’d like to thank you again for joining me here today! I am delighted to learn we can make our very own reusable stencils. And I just had to share this information with you. I have made some stencils before. Although, I had only made one-time-use stencils from card stock. And that works okay. But I finally found a great material from which to make a stencil using my CRICUT machine! And this material can be used and reused over and over again. Simply use a baby wipe, water and paper towels or run it under a tap to clean these stencils. Yes, they are just like the pre-made ones! And these reusable stencils are just what you need when you need it! Also, these Mylar sheets are 12 x 12 inches. You could get 4 of these 5 x 5” stencils from just one sheet! And, they can be used for larger stencils. Set your imagination free because you have unlimited choices! So, no matter what it is that you decide to make, just make it your own. And always remember to keep it krafty!
Until next time,
