
It’s a Darling Springtime Box
Hello and welcome to my studio. I’m so happy to have you here with me today. Because I love what I do and I just adore sharing my ideas with you! Well, Spring has sprung, bringing with it all the amazing colors, scents and new beginnings this season has to offer. I’ve been making a lot of spring-themed boxes these past few weeks. And this week I have another sweet gift box I’d like to share with you.
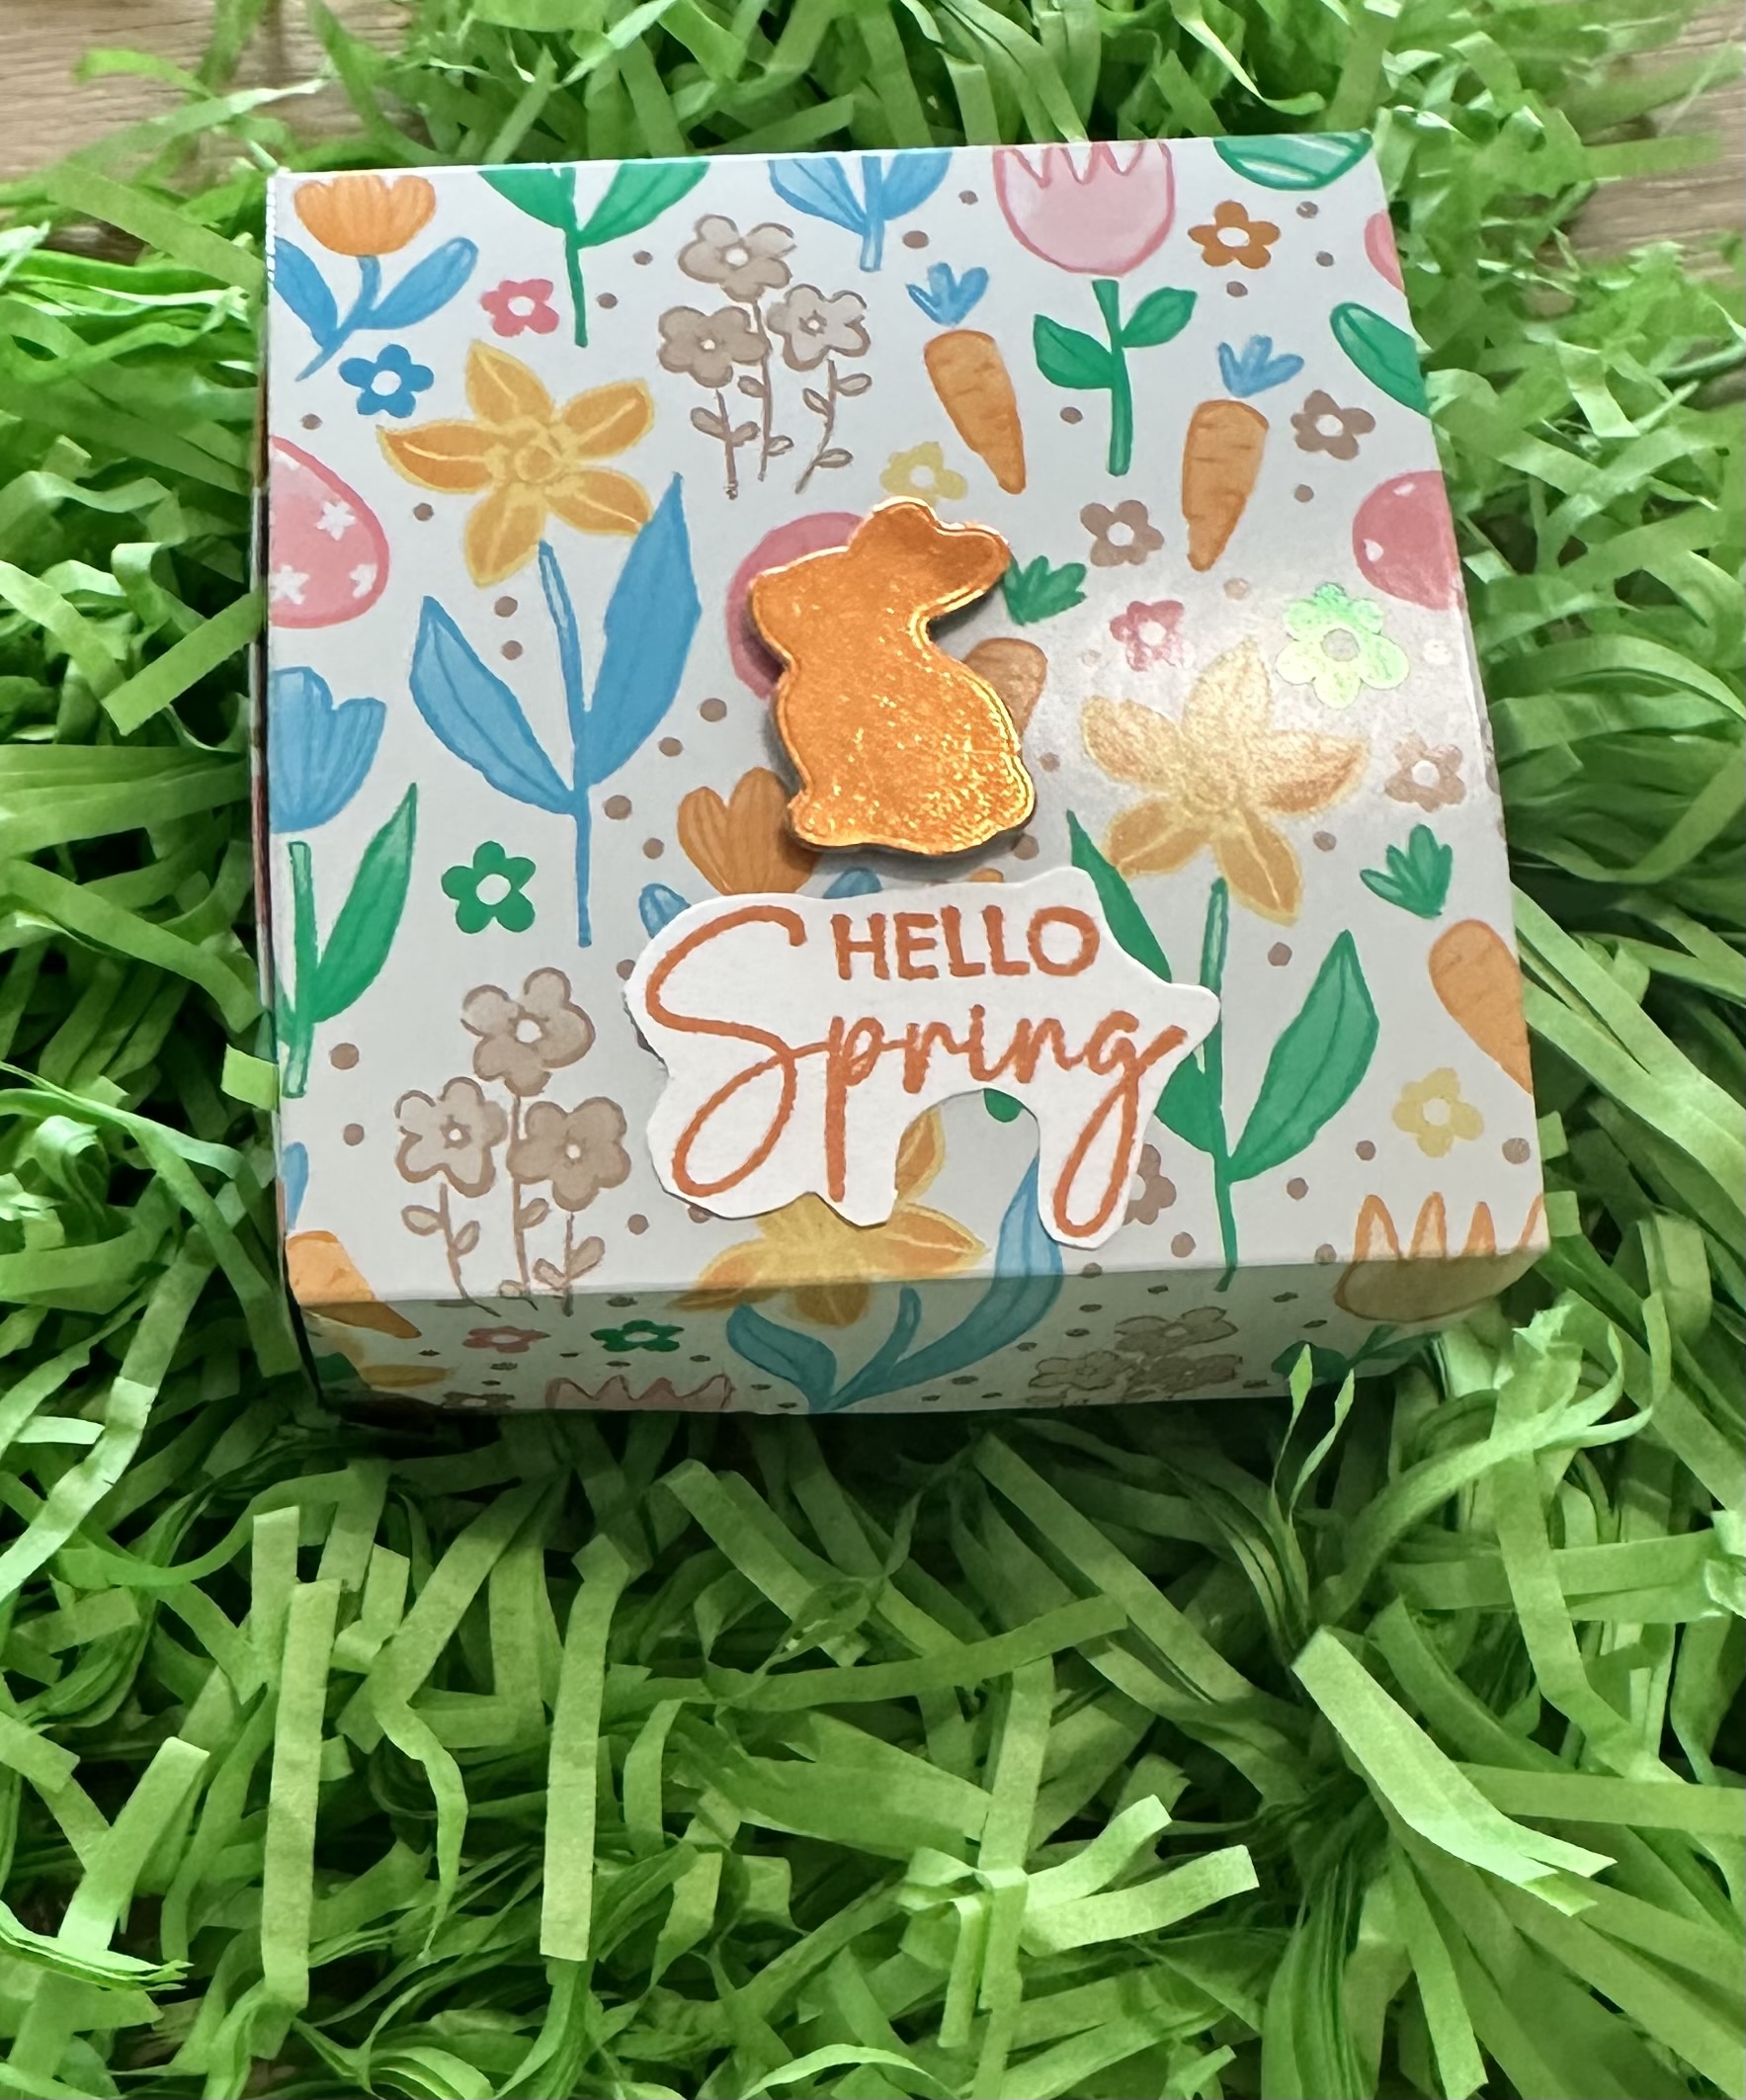
This sweet gift box is one I made to hold some ribbon I’m gifting a friend. This one piece, lidded box uses just one sheet of 8.5 x 11” card stock. Yet the finished size of the box is 3.5” wide x 3.5” long x 2” deep. And it holds any number of gifts. Gifts including, but not limited to, a spool of (3/8” *1 CM-10 yards*9.1M) ribbon.
Also, you can check out some of my recent boxes by visiting my blog archives. Just click on the link below. And to see how you, too, can make this sweet gift box-keep reading. I’ve shared a list of the supplies I used to make this box followed by my super easy “how-to”. So without further ado, let’s get krafty!
WANT TO SEE MORE?
VISIT MY BLOG ARCHIVES

List of Supplies
- Strong Double-Sided Tape
- Paper Trimmer with scoring tool
- Scissors
- Card Stock: I used the gorgeous “Easter Joy” Designer Series Paper by Stampin’Up!
- Embellishments: I used the ”Excellent Eggs” Stamp & Die Bundle by Stampin’Up!
- Optional * copper or gold foiled card stock: I used this for the die cut bunny on the lid.
Want more card making & crafting inspiration?
Follow me on social media
Let’s Get Krafty
- First, choose your papers. If you’re using patterned card stock and it has a direction to it- like the paper I used- make sure you place it in the correct direction so that when you close the lid down towards you, the picture is the right way up. Yes… I found this out the hard way. And if you know how much I love hoarding the beautiful papers that I love- you know this hurt, a lot. 🙂
- Now- refer to the template I’ve shared below to help you build this box. Don’t worry, it’s really easy. And once you’ve made one of these sweet gift boxes, you’ll want to make more.
- Trim your chosen card stock to 7.25 x 11”.
- Score the long side @ { 1.5, 5, 6.5 and 10” }.
- Score the short side @ { 0.5, 2, 5.25 and 6.75” }.
- Fold and burnish all of your score lines.
- Refer to the template below and remove all the bits indicated. You may want to enlarge your screen to see it better.
- I’ve also shared a short video showing this gift box coming together
- Very Important: make sure the 1” wide end is at the top. And be sure the 1.5” wide end is at the bottom.
- You’ll only put glue or double-sided tape on the edges fold over. This creates a reinforced or stronger box.
- Also- on each of the score lines that you cut, create a bit of a wedge as in the photos. This helps the box close well.
- Finally- I added small Velcro dots to the inside of the flap of the lid to hold this sweet gift box closed. This is totally optional. You could use tiny magnets or you could simply add ribbon to keep the box closed. And I made a couple of these boxes and just tucked the lid down inside the box. Just do whatever feels right to you.
Sweet Gift Box Template


Keeping it Krafty!
In closing, I’d like to thank you again for being here with me today! What a fun project this sweet 3.5” square sweet gift box is to make! I love making my own boxes because I can create exactly what I need to house the gift I give. Follow me on Instagram and Pinterest and save these box ideas. It’s much easier to make your own gift boxes- for any occasion-than searching the stores and the internet for what you need at that time. You can choose your own designed card stock and one box template can create endless boxes! So no matter what it is that you decide to make, just make it your own. And always remember to keep it krafty! Until next time, bye-bye!
