Hello and welcome to my studio! I’m so glad you are here today because I have a fun, easy and oh-so-useful project to share with you! This sweet Easter window box is quick to make and then we can decorate it any way we like. These can be made for any and all occasions because they are so versatile. I made this box for Easter. I’ll fill them with small gifts and treats and give them to family and friends. We use an egg shaped die to cut out the opening in the lid and use a piece of transparency film to create a see-through window. Read on to see the supplies I used, the layout graphic I’ve shared and my free step by step instructions.
* I do not earn commissions from any of the products I share nor do I endorse any of the companies I mention.
SUPPLIES I USED FOR THIS PROJECT
- TRANSPARENCY FILM: AMAZON: https://a.co/d/cwa6e4U
- 12” x 12” CARD STOCK – trimmed to 6” x 12”
- EXCELLENT EGGS STAMP AND DIE SET: STAMPIN’UP! ( retired but can be found at Etsy or eBay.)
- PAPER TRIMMER/SCORING TOOL
- GLUE
LET’S GET KRAFTY!
Right, so let’s do this! Take the 6 x 12” card stock and score the long side @ 1.5, 5.25, 6.75, 10.5”. Score the short side @ 1.5 and 4.5”. Cut straight up the vertical score lines stopping where they intersect the horizontal lines.


Fold the box to see which side you’d like to be the top. Top and bottom are the same but you’ll need to orient the box correctly so you’ll know where to create the window.
To make this style of box with an egg shaped window, use the nested egg dies from the Excellent Eggs stamp and die set from Stampin’Up!. Alternatively, you can use any shape you’d like. Squares, ovals, circles… whatever you have. I used the smallest egg die from the set to create the window opening in the lid of these boxes.


Use the egg shaped die that is a bit larger than the one used for the “window” to die cut the egg shaped “window pane” from the transparency film. If you are not using the egg dies and are using another shape, simply use the larger size from nested dies OR just cut the piece of film or acetate that will fit on the inside. Now add a bit of glue around the window cut-out and adhere your transparency film or acetate to the inside of the lid.

Now that you have added your window to the lid of your box it’s time to build the box. Add glue to the tabs of the box as shown in the picture above. Fold your box up, adhering the edges to form your box.

I always like to trim off the back triangles of the lid to make the box neater and I also use a 3/4” circle punch to add a tab at the front of the lid to make the box easier to open.

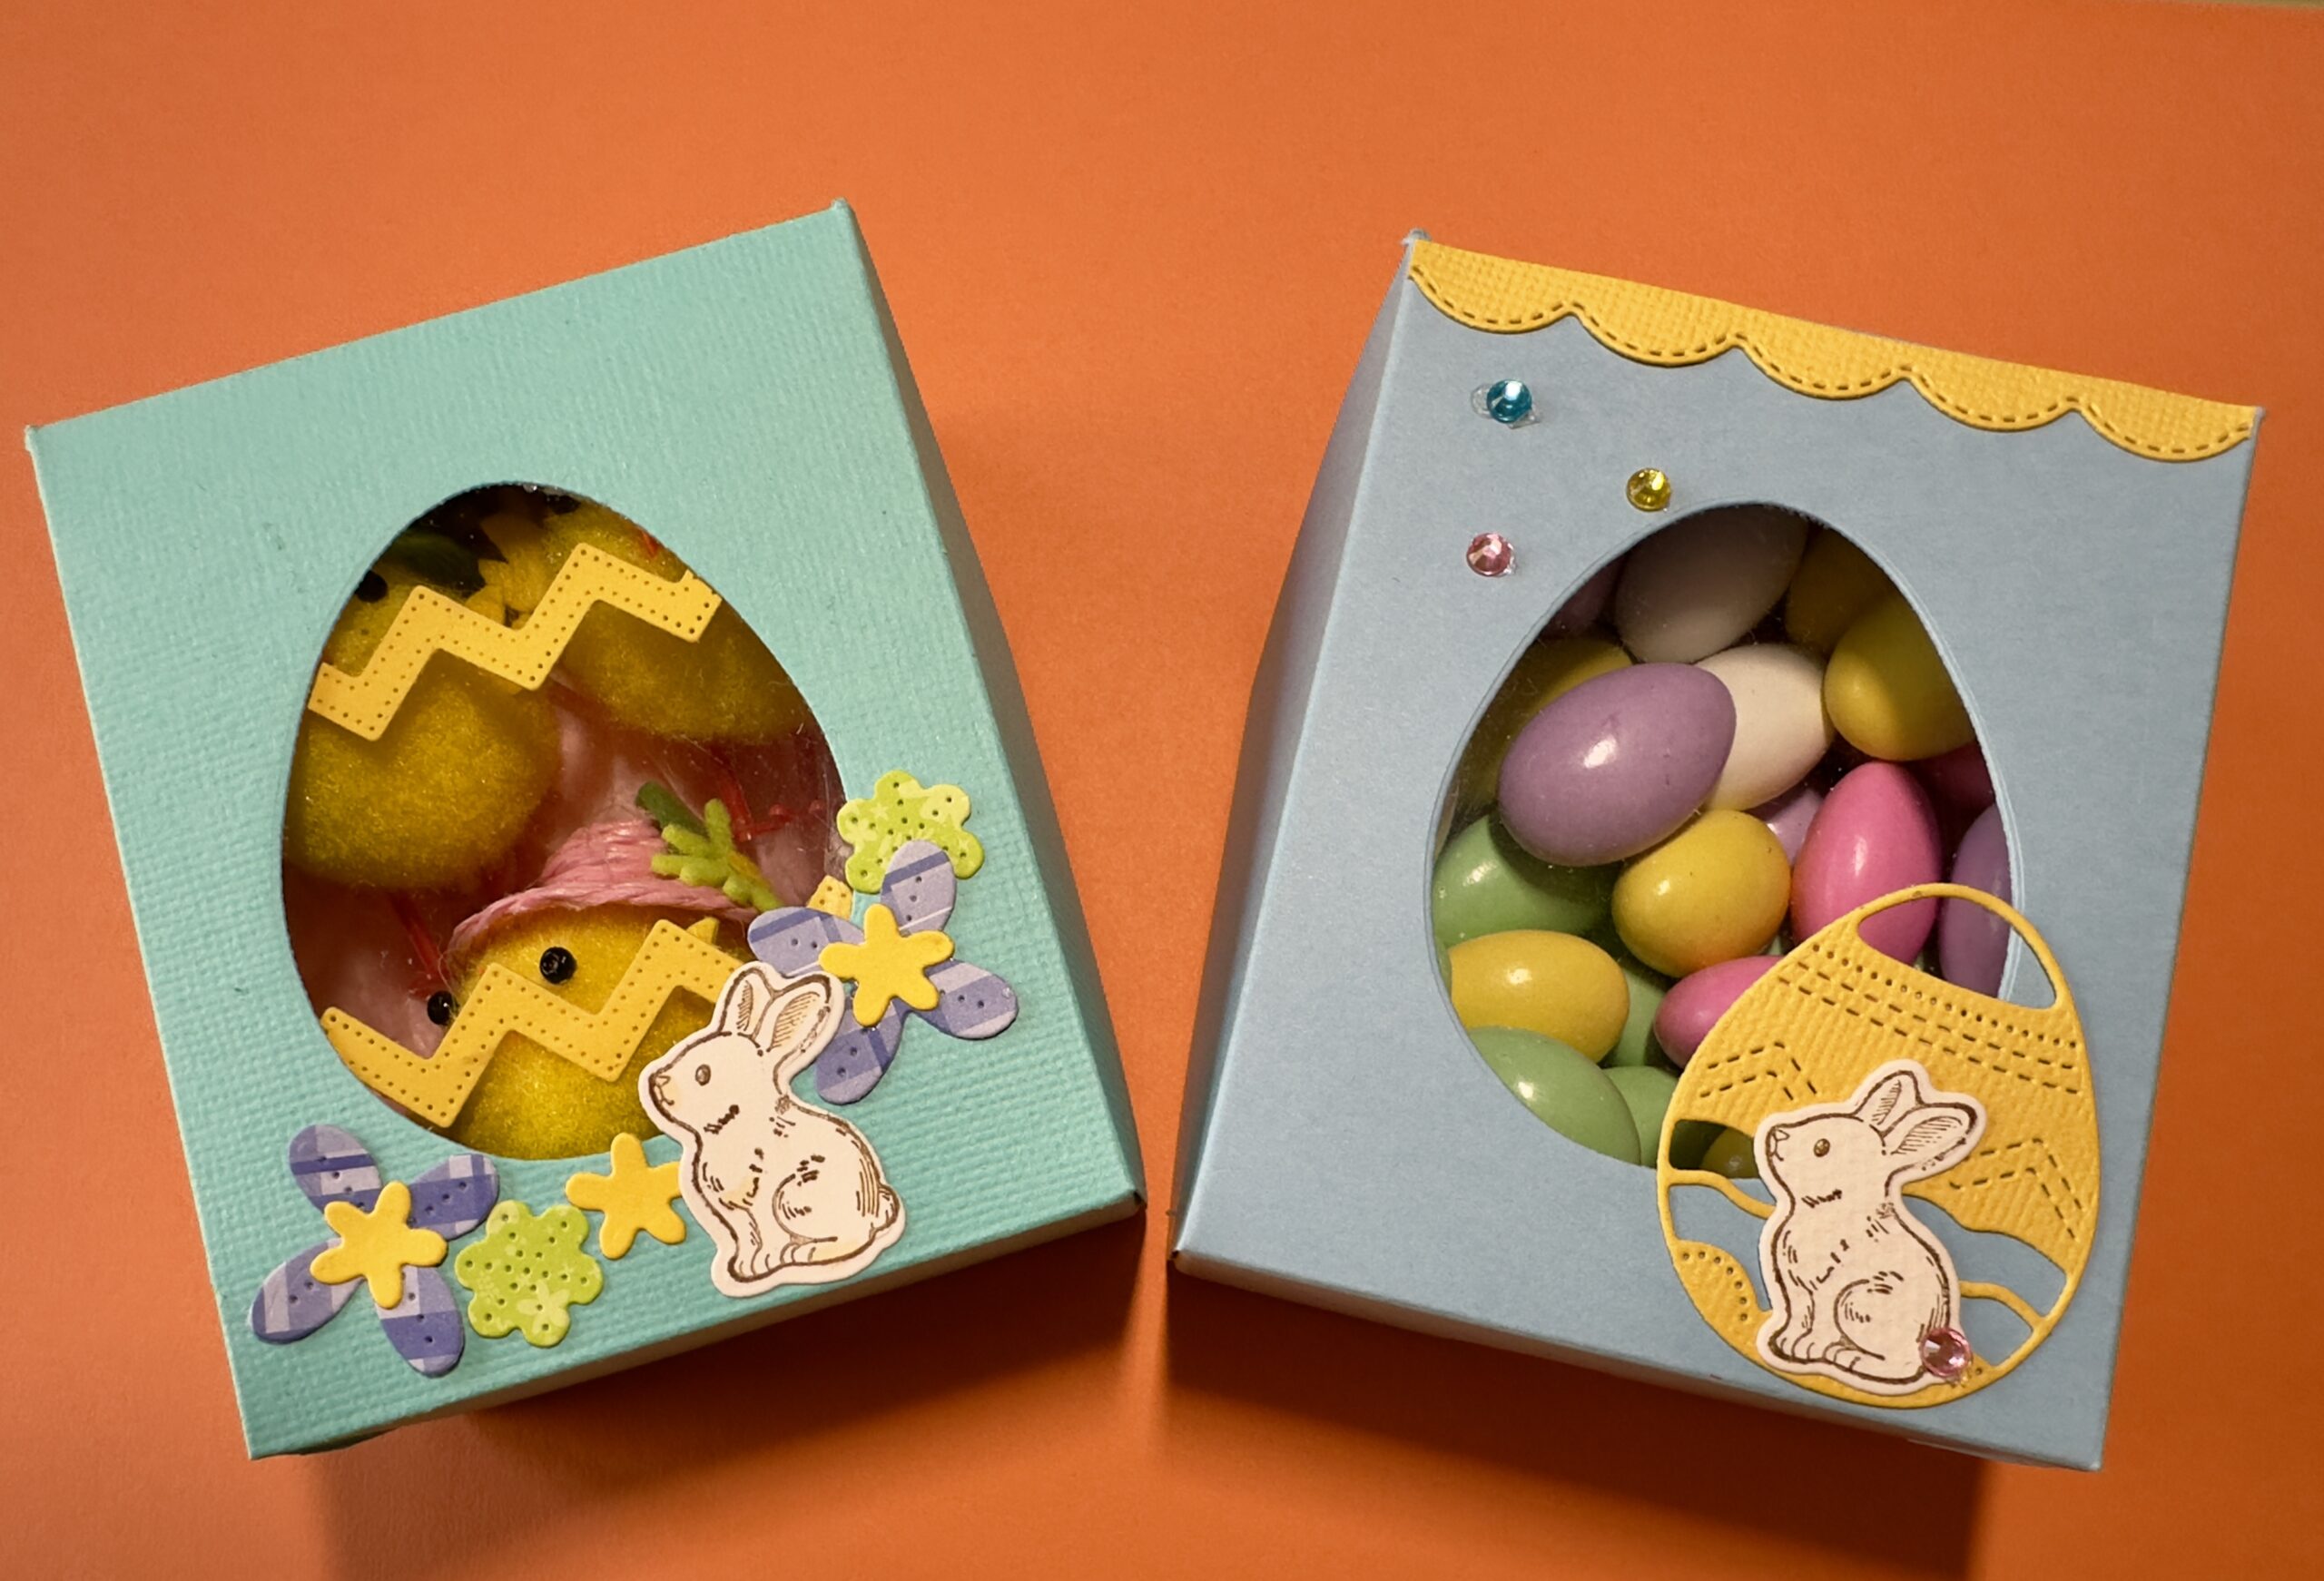
Now you get to decorate the box however you like! For this box, I used some of the elements in the Excellent Eggs stamp and die set. Then I added some shiny gems to finish it off! Once the boxes are made you’ll have fun decorating them and there are endless possibilities for that.
These boxes measure a generous 3 x 3.75 x 1.5 inches! They hold loads of gifts or goodies! I added at least 20 Dove Promises so some of my boxes.


I hope you have enjoyed this project today! It’s a very quick and easy box that is oh so adorable as well as useful! Once you’ve made the first box, you’ll make any subsequent boxes very quickly indeed. And you can use this box style for any occasion. You don’t have to add a window. You can vary the colors, window shapes etc. to fit any gift purpose! Just make it your own and always remember to keep it krafty! It’s a good idea to SAVE this pin for future reference. Saving this PIN in a folder on Pinterest will keep this information handy for anytime you need a great box! Don’t forget to follow me on Pinterest to see what more krafty things I get up to. You can also go to my Blog Archives to see past projects. Happy Easter! Until next time! Bye Bye!
REMEMBER
WANT TO SEE MORE?
One response to “How To Make This Sweet Easter Gift Box”
Very good https://shorturl.at/2breu