
With Or Without a CRICUT Machine
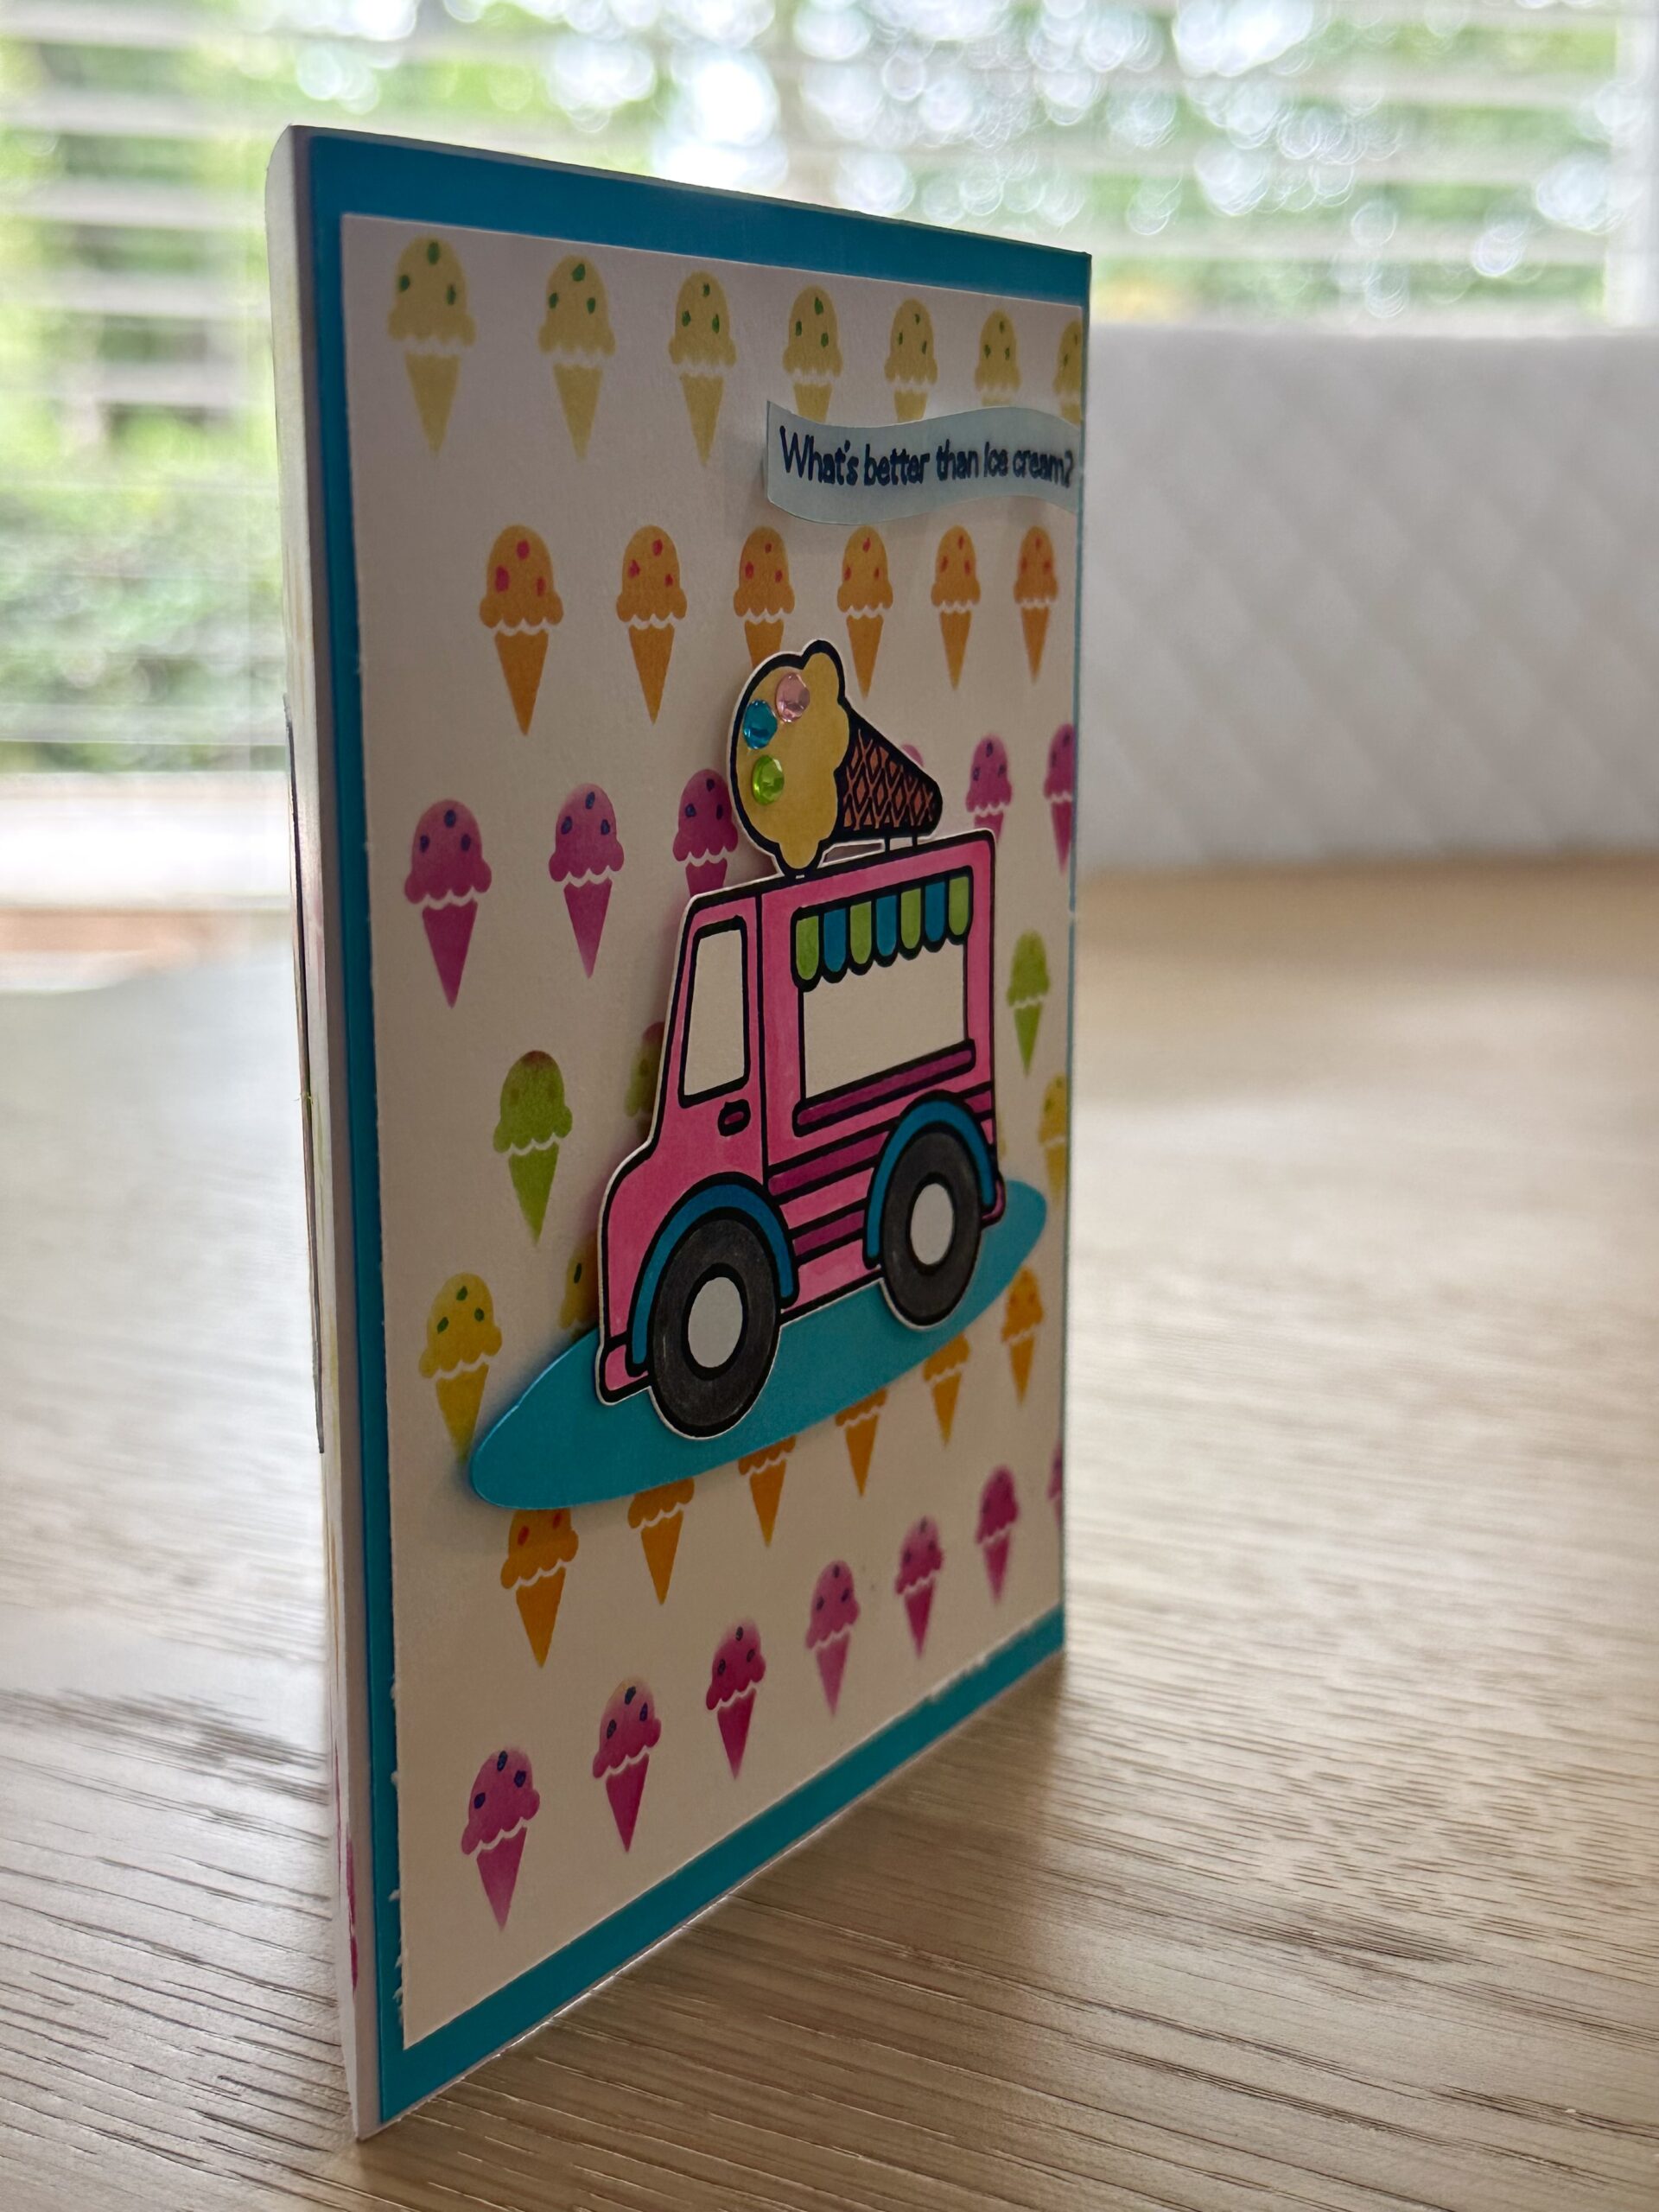
Hello and welcome to my studio! I’m so happy to have you here with me today. Because today I’m sharing this really fun summer-themed ice cream truck birthday card! I’m also sharing 2 ways that you could make a card like this. Plus, I’m sharing my FREE designs in Cricut Design Space (CDS). I’ve also added some links to products you can use to make a card similar to this one but without a Cricut machine.
So keep reading below, and you’ll find a list of the supplies I used to create this fun birthday card. There’s also a short video followed by step by step instructions for creating this fun summer-themed card! So, without further ado, let’s get krafty!

List of Supplies
- A2 Card Base- White
- Card Stock: Blue
- Card Stock: White
- Ink Pads: Simon Hurley Dye Inks in colors: “Slippery When Wet”, “Guppy”, “Prom Queen”, “Overzealous” HERE
- Small Blending Brushes
- Ice Cream Cone Stencil: DIY: KKS FREE DESIGN: HERE
- Mylar Stencil Sheets for Cricut: Amazon
- Cricut Joy Xtra
- Cricut Joy Ink Pens (Black) (Orange Glitter Gel)
- Alcohol Markers ( to color your ice cream trucks )
- Optional: Adhesive backed shiny gems
- Optional: Glitter Gel Ink Pens: Amazon
- Adhesive Foam Dots: HERE
- Glue
- Ice Cream Truck Stamp and Die Set: Several to choose from on Amazon
- Ready-Made Stencils could be used for this card: like THESE
- Designer Paper could be used for this card: like THESE
Want more card making & crafting inspiration?
Follow me on social media
Let’s Get Krafty: Video
Let’s Get Krafty- Step by Step
Card Base and Layers
- Trim a piece of your Blue Card Stock to 4 1/8” x 5 3/8” For layer 1.
- If you need to make your own CARD BASE- Take a piece of white CS, Trim it to 5.5 x 8.5” and Score at 4.25”. Fold and burnish the score line.
- Trim a piece of your White Card Stock to 4” x 5.25”: For layer 2: This is for the stenciled background
CRICUT Designs
My designs are free in Cricut Design Space. However, you may have to pay a fee to Cricut for the use of some of their images. These may be purchased à la carte. But the best option is to join CRICUT ACCESS. You’ll have access to hundreds of thousands of images, fonts and ready-to-make projects. It pays for itself many times over.
- Want to Make My Ice Cream Cone Stencil? Link to my free design in Cricut Design Space: HERE
- Images for this card as is. Link to my free design in CDS: HERE
- Have your machine to draw and cut your trucks, the sentiment strip, and the inside message panel.
- Use your stencil, ink pads and small blending brushes to stencil your little ice cream cones on the white rectangular panel you made.
- Now, use the stencil to create the same design right onto the back of your card base. PS, this is a lot of fun!
- At this time, use your alcohol markers to color in your ice cream trucks (For the front and back of your summer-themed birthday card!)
Gallery- Using Your Cricut


Building Your Summer-Themed Birthday Card
- Use glue to adhere your blue rectangular panel onto the front of your card base.
- Next, adhere your stenciled rectangular background panel onto the blue panel.
- Now, use foam dots to raise up and adhere the blue oval platform onto your background panel.
- Then, use foam dots to raise up and adhere the ice cream truck on the platform.
- Use glue to adhere the back view of the ice cream truck onto the back of your card base
- And adhere your message panel to the inside of your greeting card.
- Finally, use some more foam dots to raise up and adhere your sentiment strip onto the front of your card base.
- That’s it! You have now made a fun Summer-Themed Birthday Card! 🙂
NON-CRICUT Designs
- Die cut a large oval from CS of your choice.
- You can use any stencil you’d like to create a background. OR you can easily use a piece of designer paper as your background.
- And if you like the idea of adding an element to the backside of your card, you could make another truck and adhere it to the backside.
- Also, if you want to decorate the back of your card base, just use a stencil of your choice to decorate directly onto the back. Or use a piece of decorative paper.
- For the Ice Cream Truck ( without a Cricut ) version- There are several stamp and die sets available on Amazon and for a good price! Simply stamp your truck of choice, color it in and then use a die cutting machine to die cut the image. Do this twice if you want a truck for the front and back of your card.
Want to glam it up a bit?
If you want to add a bit of glam to your card, you can use some glitter gel pens to add sprinkles to the top of each of the little stenciled ice cream cones. It shows up really well in person! I love using glitter gel pens. You can find them on Amazon. Also, you could add a few adhesive-backed shiny gems to the top of the big ice cream cone on top of the truck.
Want to see how to create your own reusable stencils? I explained just how to do this in my last post. See it HERE!
WANT TO SEE MORE?
VISIT MY BLOG ARCHIVES
Keeping It Krafty
I’d like to thank you again for joining me here today. This has been a really fun project, perfect for these long hot days of summer! I don’t know about you, but there are loads of summer birthdays among my family and friends. And I am always looking for fresh ideas for summer-themed birthday cards. This card is great for anyone of any age. And it can be used as a “Thank You”, “Thinking of You”, “Hello Friend” card as well. Keep in mind, you are in control of the colors you use and the size of the card and the images! There are countless choices in creating a card like the one I’ve shared here. My goal is to inspire you to tap into your creativity. So, no matter what it is that you decide to make, just make it your own. And always remember to keep it krafty!
Until next time,
