
Showcase that Pretty Designer Paper
Hello and welcome to my studio. First, let me just say how happy I am for you to be here today! It means a lot to me that I can share my love for crafting and card making with you. It’s wonderful to have kindred spirits with which to share ideas, right?
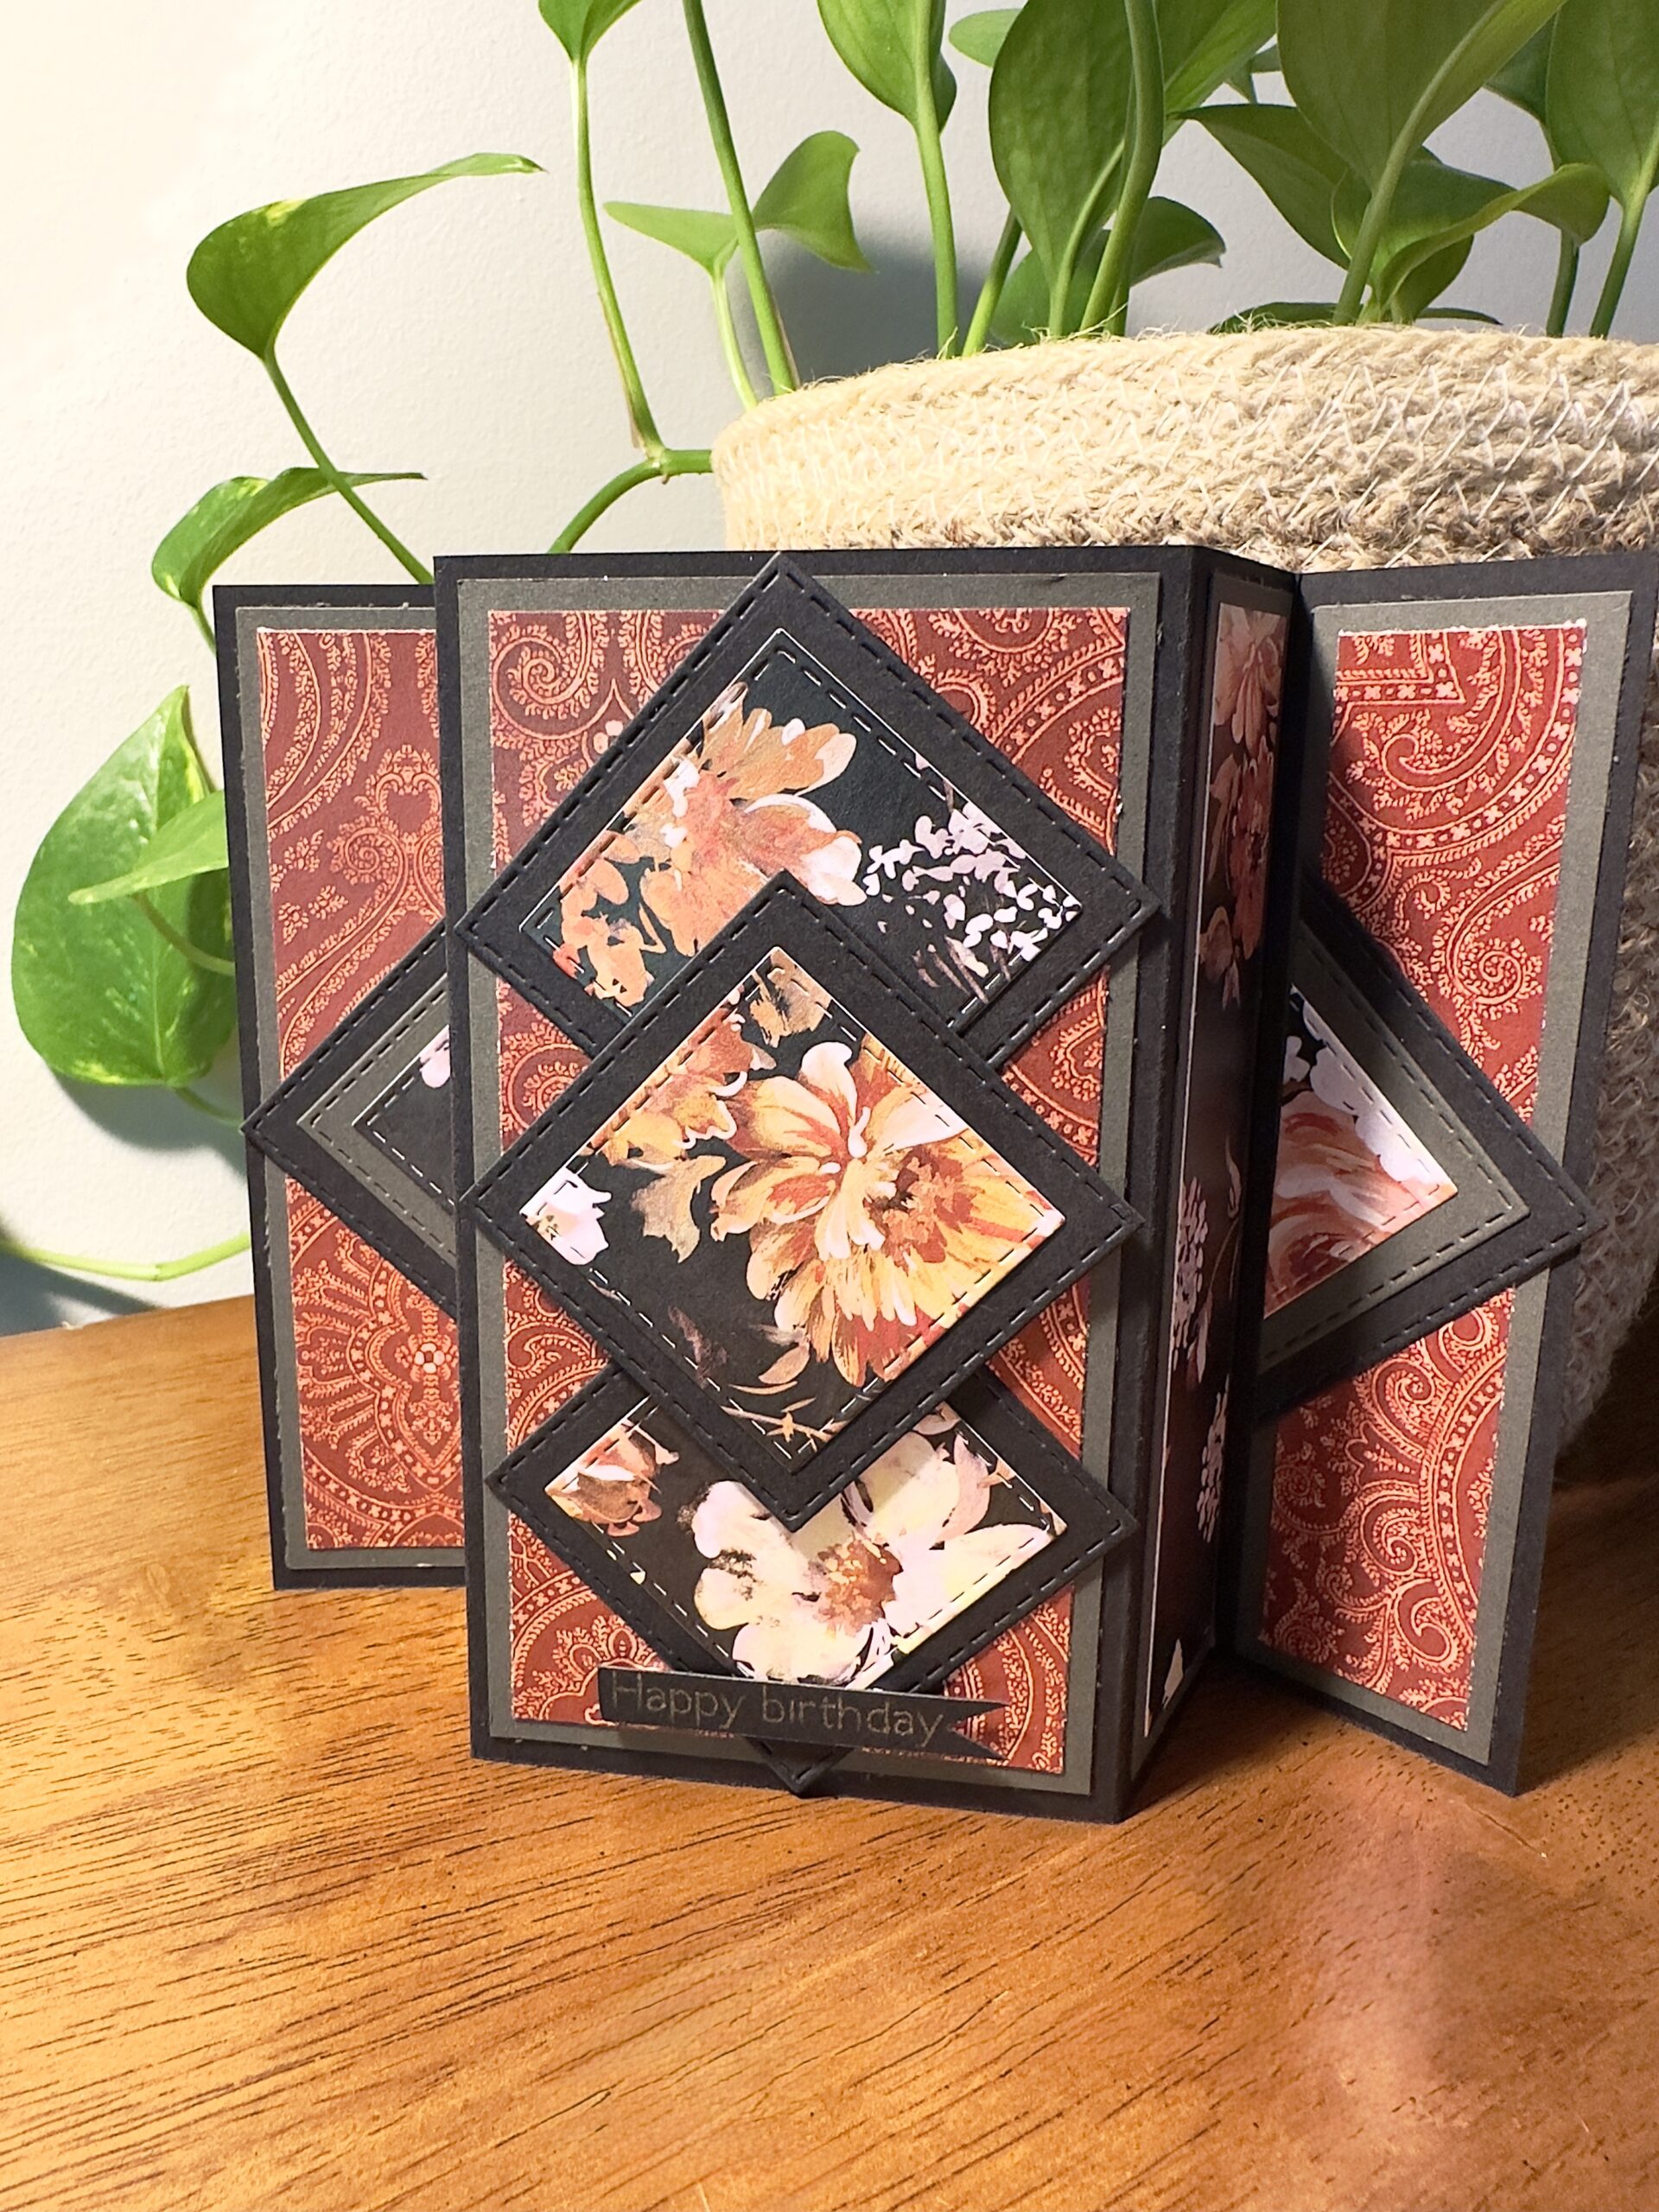
That being said, I have made this stunning triple diamond fun fold card. Have you ever had designer paper that is so pretty you just knew it HAD to be the star of the show? That’s exactly how I chose the paper for this project. And that paper is what makes this card stunning. It’s a glossy pearlescent designer card stock that is absolutely perfect for an Autumn card. It is a very simple card to make as we just trim various pieces of card stock and allow the designer paper to do the talking. To make this fun fold card, I have included the list of supplies I used followed by a very simple how-to.
Keep in mind, you do not have to use the same designer paper as I have here. Any lovely, special designed card stock and color theme will work. Here is the list of supplies I used to make this fun fold card.

List of Supplies
- 80 LB CARD STOCK: in colors ( black, gray, rust )
- DESIGNER PAPER: from “The Paper Studio/ Amanda” find it HERE
- GLUE
- PAPER TRIMMER find it HERE
- SCORING TOOL
- STITCHED SQUARE DIES (optional)
- SENTIMENT STAMP (I used my Cricut)
- INSIDE MESSAGE STAMP (I used my Cricut)
- SMALL ADHESIVE FOAM DOTS
*** I’ll explain more about my use of the Cricut smart cutting machine below in the “Let’s Get Krafty” section. It’s totally optional. You could easily use your stamps and inks instead.
Want more card making & crafting inspiration?
Follow me on social media
Let’s Get Krafty
First, grab all of your supplies. A paper trimmer/scoring tool combination like the one I referenced above is a very helpful tool but it’s not required. This card comes together quickly.

For the Base
TRIM a piece of card stock ( black for mine ) to 5.5 x 9” And SCORE @ [ 1.5, 3, 6 and 7.5” ] Fold and burnish your score lines.

For the Rectangles
Trim 4 pieces of gray card stock to [1.25 x 5.25”] for the winged sides of this fun fold card.
And trim 4 pieces of Designer Card Stock (2) pieces of the rust color and (2) pieces of the flower pattern to [ 1 x 5”].
Now, for the center rectangles, trim a piece of the gray to 2.75 x 5.25”. And trim a piece of the rust colored designer paper to 2.5 x 5”
For the Diamonds
For the diamond shapes, I used my stitched square dies. First, cut (4) squares from the black CS with the 2” stitched square dies. OR simply trim with your paper trimmer to a 2” square. Next, cut (1) gray square with the 1.75” stitched square die. Now, use the same die to cut (3) squares from the flowered designer paper. And use the 1.5” stitched square die to cut one square from the flowered designer paper.
For the “Inside/Back” Message
Next, cut a piece of rust colored card stock to 2.75 x 5.25” for the center panel on the back side of the card base. Here, you can use any message stamp you’d like. I must confess, I didn’t have a single piece of card stock that I wanted to use for the message panel of this card, so I created one. I used a Cricut Joy Xtra and this hack to create my own colored card stock and message. However, I would only do this if I really needed to because it uses your printer’s ink. But needs must. Below, I’ve added a little slide show to describe the steps to creating a colored card stock and message with a Cricut.
Steps for Creating a Colored Card Stock & Message with Cricut

Create a rectangle on your canvas. 
Use the spectrum to create the color you want. 
Find a message you want to use. Or use text to write your own. 
“ATTACH” the message to the rectangle. Edit it to “Print then Cut” and remember to “FLATTEN” the image. 
This is what it should look like when it’s ready to be “Printed then Cut”. 
HACK: If you don’t have the color of card stock you need for a project, you can create your own with your Cricut.


Building Your Fun Fold Card
Finally, you have all of your rectangles and squares cut and ready. Now, all you have to do is use some glue or a tape runner to adhere all of the layers except the card base. Refer to the pictures to see how to layer all of your rectangles and all of your diamonds. At this point, adhere your more narrow rectangles to the winged sides of the card base.
At this time, use scissors to cut the triple layered diamond in half, and glue the halves to each outer wing of the card. Adhere 2 of the double layered diamonds onto the center of the card. Place a few foam dots onto the last diamond to lift it slightly in the center of the other two. Adhere your message panel to the center of the backside of the card. The completed, folded size of this fun fold card is: 3” by 5.5” so it will fit inside of a regular A2 envelope.
Keeping It Krafty
In closing, I hope you have enjoyed this project today. It certainly has been a fun project and the beautiful paper I used stole the show in making this a stunning triple diamond fun fold card. Though I used this as a birthday card, keep in mind it may be used for “thank you”, “get well”, “thinking of you”, “sympathy” and many more. Whatever it is you decide to make just make it your own and always remember to keep it krafty! Until next time, bye-bye!
WANT TO SEE MORE?
VISIT MY BLOG ARCHIVES
