
A Grand Adventure Is Starting
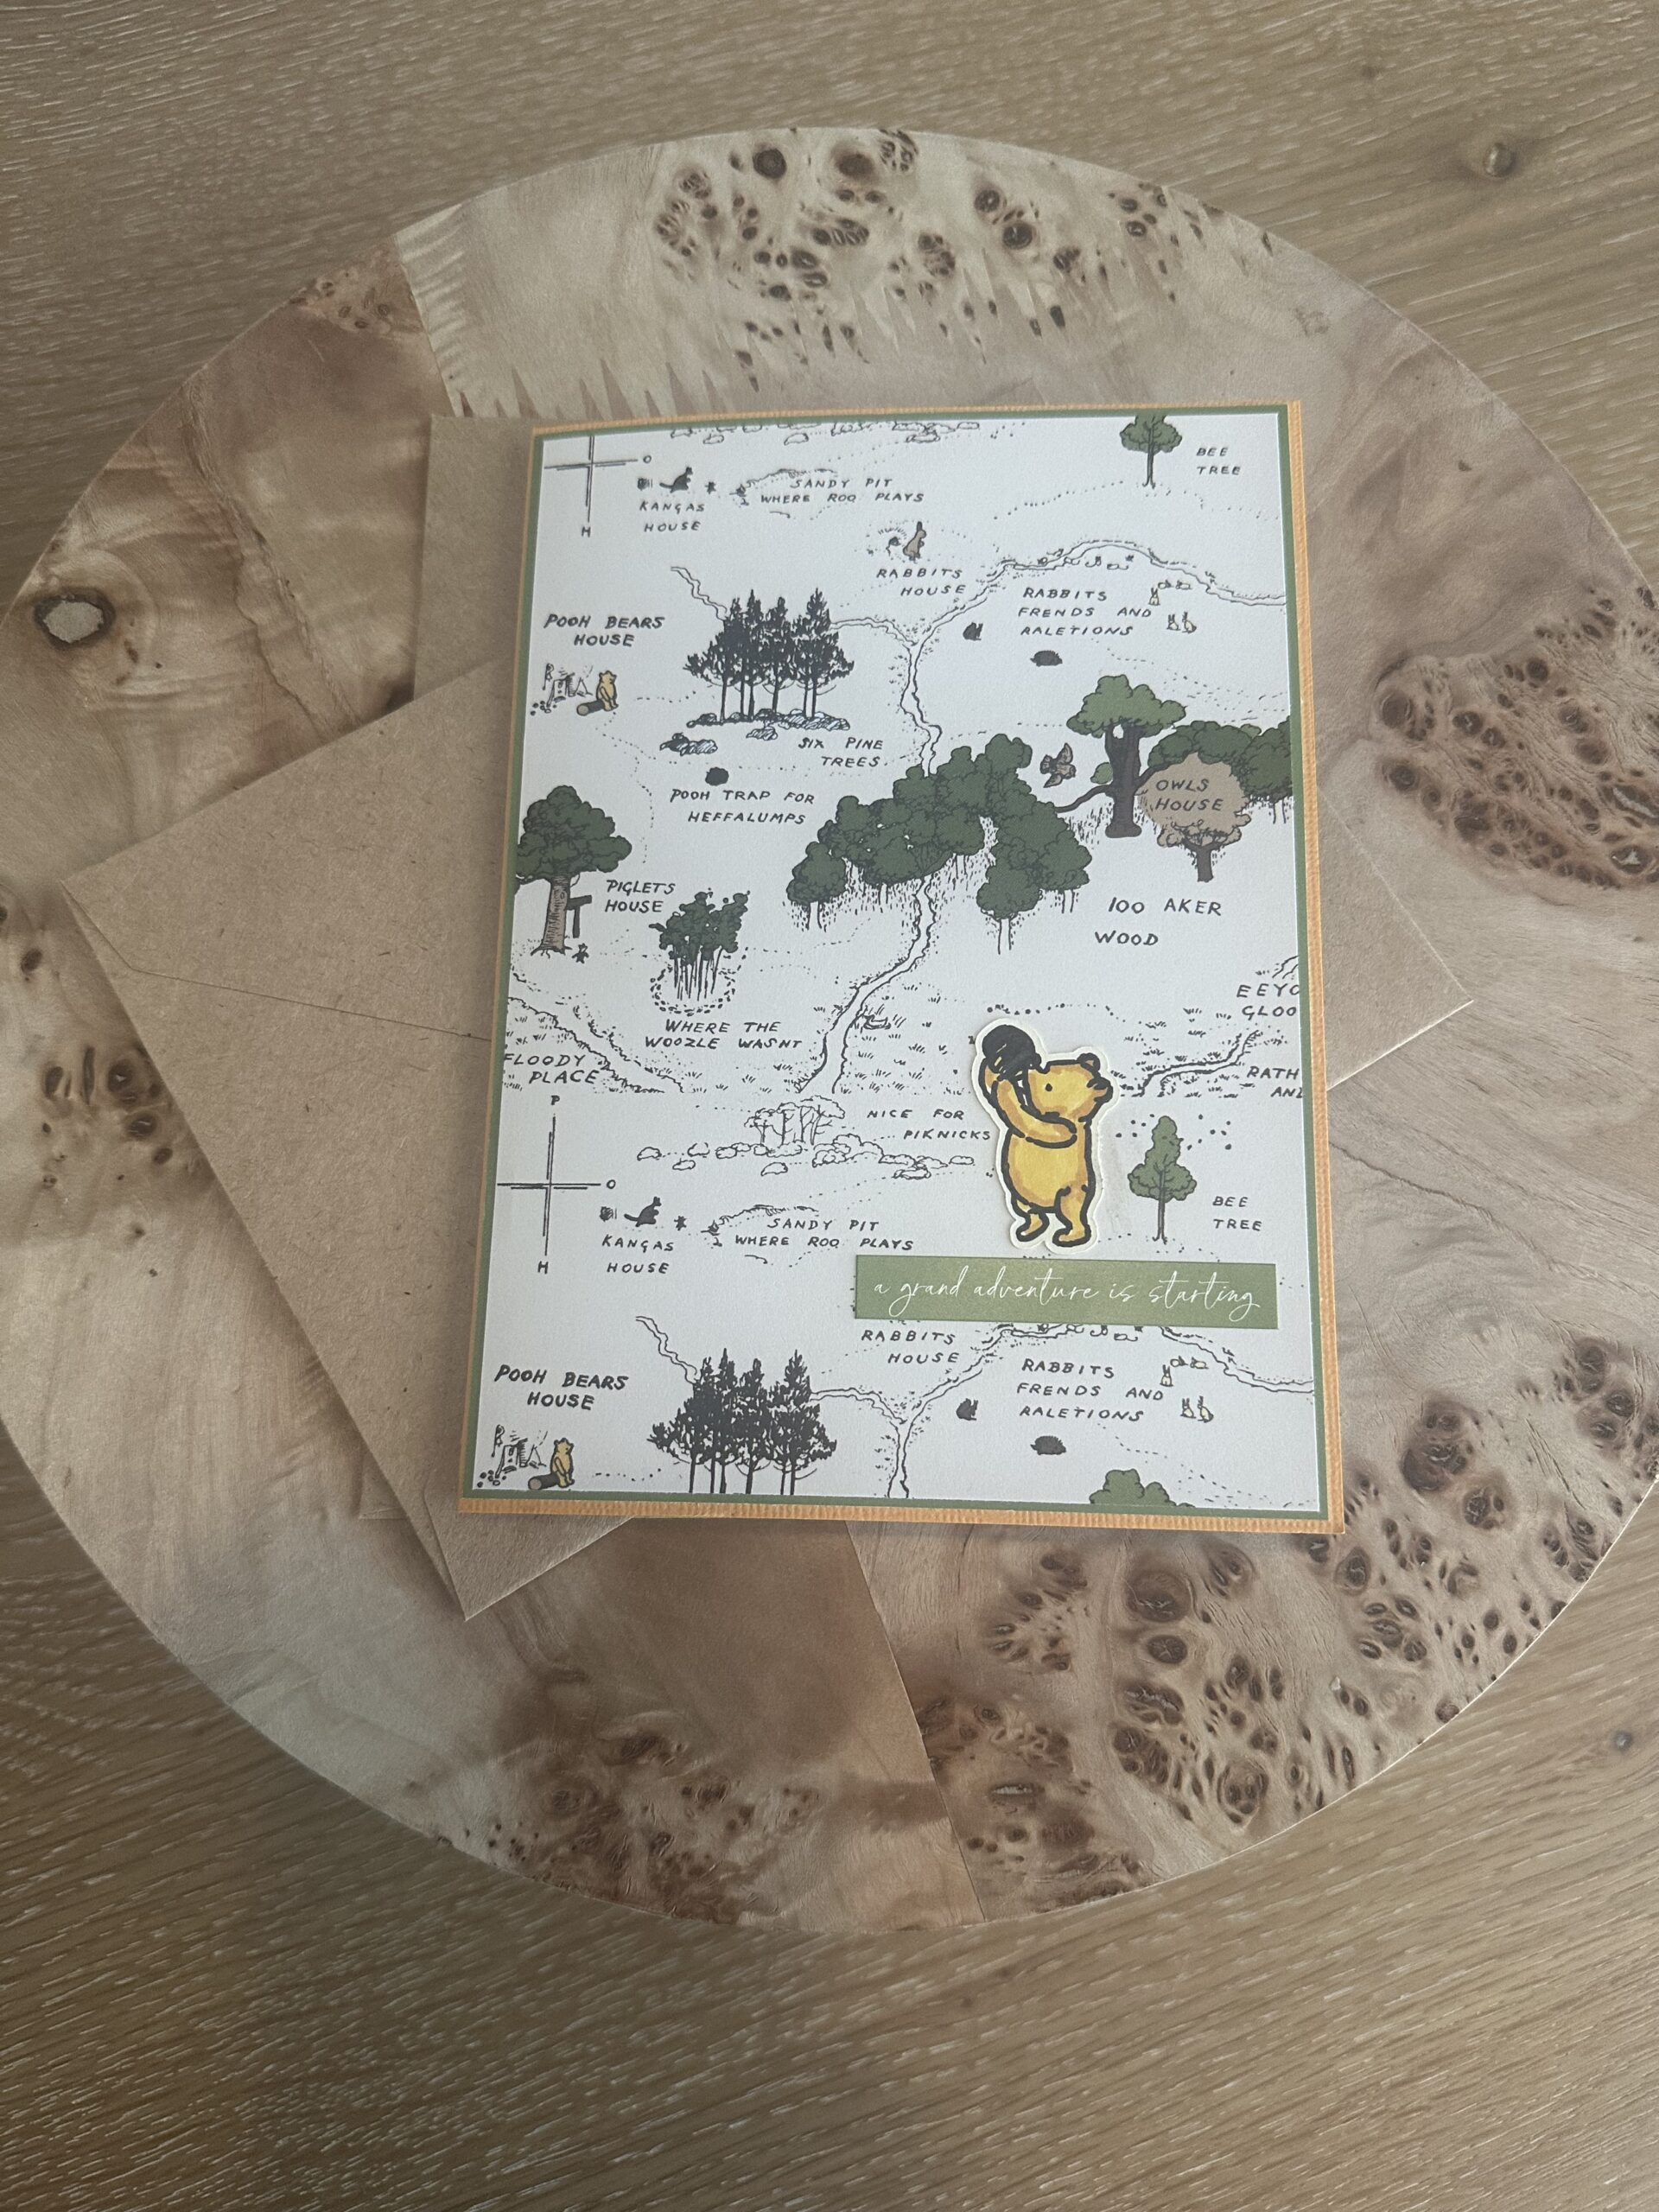
Hello and welcome to my studio! First, I’d like to say I’m so happy to have you here with me today. Because I love what I do and I adore sharing my ideas with you! And today, I’m sharing this interactive fun fold birthday card featuring that silly old bear we all know and love. This card leads the reader on a grand adventure through the Hundred Acre Wood in search of Pooh bear’s friends. They’ll “walk” through the woods and discover Pooh’s friends by opening windows and doors along the way.
I used my Cricut Joy Xtra for this project. However, you could create this card by looking at my design and draw and cut your trees, doors and windows freestyle. There are stickers and images included with the paper pack that I used- and I will add a link below- that could easily be used if you do not have a Cricut machine. So, there are lots of choices. Keep reading below as I’ve shared a list of the supplies I used to make this project. I’ve also shared several photos for inspiration and all of the measurements needed to create your fun fold card! I’ve also shared a link to my free design in Cricut Design Space. So, if you’re ready for an interactive fun fold adventure, let’s get krafty!

List of Supplies
- Card Stock in colors: vanilla, black, dark brown, white, blue, light brown, golden yellow, yellow-orange, green
- Designer Paper: Echo Park Paper Co. “Winnie the Pooh Collection Kit” find it HERE
- Solid Card Stock by Echo Park Paper Co. “Winnie the Pooh Collection” find it HERE
- Embossing Folders: “Bark 3D” and “Tasteful Texture 3D” by Stampin’Up!
- Nesting Stitched Rectangle Die Set and Nesting Labels Die Set
- Matte Metallic Dots for the door and window knobs
- Self Adhesive Velcro Dots for the doors and windows ( open/close feature )
- Alcohol Markers for coloring in the “draw then cut” Pooh and friends images.
- Glue
- Paper Trimmer with scoring tool
- Cricut Machine— Cricut Design Space Software— Link to My free design HERE
- Google Docs to create the inside messages
- Printer ( if using my “print then cut” images ) and/or ( for the inside messages )
Want more card making & crafting inspiration?
Follow me on social media
Let’s Get Krafty


- First, choose your papers. If you’re using the 12 x 12 “ “Winnie the Pooh Collection Kit” by Echo Park, choose which papers you’d like to use. As you can see in the photos, I used the map design for the front outside and inside Left as well and the inside Right.
- I used the solids from the “Winnie the Pooh” Collection by Echo Park for the tree trunks, tree tops, the top fold card base and the Right-Open Card Base.
- Also, use the markers to color in your “draw then cut” Character Images. Or you could use the other set of colorful images you’ll see on my Cricut Design Space design that are “Print then Cut” images. OR you could use some of the stickers from the paper pack. I used “Rabbit” and the “Pooh with balloon” stickers from that pack.
Let’s Get Krafty With Card Bases
Card Base # 1 Left Fold
Trim yellow-orange CS to 7 x 10” and score @ 5”.
Next, trim the olive green CS to 4 7/8” x 6 7/8”.
Finally, trim the 2 pieces of the Designer Paper “map” to 4 3/4” x 5 3/4”. One for outside and one for the inside Left.
Decorate as desired.
Card Base # 2 TOP FOLD With Small Tree
Trim Double-Sided Solid CS to 4.75” x 12” and Score @ 6”.
Assemble the door and the window. Add your “Character ie. Rabbit, Owl, Tigger etc. “
(optional) Emboss the tree trunk and the tree top. Adhere them onto your Card Base. Now, adhere the window and door onto your tree!
Card Base #3 Right Fold With Large Tree
Trim another piece of the double-sided solid CS to 5.75 x 9” and Score @ 4.5”.
Take the Large Tree and cut it as in the photos. Emboss the 2 tree trunks and the two tree tops. Adhere these as in the photos.
Add your assembled doors and windows onto your trees and add all of your chosen character images! Now, add your small Velcro dots so the doors and windows can open and close.
Embellish as desired.
Lastly, remember to add your sentiment to the front of your card and add your message to the inside.
WANT TO SEE MORE?
VISIT MY BLOG ARCHIVES
Keeping It Krafty
In closing, I’d like to add that embossing the trees is optional; However, it lends a visual and tactile element that’s always fun for kids and adults alike. And I just love Winnie the Pooh and I’ve recently discovered I’m certainly not the only one! Several of the largest craft supply companies have wonderful and whimsical Pooh Bear Collections! You can find plenty of choices over at Scrapbook.com and I’ve seen a collection on offer at Stampin’Up!
I created the final message for my card to ask the child to count the friends they found and end it with a birthday message. You can create your own version any way you like. Want it for an adult who loves Winnie the Pooh? Just create your message blocks to suit them! Also, the paper pack I used to decorate this card comes with loads of message blocks you can easily use for your card. There are so many options! And that’s what makes creativity so much fun! So no matter what it that you decide to make just make it your own. And always remember to keep it krafty!
Until next time,
