
Share Some Easter Joy
Hello and welcome to my studio! I’m so happy to have you here with me today! Because today I’d like to share some Easter joy! That’s right. Easter is my favorite holiday! And I’ve created this large gift box to help share some of that joy with others! This gift box is perfect for kids-think nephews, nieces, granddaughters and grandsons, neighbors. However, kids don’t have to have all the fun! We adults love cute things and we love giving and receiving gifts too!
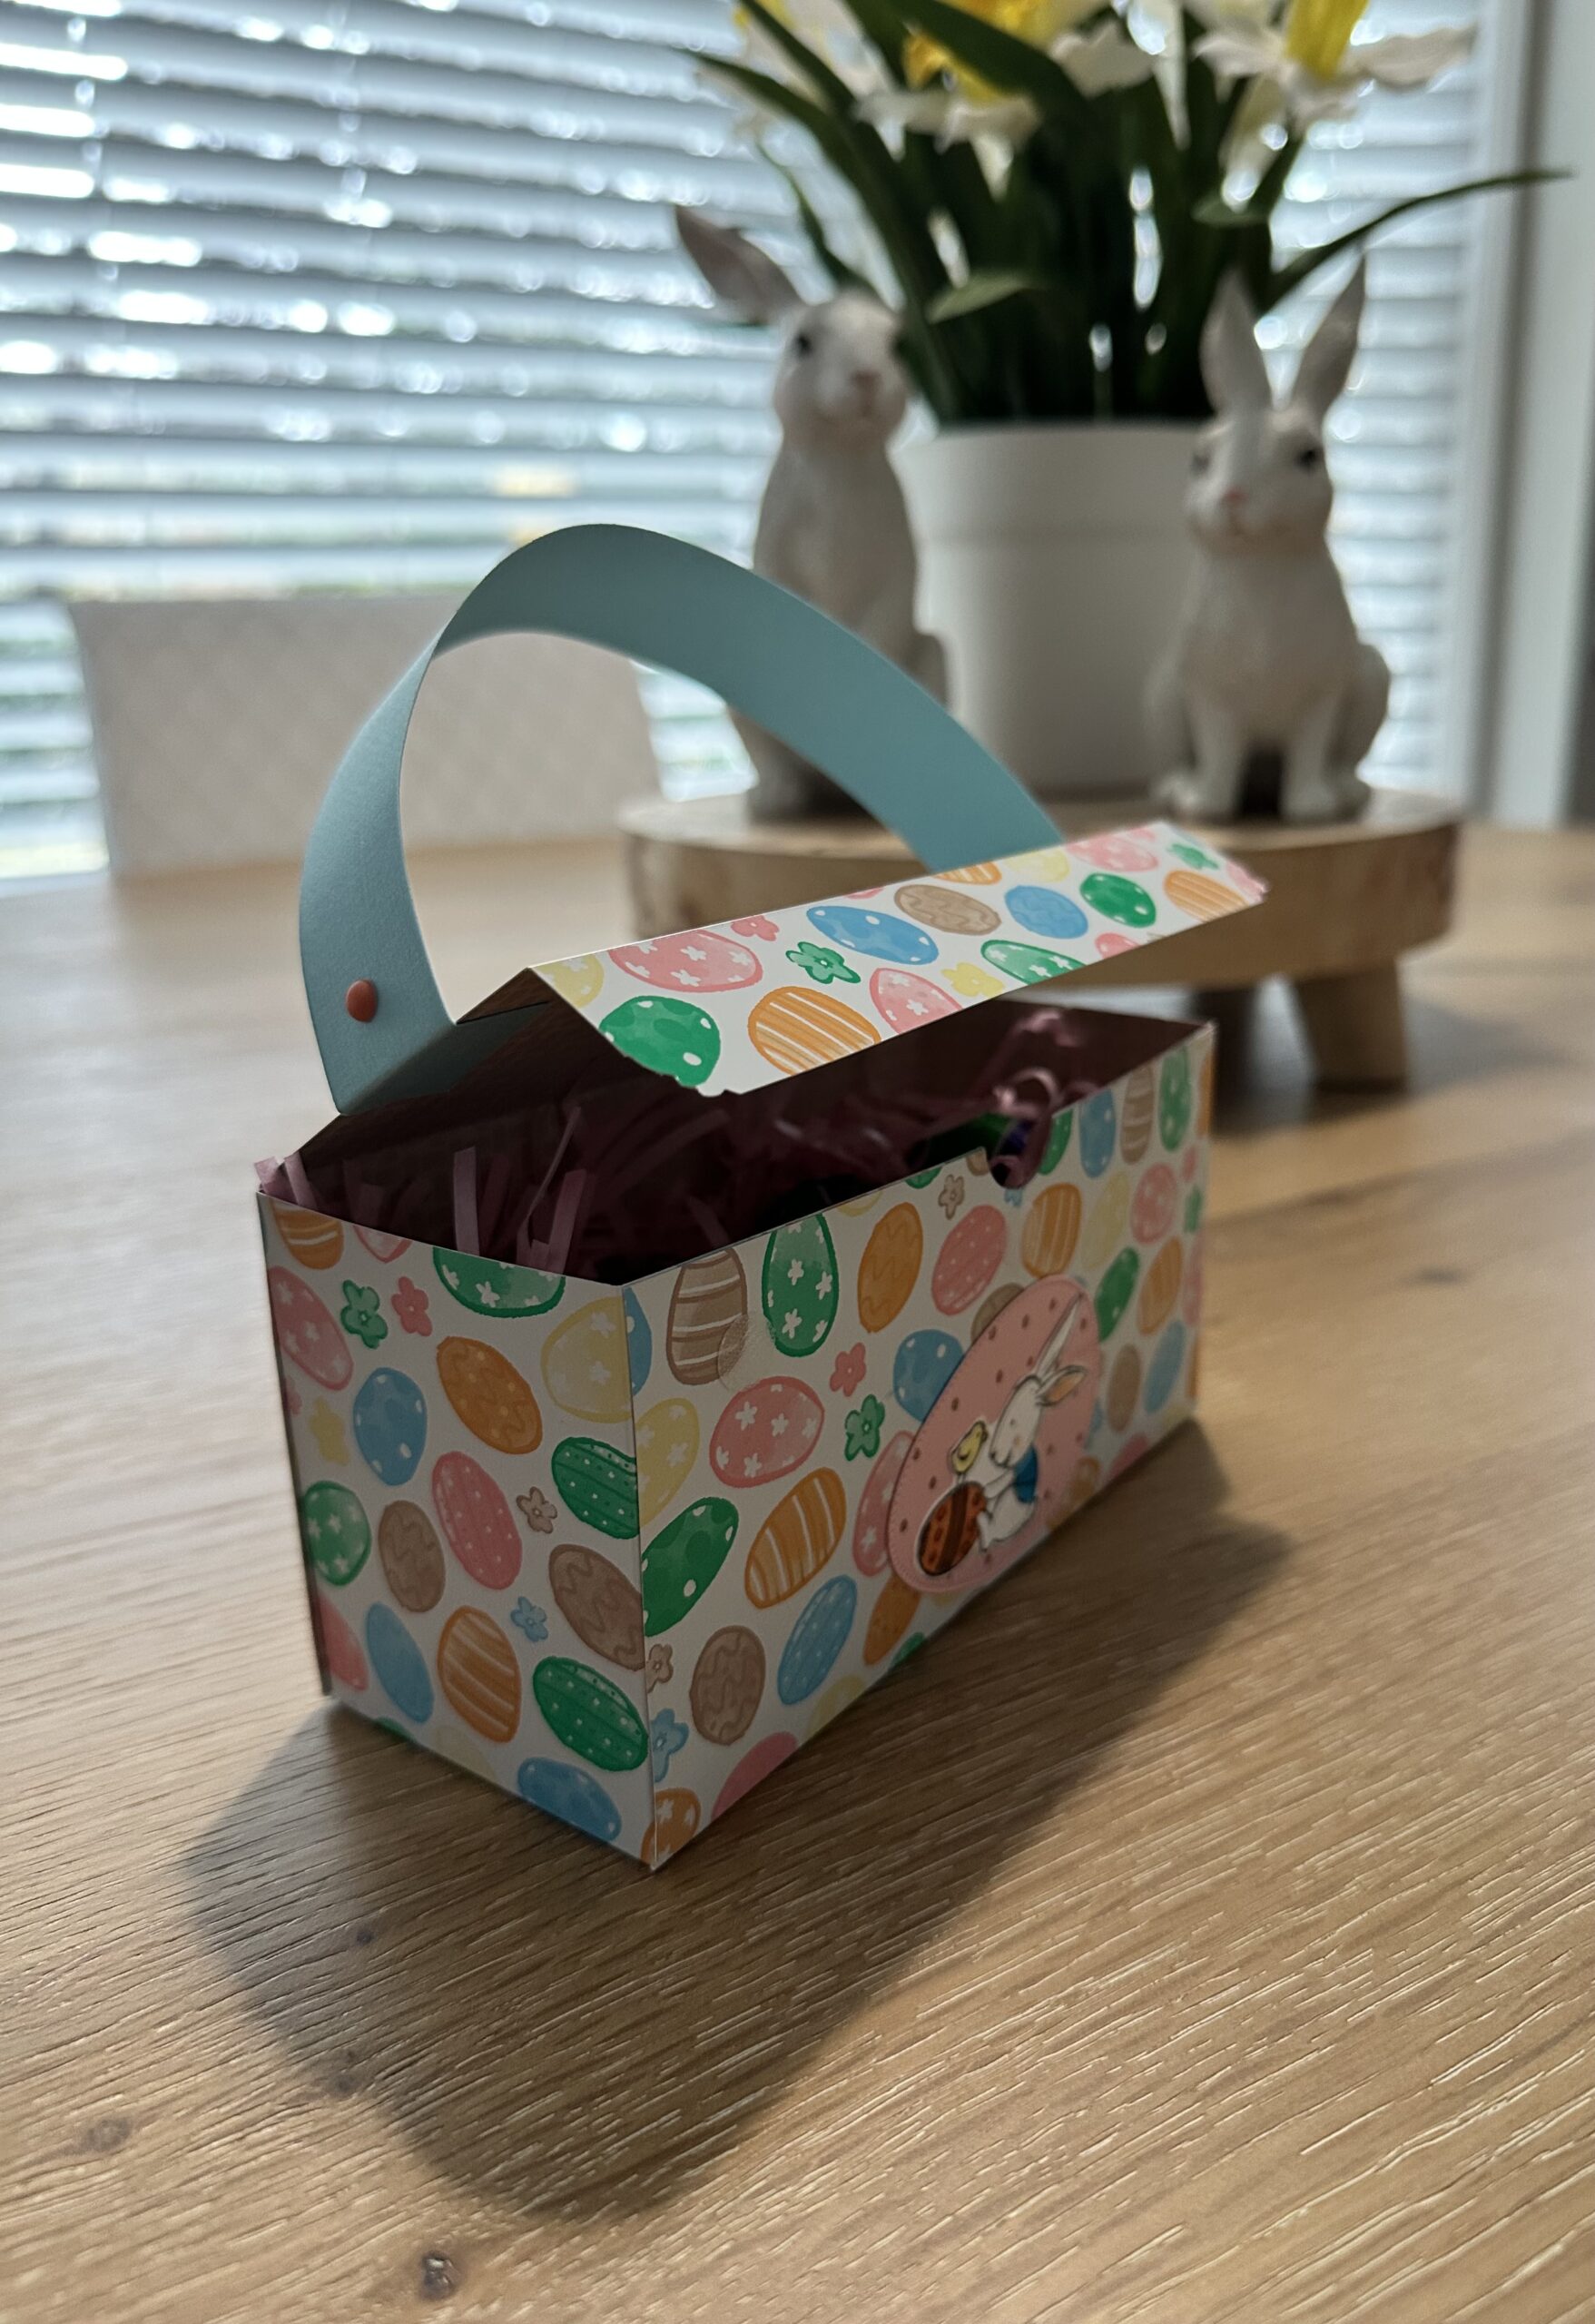
And that’s why I created this large gift box. It measures a whopping 3” tall x 6” long x 2.5” deep! I had my grown sons and daughters-in-law in mind when creating this box. They all love being on the receiving end of my many creations. And they really love Cadbury Crème Eggs at Easter! Even as adults, they fight over these eggs. 🙂
This gift box holds at least 8 regular sized Cadbury Crème Eggs in layers along with the grass filler. Of course, almost any candy will fit inside. It holds a lot. Also, this gift box can be used for non-food gifts like candles, crosses, lotions… Below, I’ve shared a list of the supplies I used to create this exact box. However, keep in mind that you can make a gift box like this one but with different papers and decorations. So, let’s get krafty!

List of Supplies
- Card Stock: 12 x 12” : I used Designer Series Paper called “Easter Joy” 😉 by Stampin’Up
- Card Stock: solids “light blue, pink, white”
- Paper Trimmer with Scoring Tool
- glue
- Egg Shaped Die from (Excellent Eggs) by Stampin’Up
- Bunny Stamp from (Everybunny)stamp set by Stampin’Up
- Matt Adhesive Backed Dots in Orange
- Small Velcro Adhesive-backed Dots ( I order from Amazon )
Want more card making & crafting inspiration?
Follow me on social media
Let’s Get Krafty

- First, choose your papers. If you’re using patterned card stock like I did, then choose a solid CS that matches your paper for the handle.
- Take your 12 x 12” Designer Paper and score @ ( 3” & 9” ).
- Rotate your CS 90 degrees and score @ ( 1”, 3.5” , 6.5” and 9” ).
- Fold and burnish your score lines.
- Use the Diagram above to cut at the score lines indicated. And remove the sections indicated.
- Fold up your box and add glue to the tabs to hold it together. Don’t worry, it’s easy to see exactly where to add the glue.
- For the handle, take a piece of CS and trim it to about 10” by 1”. Use glue to adhere the handle to the lid of the box. Be sure not to add the handle onto the box itself, just the lid.
- To finish this gift box, and to keep the box closed when carrying by the handle, I used 3 small Velcro dots on the inside of the lid flap. Works like a charm!


Optional- Adding Easter Decorative Elements
- Use an egg shaped die to die cut from pink CS.
- Stamp a cute bunny or any other Easter-like image onto a piece of white CS and use a die or scissors to cut it out.
- Adhere your images onto the egg and then adhere the egg onto the front of the box.
- I also chose to add an adhesive-backed matte dot onto the bottom of each side of the handle.
Keeping It Krafty
In closing, I’d like to thank you again for joining me here today! I just love what I do and I adore sharing my ideas with you! I’d like to add that this box perfectly matches the last two Easter cards I shared. Visit my blog archives to take a look at those! I’ll be making several more of these Easter gift boxes for my family and friends. And they’ll all be different because I’ll use different designer papers. I love that these boxes are made with just one sheet of 12 x 12” CS and we don’t even have to trim it down. That means these boxes come together very quickly and I love that too! So, no matter what it is that you decide to make just make it your own. And always remember to keep it Krafty!!
HAPPY EASTER EVERYBUNNY!
WANT TO SEE MORE?
VISIT MY BLOG ARCHIVES
