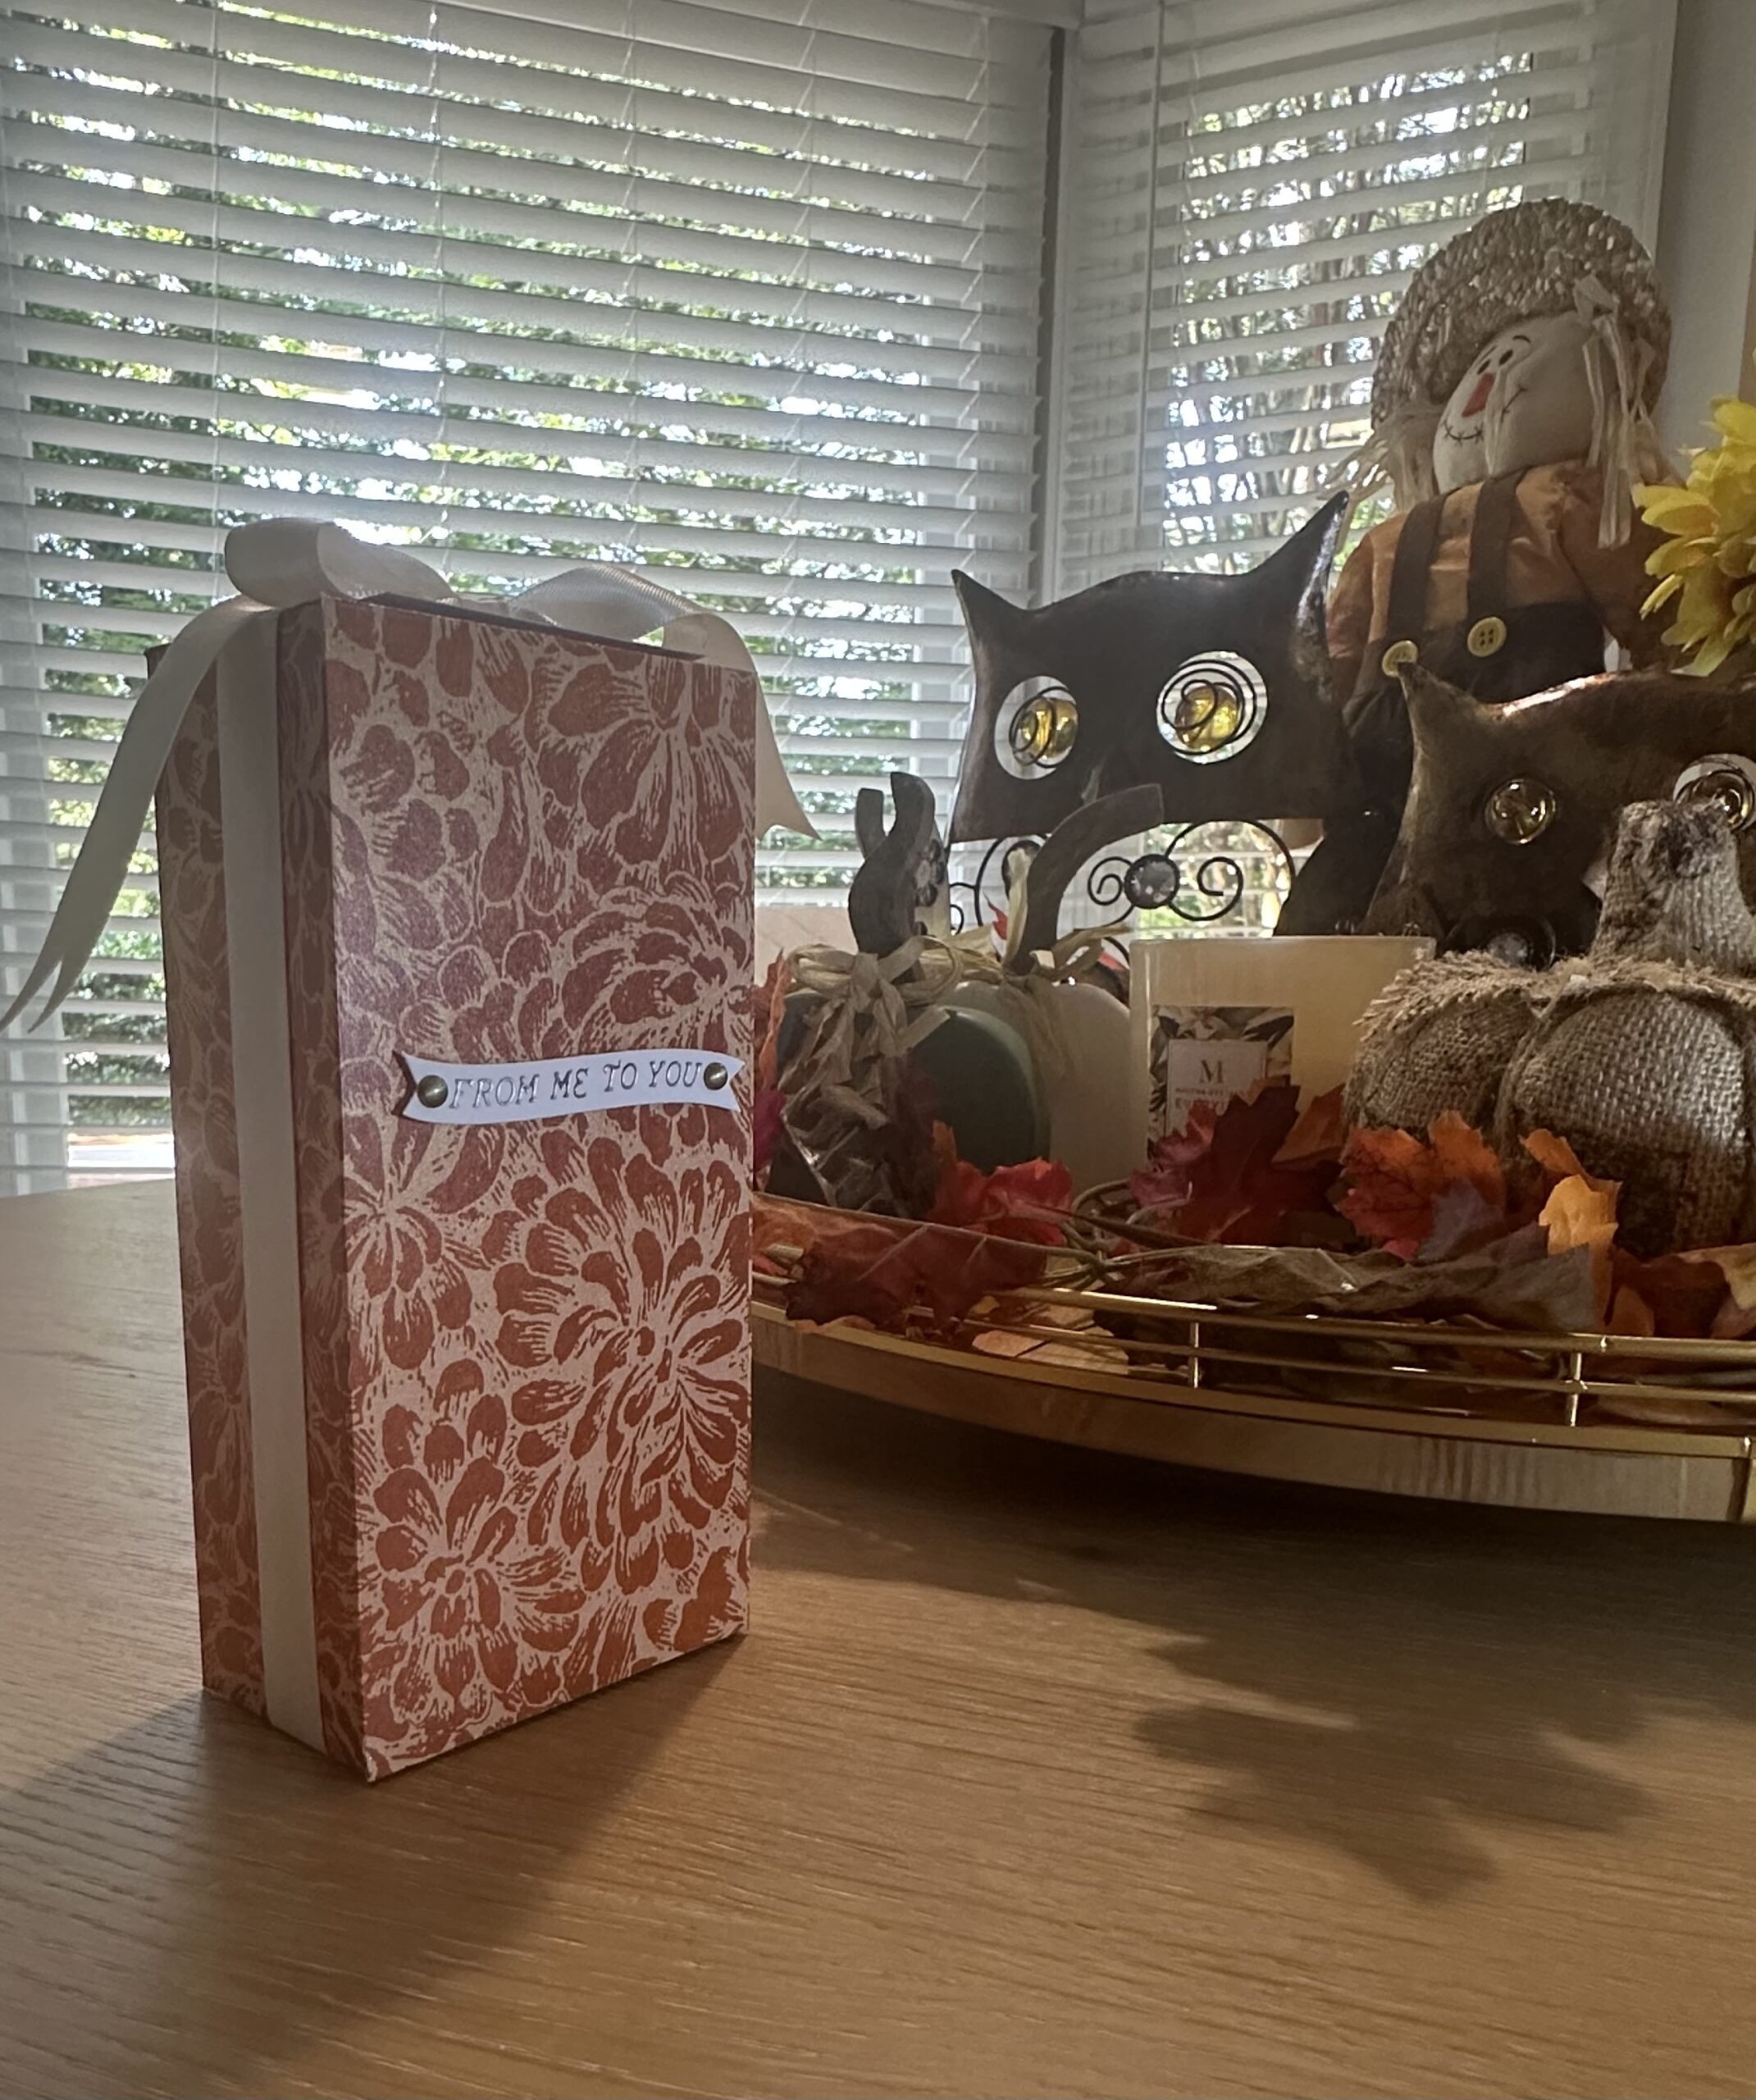

It’s Giving Gloriously Autumn Vibes
Hello and welcome to my studio! I’m so happy to have you here with me today. Because I love what I do and I adore sharing my ideas with you! First, I have a question to ask. Who’s ready for that cozy, snuggly and colorful time of year, Autumn? I know I am. I’m so done with this hot, sticky and mosquito filled August here in NC. Autumn, aka Pumpkin Spice, Cinnamon, and Apples, is my favorite season.
And with Autumn in my heart and mind, I remember I have several birthdays coming up. So I’ve begun preparing for those birthdays by creating this gorgeous gift box. The beautiful paper lends gloriously Autumn vibes! If you’ve got some beautiful cardstock that you have been hoarding, GREAT! You now have a perfect excuse to use some of that stash. If you don’t already have paper you’d like, you can find plenty of choices at online stores such as Simon Says Stamp, Stampin’Up!, Scrapbook.com and more. Also, the finished size of this gift box is 3.5”wide x 7” tall x 2” deep. That’s a nice large gift box and it’s made from just one sheet of 12 x 12” card stock. Below, I’ve shared a list of the supplies I used to create this box followed by photos, a template and a step by step tutorial. And don’t worry, it’s a very straightforward and easy box to make. This gorgeous gift box is perfect for beginners and seasoned crafters alike. So without further ado, let’s get krafty!

List of Supplies
- 12 x 12” Card Stock: I used piece from a paper pad: Hobby Lobby’s “The Paper Studio—Amanda” This gorgeous paper is Pearl & Cardstock! You can find it HERE
- Paper Trimmer with Scoring Tool
- Scissors
- Glue
- Hot Foil Sentiments with Matching Dies: Like THESE
- Metallic Antique Gold Adhesive Dots
- Cream Colored Satin Ribbon
Want more card making & crafting inspiration?
Follow me on social media
Let’s Get Krafty


Gorgeous Gift Box: Template

Step-By-Step Tutorial
- First, TRIM your cardstock to 11 X 11.5”.
- And SCORE the 11.5” side @ [ 3.5, 5.5, 9 and 11” ]
- Now turn your cardstock to the 11 inch side and SCORE @ [ 2 and 9” ].
- Fold and Burnish your score lines.
- At this time, use your scissors to cut a small wedge up each of the score lines as indicated on the above template.
- And remove the 2 small rectangle pieces indicated in the template.
- Now place glue on the narrow 1/2” section and close the sides to form your gift box.
- Next, fold in the bottom flaps and add adhesive to the outer flap to seal the bottom.
- (Optional) Use a nice piece of ribbon to hold the top of the gift box closed.
- (Optional) Create a sentiment or a tag for your box! I used a hot foil plate with sentiments along with its matching dies.
WANT TO SEE MORE?
VISIT MY BLOG ARCHIVES
Keeping It Krafty
Wow! This gorgeous gift box is a fun and easy craft project, right? I really love how it turned out. Remember, you can make your gift box using any 12 x 12” designed card stock. It doesn’t have to be just like this one. It will be gorgeous, no matter what!
And I believe there’s a doer, a maker, a crafter in all of us. And my goal here is to help you tap into your creativity. Because crafting like this is something you do, really, just for yourself. Your family and friends simply get to enjoy the fruits of your labor even though it’s a bit of fun, “me-time”, and therapy in the form of paper crafting and gift-giving. Now that’s a win-win 🙂 So no matter what it is that you decide to make just make it your own. And always remember to keep it krafty!
Until next time,
