Here’s my FREE Step by Step Tutorial
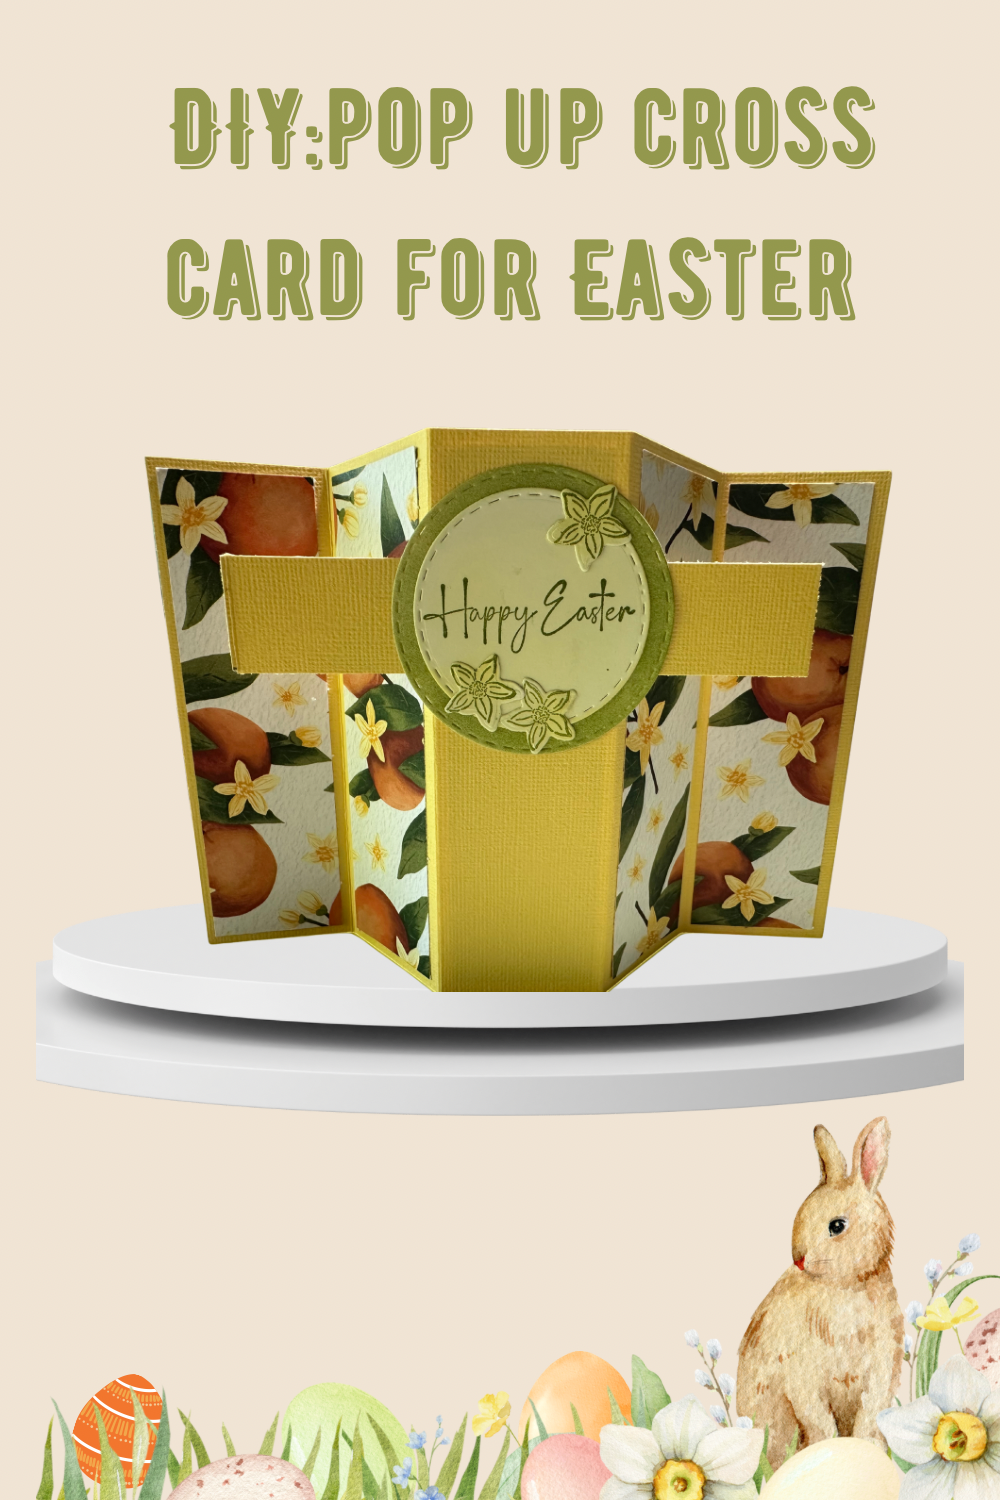
Hello and welcome to my studio! I’m so happy you have joined me today because I have a special card to share with you. Easter is just around the corner and I have shared several gift box and favor ideas in my blog posts. If you’d like to see those DIYs and makes, pop over to my Blog Archive. I decided it was time to make an Easter card. I have seen a card that is made in this style but it was for sale and well, you know me- I’m a crafter and greeting cards are my thing – so I had to see if I could make one myself. Great success!
I’ve worked out all the little details, created a diagram and learned some tips that I am now going to share with you. Keep reading to see my list of supplies and links to where you can find them. Below that is a step by step guide to creating this absolutely gorgeous Easter card. Keep in mind that there are many variations with papers, stamps, dies etc. you can use to take this idea and make it your own.
REMEMBER
WANT TO SEE MORE?
SUPPLIES I USED FOR THIS PROJECT
- CARD STOCK – Lemon Lolly; Old Olive: https://www.stampinup.com/products/lemon-lolly-8-1-2-x-11-cardstock, https://www.stampinup.com/products/cardstock-8-1-2-x-11-old-olive
- Mediterranean Blooms: https://www.stampinup.com/products/mediterranean-blooms-12-x-12-30-5-x-30-5-cm-designer-series-paper
- Citrus Blooms Dies: https://www.stampinup.com/products/citrus-blooms-dies
- Excellent Eggs Cling Stamp Set- “Happy Easter” sentiment for the circle- any sentiment you wish to use will work here.
- 2.75” Stitched Circle Die; 2.25” Stitched Circle Die
- Tape Runner or Glue
- Paper Trimmer
**The above supplies that have a link are all from a company called Stampin’Up! I am not affiliated with that company nor do I earn commissions from sales with that company. I do, however, love to shop from that company as you will see in most of my posts. I’ve been collecting stamps, dies, papers….from them for many years. I also shop from many other companies as well. Companies such as Spellbinders, Whimsy Stamps, Ranger, Sizzix and more. It just happens to be products from Stampin’Up! I used for this project and I didn’t even realize that until I made the Supplies List.
Let’s Get Krafty!
Trim a piece of card stock to 5.5 x 8.75 inches and score the long side at: 1.75, 3.5, 5.25 and 7 inches. Fold and burnish the score lines.
Measure 1 inch from the top of the 2nd and 4th panels and make a tiny tick mark using a pencil. Measure down 1 inch from that tick mark and make another tick mark using the pencil. Use a paper trimmer or a craft knife to cut slits as in the diagram below. This forms the cross in the card!


That was pretty easy, right? Now for the fun part, decorating. Choose a designer paper to decorate the base of the card with. Any patterned paper will work but I suggest choosing one that is nice for Spring. It could have a pastel pattern or something like the one I used with oranges and lemons and orange and lemon blossoms. Flower patterns will be nice. A piece of 6 x 6” designer paper is perfect because we trim it to 5.25” x 1.5” strips and we need (4) for the front of the card and (4 or 5) for the back of the card. A lovely scene would be gorgeous but I didn’t have any scenic paper. Here’s an example of scenery paper.
Thoughtful Journey 6×6” Designer Series Paper: https://www.stampinup.com/products/thoughtful-journey-6-x-6-15-2-x-15-2-cm-designer-series-paper

I used the lovely paper from the Mediterranean Blooms Designer Series Paper. It’s just gorgeous!!

I shared the link to this paper in the supplies list above. BUT their catalog is about to change over in May so it may not be available from SU after April. If you love this paper and can’t get it from SU, one of their team will most likely have some for sale through Etsy.
When I trimmed the paper to 5.25 inches by 1.5” strips, I kept the strips in order of how they fit together. When adhered to the card base in order, it creates a finished image. So you’ll need 4 strips for the front of the card base and 4 for the back if you want the middle area to be a place for your personal message. Or you can make 5 strips for the back and leave out the personal message, it’s totally up to you.


To finish the card, use a 2.75” circle die to die cut a matching circle. And then use a 2.25” circle die to cut a white or light colored circle for your sentiment. Stamp your sentiment in the center of the smaller circle. I then used the flower dies from the Citrus Blooms die set and cut flowers from the designer paper and adhered them to the circle.
So, adhere all of your patterned paper to the cross card, then adhere the small circle centered in the larger circle and onto the center of the cross. Embellish as desired. Your decorating options are endless and it’s so much fun!
If you plan to mail these cards, they will fit into a regular 4.25 x 5.5” envelope. First, lay the card flat in front of you and fold the first and last panels inwards toward the center. Next, fold the left side backwards, then the right side. The middle panel with the circles will still be facing you. Hold this with your fingers and place inside the envelope. When it is removed from the envelope, the card will sort of spring into shape and your recipient will see how to straighten it up. I love how the card stands alone and the cross pops forward and center making quite a statement.
Thank you for joining me today in making this awesome Easter card. Go ahead and give it a try. It’s fun and the ways to decorate the card are endless. This card shape can also be used for other purposes such as birthdays, get well, thinking of you, sympathy… Just stamp whatever sentiment you wish onto the smaller circle. Shape dies other than a circle can also be used. Stars for a birthday, squares, ovals… Just remember to take these ideas and make them your own and always always Keep it Krafty! Until next time- Bye Bye!
3 responses to “HOW TO MAKE THIS GORGEOUS EASTER CARD”
Very good https://is.gd/tpjNyL
Very good https://shorturl.at/2breu
Glad you like it!