Save Money, Space & Time with Cricut
Hello and welcome to my studio! I’m so happy you’re here because I have some great hacks to share with you. If you are new to the Cricut machine world, you are undoubtedly seeing how much you can do with it. There are tens of thousands of images we can use and that’s how we save money, space and time with Cricut. Just take your time and explore all this fabulous machine has to offer. If you are familiar with Cricut, this post will be a reminder that there are many things we can use it for.
I’ve been using the Cricut since the beginning and that was back in 2006! Still, I learn something new every day. There’s loads of things I still haven’t tried out yet. If you have been following my blog, you’ll know I’m a crafter of a large variety of DIY projects. Many of us think of the Cricut as the goto for all things vinyl, but paper crafting with Cricut is quite often forgotten. It can be used for personalized apparel, cards, home and auto decor and more. We rubber stampers can use it in place of stamps and dies! This is how we save money, space and time with Cricut!
***Disclaimer: I am not affiliated with Cricut nor do I earn commissions from the sale of any of their products.
REMEMBER
WANT TO SEE MORE?
Using Your Cricut for Paper Crafting
Right. We can use Cricut to draw images that mimic “rubber stamping”. There are nearly endless possibilities. Don’t get me wrong, I still have a large stash of rubber stamps and dies for die cutting. I’ll continue to collect those for years to come; However, there are times when we want to make something for which we have no stamps or dies.
This is where Cricut comes in like a super hero! There are thousands and thousands of images we can use. If you use your Cricut a lot, like I do, it’s a great idea to get Cricut Access. For just a few dollars a month we have full access to thousands of images without having to pay for them individually. Can you imagine always trying find exactly what you want? Imagine the cost of buying thousands of stamps and dies, then storing them. This is how we can save money, space and time with Cricut! Keep reading to see how to make this enchanting fairy card with Cricut.
Supplies Needed for this Card
- 65 lb. Card Stock: black, white, light blue
- Foiled Card Stock: Purple http://Recollections Foil Cardstock Paper https://a.co/d/aUZCljk
- Glitter Gel Pens: black and silver. http://Welebar Glitter Gel Pen Set for Cricut Maker 3/Maker/Explore 3/Air 2/Air, 0.8 Tip Glitter Pen Set of 7 Pack Medium Point Pen, Writing, Drawing, Invitations, Cards https://a.co/d/3MdtQEm
- Cricut machine
- Printer ( if you’d like the blue and purple designer paper for the background ) otherwise you can use whatever designer paper you have on hand.
Using Cricut Design Space
The software for Cricut is called Cricut Design Space (CDS). This is where we plan out our lovely DIY projects. Below, I’ll share a link to my free design for this card so all you’ll have to do is click the green (MAKE IT) button at the bottom. If you wish to make changes to my design, all you have to do is click the (CUSTOMIZE) button at the bottom.
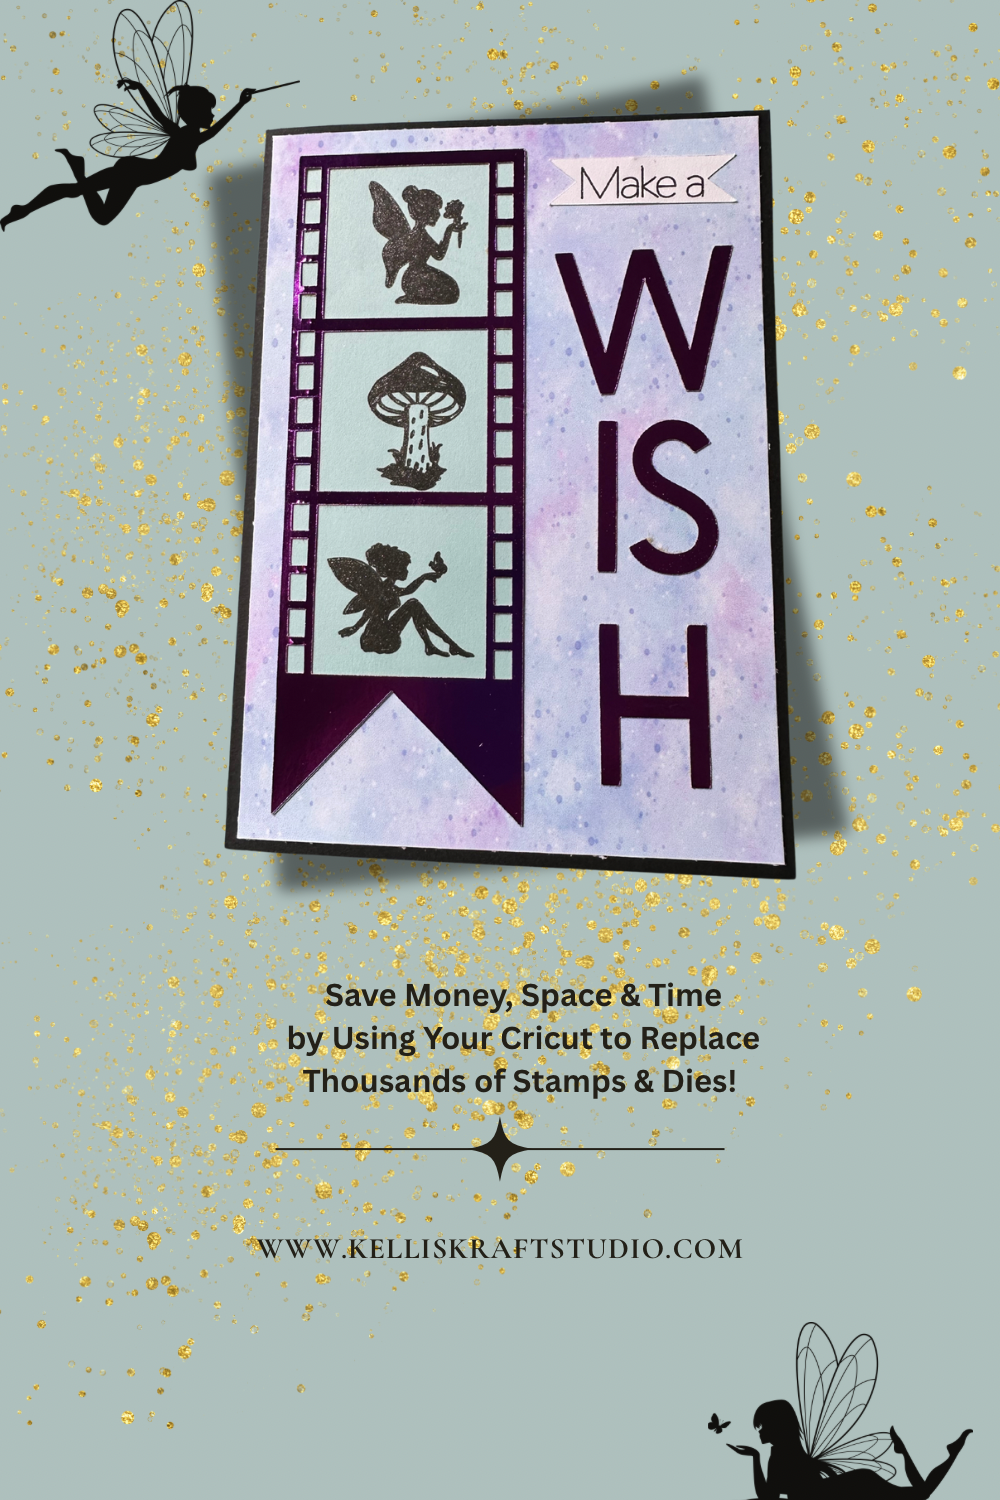
I chose to create a birthday card with a foiled film strip and showcase silhouette fairies within the film strip. I decided to have the “Make a Wish” sentiment on the right, with the “WISH” cut from the same foiled card stock as the film strip. The fairies are drawn or penned onto the card stock with a black glitter gel pen and then we color it in with the same pen.
The Cricut is absolutely perfect for sizing and previewing our projects before we have them drawn or cut. Being able to choose from so many images all in one place is amazing. For example, when I searched for fairy images, it brought up over 16,000 images. And it’s all at our fingertips. I also love that I can access CDS on my computer, tablet and phone making it easy to work on a project from just about anywhere! I promise I’m NOT trying to sell you a Cricut, I just love it and want to tell you all about it. Having all of these options for crafting is how we can save lots of money, space and time with Cricut.
Here is a link to my free design for this enchanting fairy card. https://design.cricut.com/landing/project-detail/68363bac03019a67455abe5e
Making the Card


This design will make the entire 5 x 7” card, from the black card base to the designer background to the elements on the front of the card and the message inside. Select “Make It” and load the appropriate materials into your machine. If you do not wish to have the designed paper that prints then cuts, just skip it or you can “hide it” on the canvas.
Any customization you’d like to make is easy to do. For instance, you can put the recipients name on the massage page under the “Happy Birthday”, just remember to change the text to write with the glitter gel pen and “attach” to the paper.

Here are all of the individual elements after they have been drawn, printed and cut using your Cricut. Fold and burnish the black card base that measures 10 x 7” at the 5” mark creating a card base that is 5 x 7”. Color in the fairies and mushroom using the same black glitter gel pen that you used to draw it. Allow it a few minutes to dry completely before continuing. If the pen is brand new, this takes longer.
Lastly we assemble the card! Adhere the foil film strip onto the blue piece with the fairies. Then adhere the film strip to the left side of the designed paper. Next, adhere the “Make a” label to the top right and the “WISH” underneath as shown on the finished card. Adhere the designer card stock on the black card base. Remember the inside message. Your card is complete!

Admiring Your Creation
Once you have your card complete, just step back and admire your creation! It’s amazing a greeting card can be made start to finish with the Cricut, some ink, some card stock and a bit of glue. I hope this project acts as a reminder to us all that there are countless DIYs with which to use this fantastic machine.
Also, I want to mention that we can absolutely change this project from drawing out the fairies and mushroom to having these images cut from black card stock. This would look just like die cut elements and we would simply adhere them onto the spaces inside the film strip. Just take these ideas and make them your own and always remember to Keep it krafty! Until next time, bye bye!