
Featuring the “Holly Tree” Press Plate Set by Spellbinders
Hello and welcome to my studio. And let me just say how happy I am you’re here today because crafting with friends is so much fun! Well, It’s the first week of November and I’m in full Christmas craft mode. Alas, I have more ideas than I have time, that’s for sure! The Christmas count down is on!
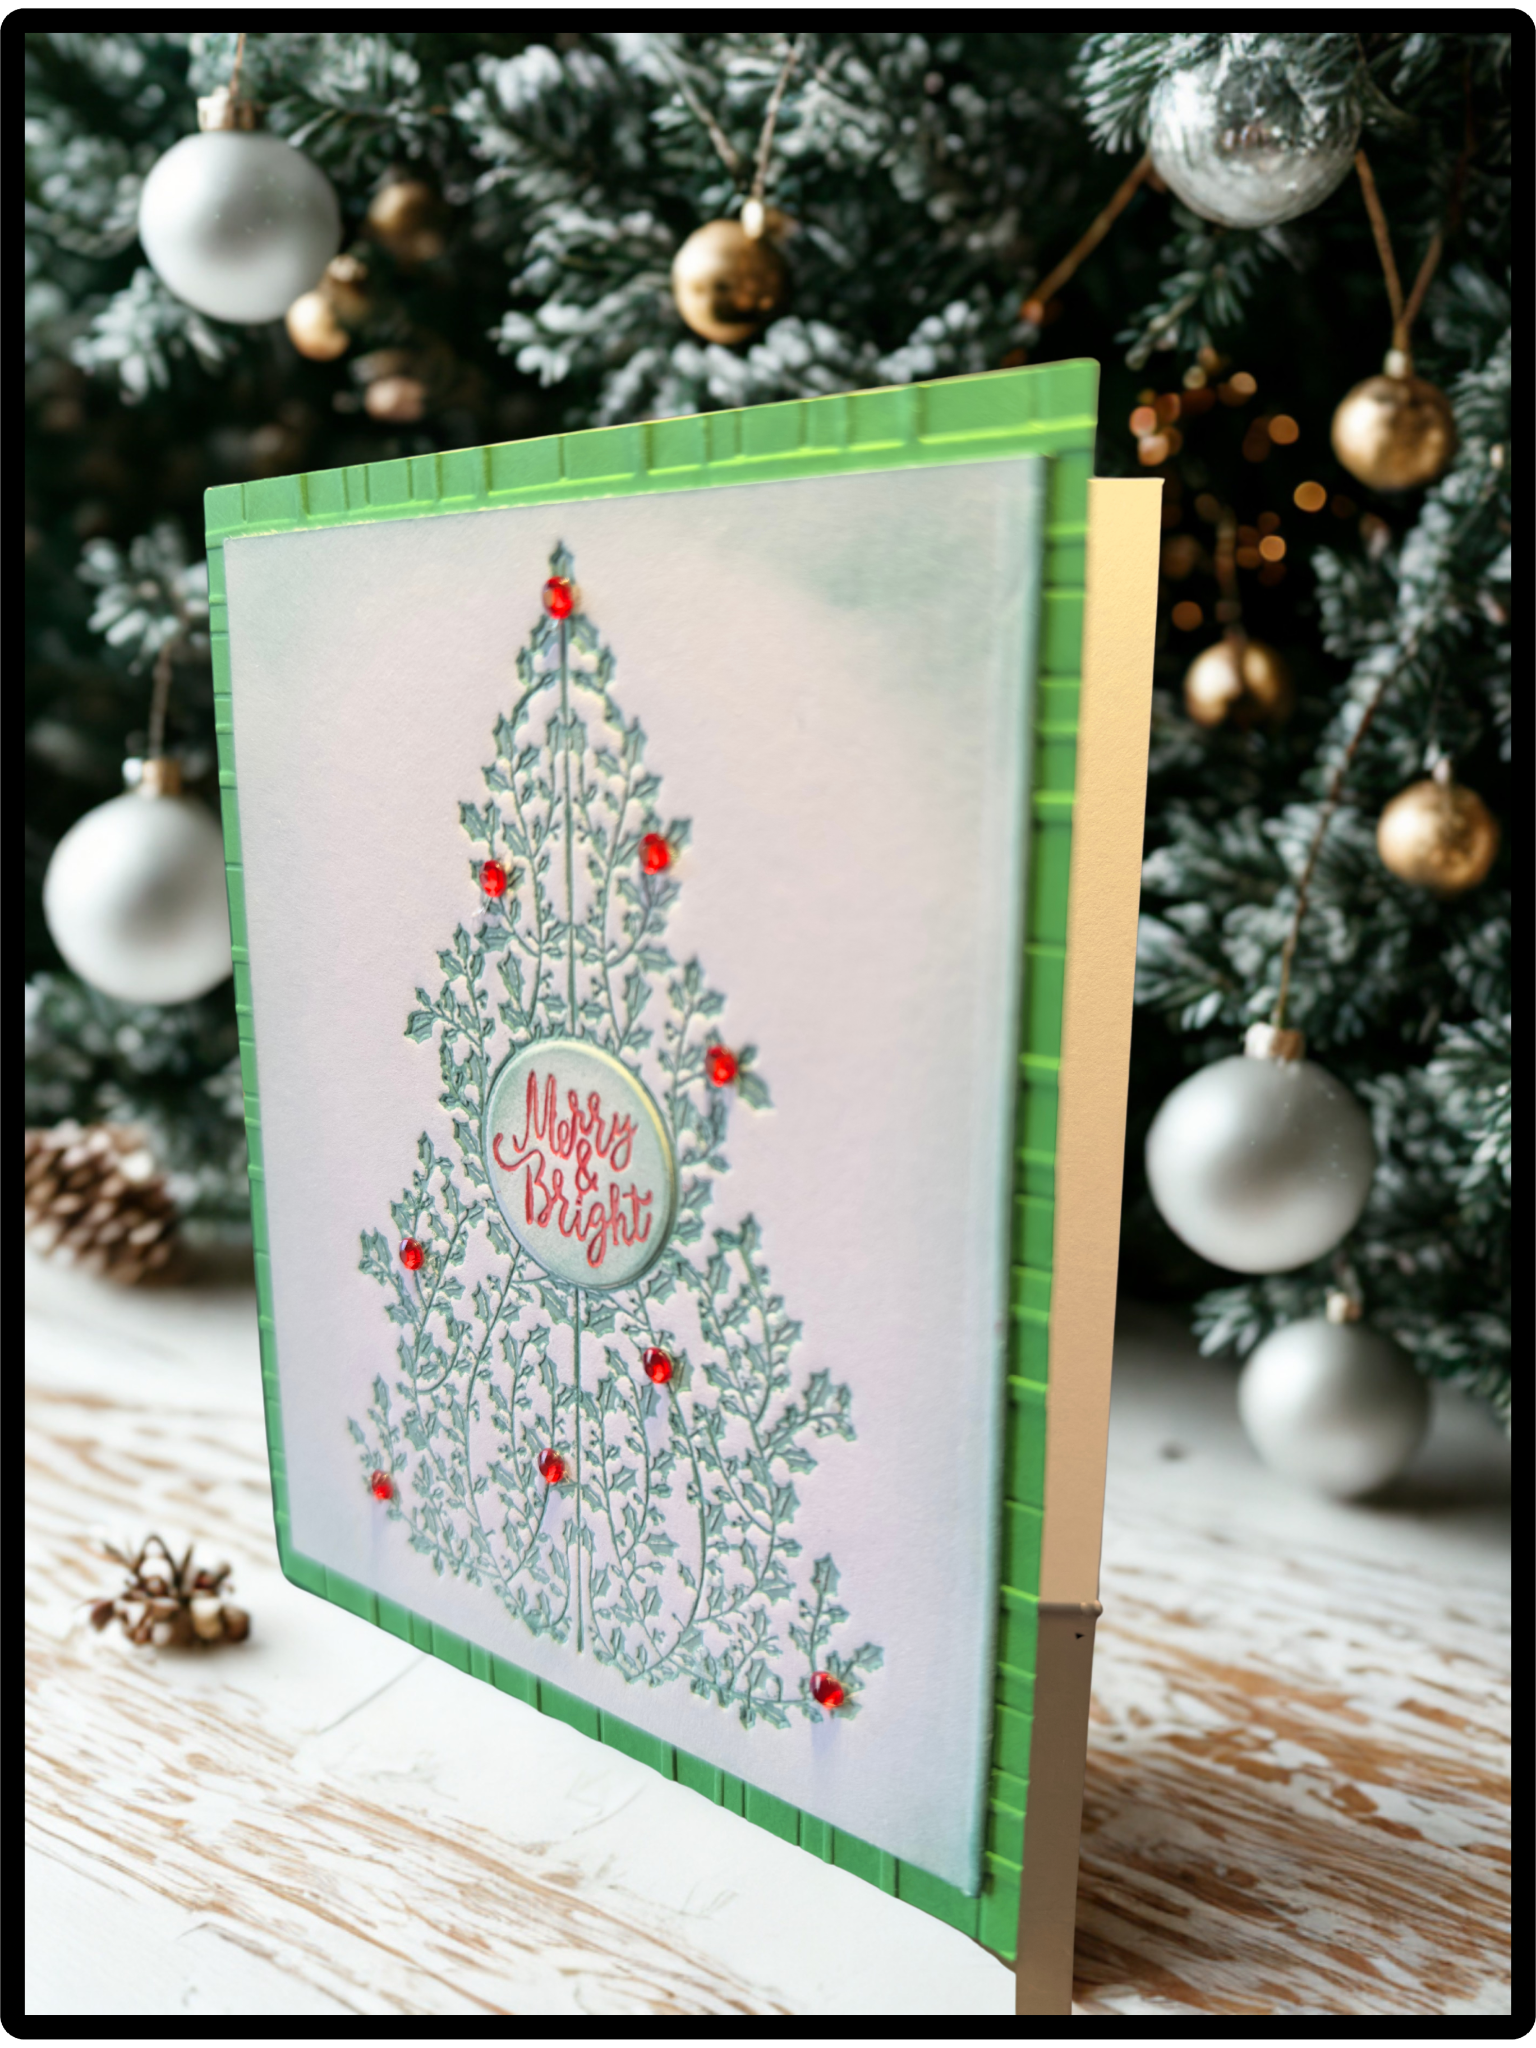
That being said, I’m sharing with you this elegant Christmas card. It features the “Holly Tree” press plate set from Spellbinders. The Christmas tree is made of holly and there are 3 sentiments along with a small circle die to add to the center of the tree. You can use these plates with ink and the BetterPress system or you can use foil and the Glimmer Hot Foil system. The card I have here today is using the BetterPress system.
In fact, this is an easy tool to use. You ink the plates to be pressed against the card panel for a crisp letterpress design. This helps you to achieve the elegant look of letterpress without the mess. It’s easy to use and produces a professional style with detailed impressions that can be felt when touched. Keep reading below as I’ve shared the list of supplies I used to make this Christmas card. After that, I’ve shared the How-To down in the Let’s Get Krafty section.

List of Supplies
- WHITE CARD STOCK BASE (4.25 x 5.5”)
- GREEN CARD STOCK trimmed to 4.25 x 5.5”
- WHITE BetterPress COTTON CARD PANEL trimmed to 4 x 5.25”
- “HOLLY TREE” PRESS PLATE SET by Spellbinders
- BetterPress System by Spellbinders HERE
- Distress Ink pad (Tim Holtz/ Ranger Ink) in “Evergreen Bough”
- Dye Ink Pad (Simon Hurley/Ranger Ink) in “Bee Sting”
- Die Cutting/Embossing Machine by Stampin’Up
- ”Forever Plaid” Embossing Folder by Stampin’Up!
- Small red sparkly gems
- Foam Ink Blending Tool
Want more card making & crafting inspiration?
Follow me on social media
Let’s Get Krafty
Okay, let’s get krafty and go ahead and make the holly tree design. You can make it with just 4 steps. First, place the “Holly Tree” press plate onto the magnetic platform. Next, tape the cotton card panel on the Platen which is the clear top plate with the registration marks. Third, apply the “Evergreen Bough” ink straight from the ink pad onto the press plate. Lastly, make the LetterPress sandwich and run it through your die cutting machine. It doesn’t matter what brand machine you use as long as it’s large enough for this system. That’s it! Carefully remove your inked and pressed Christmas tree design from the platform and set aside so it can dry completely while you make the rest of the card. At this point, go ahead and choose which sentiment you want to be in the center of your tree. Follow the same steps as above and then use the little circle die that’s included with the set and die cut the sentiment circle. I used the “bee sting” ink pad for my sentiment.
Next, take the green 4.25 x 5.5” card stock panel and emboss it with the plaid embossing folder. You can use any embossing folder you wish here. I’ve made some of my cards using snowflakes, music notes and texture folders. Or you could just skip the embossing altogether, it’s up to you.
Now, all you have to do is adhere your circular sentiment to the center of your tree. Then adhere the panel with the tree onto your green embossed panel. And then adhere that panel to the front of your card base. Finally, finish up this sweet Christmas card by adding some small glimmering red gems randomly across your tree and that’s it!
Keeping it Krafty
In closing, I’d like to thank you again for visiting my blog. It really means a lot to me. I love what I do and I love sharing my ideas with you! I never tire of finding new products and supplies to try and I think Christmas is a perfect scope for creativity. Don’t you agree? The BetterPress system is quite new to me but I’m already in love with all the possibilities. Even with just this one press plate, there are endless possibilities with changes of colors, backgrounds, sentiments and even using hot foils! No matter what it is that you decide to make just remember to make it your own and always keep it krafty! Bye Bye!
