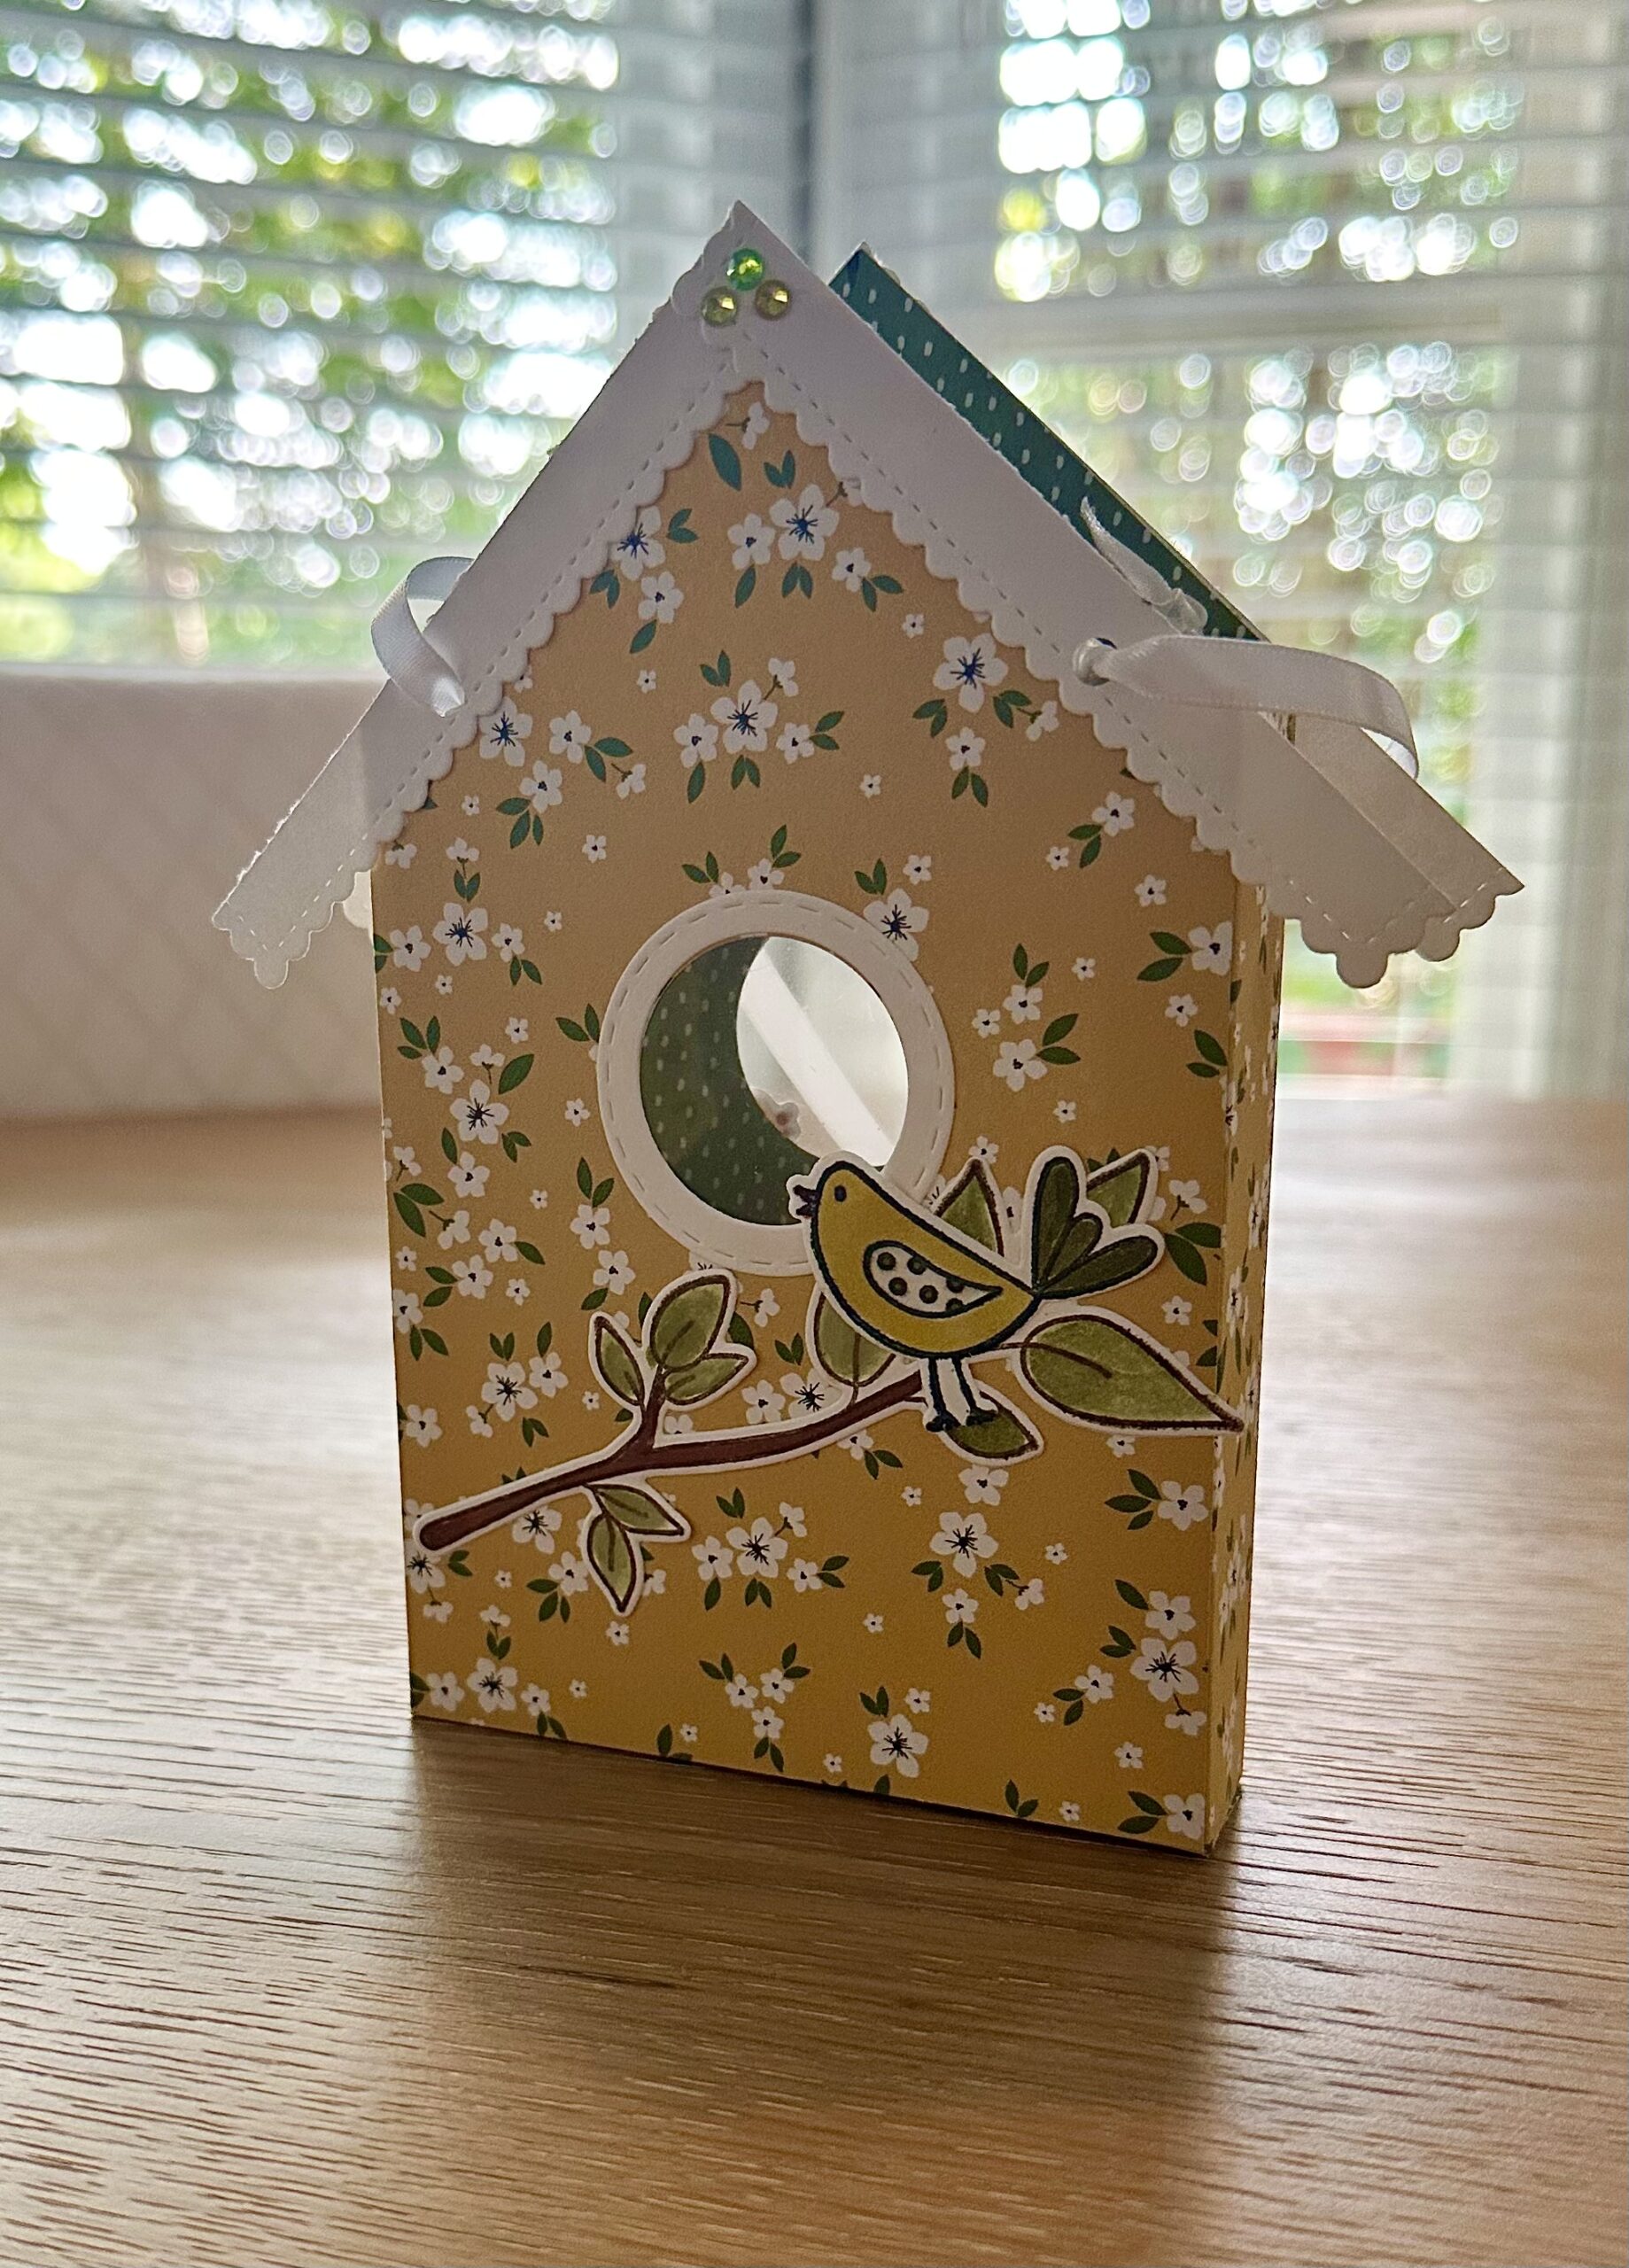

Is This a Bag or a Box? You Decide!
Hello and welcome to my studio! I am so happy to have you here with me today. Because today we’re making this beautiful birdhouse gift bag! WOW, this is a really fun project and it turns out beautifully! I honestly can’t decide whether to call it a bag or a box. It’s sturdy like a box and the bottom closes like a box but the top is open and I’ve added handles. You can add tissue paper and it’ll be a bag or you can just add candies or other gifts and it can be a peek-a-boo box. It’s totally up to you!
Moreover, changing the cardstock and the decorative elements will change the entire look of your bag. In this post I will focus on creating the bag/box itself. However, I will share a list of the supplies I used to create the bag you see here. Below the List of Supplies section, I’ve shared a Template for creating these beautiful birdhouse gift bags. And that’s followed by some photos and a simple tutorial for building and decorating your bags. So, without further ado, let’s get krafty!

List of Supplies
- 12 x 12” Card Stock: Designer or Solid: I used a sheet from Echo Park “Winnie the Pooh Collection” HERE
- Card Stock: White
- Nested Stitched Circle Dies: Like THESE
- Nested Stitched Rectangle Dies: Like THESE
- Clear Acetate Sheets: Like These
- ”Doodle Birds” Stamp and Die Sets by Taylored Expressions: Find them HERE
- “Doodle Bird Digs” Stamp and Die Sets by Taylored Expressions : Find them HERE
- Alcohol Markers
- Glue
- Paper Trimmer with Scoring Tool
- Tape
- Ribbon or cording
- Scissors
- Pencil
- Ruler
Want more card making & crafting inspiration?
Follow me on social media
Let’s Get Krafty
BEAUTIFUL BIRDHOUSE BAG TEMPLATE

LET’S GET KRAFTY: HELPFUL PHOTOS


LET’S GET KRAFTY: STEP BY STEP
- Create your beautiful birdhouse gift bag according to the above template. But do not glue it together yet because we are going to decorate it first. And it’s much easier to decorate while it’s still flat.
- In the PHOTOS above I’m showing these steps:
- #1 Grab your two circle dies and your scalloped rectangle die ~4”. These will be used to make the door frames and the scalloped roof décor.
- #2 Use the smallest of your circle dies to die cut the door(s) of your birdhouse.
- #3 HINT ( place the part of your birdhouse you’re die cutting on top and wrap the other layers under the cutting plate so you only cut the circle from 1 layer. Then do the other side the same way.
- #6 Use the 2 circles together to cut your decorative door frames from white card stock.
- #8 Use the stitched rectangle die to die cut the rectangle from white card stock. THEN use scissors or your paper trimmer to cut about .5” wide of the scalloped edge. Do this on each side of the rectangle.
- Repeat #8 for the other side of your bag. These should be about a half inch wide and about 4 inches long.
- #9 Use tape to adhere your acetate pieces to the backside of your circular doors. {optional}
- #10 Use glue to adhere your decorative scalloped roof pieces to your roof on each side. And adhere your cute circular decorative pieces onto your “doors”.
- But Wait! I suggest you finish decorating your beautiful birdhouse bag before you glue your sides together or close up the bottom.


DECORATING YOUR BEAUTIFUL BIRDHOUSE GIFT BAG
OKAY, let’s finish decorating our sweet gift bag! For the branch and birds I have on my bag here, I used the “Doodle Birds” and “Doodle Bird Digs” Stamps and Die sets from Taylored Expressions. They are so cute! But of course, you could use whatever you have in your stash. I simply stamped the branch and the bird, used some alcohol markers to color them and then I used their coordinating dies to die cut the images. Lastly, I adhered them onto the birdhouse bag as above. NOW is a great time to place some glue or good double sided tape on the narrow .5” edge of your bag to join the sides together. AND adhere your bottom flaps to close up the bottom of your bag. Amazing! You’ve now created your own unique and beautiful birdhouse gift bag!
WANT TO SEE MORE?
VISIT MY BLOG ARCHIVES
Keeping It Krafty
In closing, I’d like to thank you again for joining me here today at Kelli’s Kraft Studio. This has been such a fun project! Creating a very unique gift bag and decorating it with the roof pieces and the circular door frames reminds me of making gingerbread houses, but way easier 😉 Then adding cute bird decorations just add a sweet finishing touch. Remember, you can use any card stock you like and decorate your box any way you wish.
Because I believe there’s a doer, a maker, a crafter, in all of us. And my goal is to inspire you to tap into your creativity. You’re not doing this for anyone else. Paper crafting is an amazing way to relax, reset and recharge. It’s therapy in the form of papers, inks and imagination. So no matter what it is that you decide to make, just make it your own. And always, always remember to keep it krafty!
Until next time,
