
Use Your CRICUT Along with my FREE Design to Make These Boxes
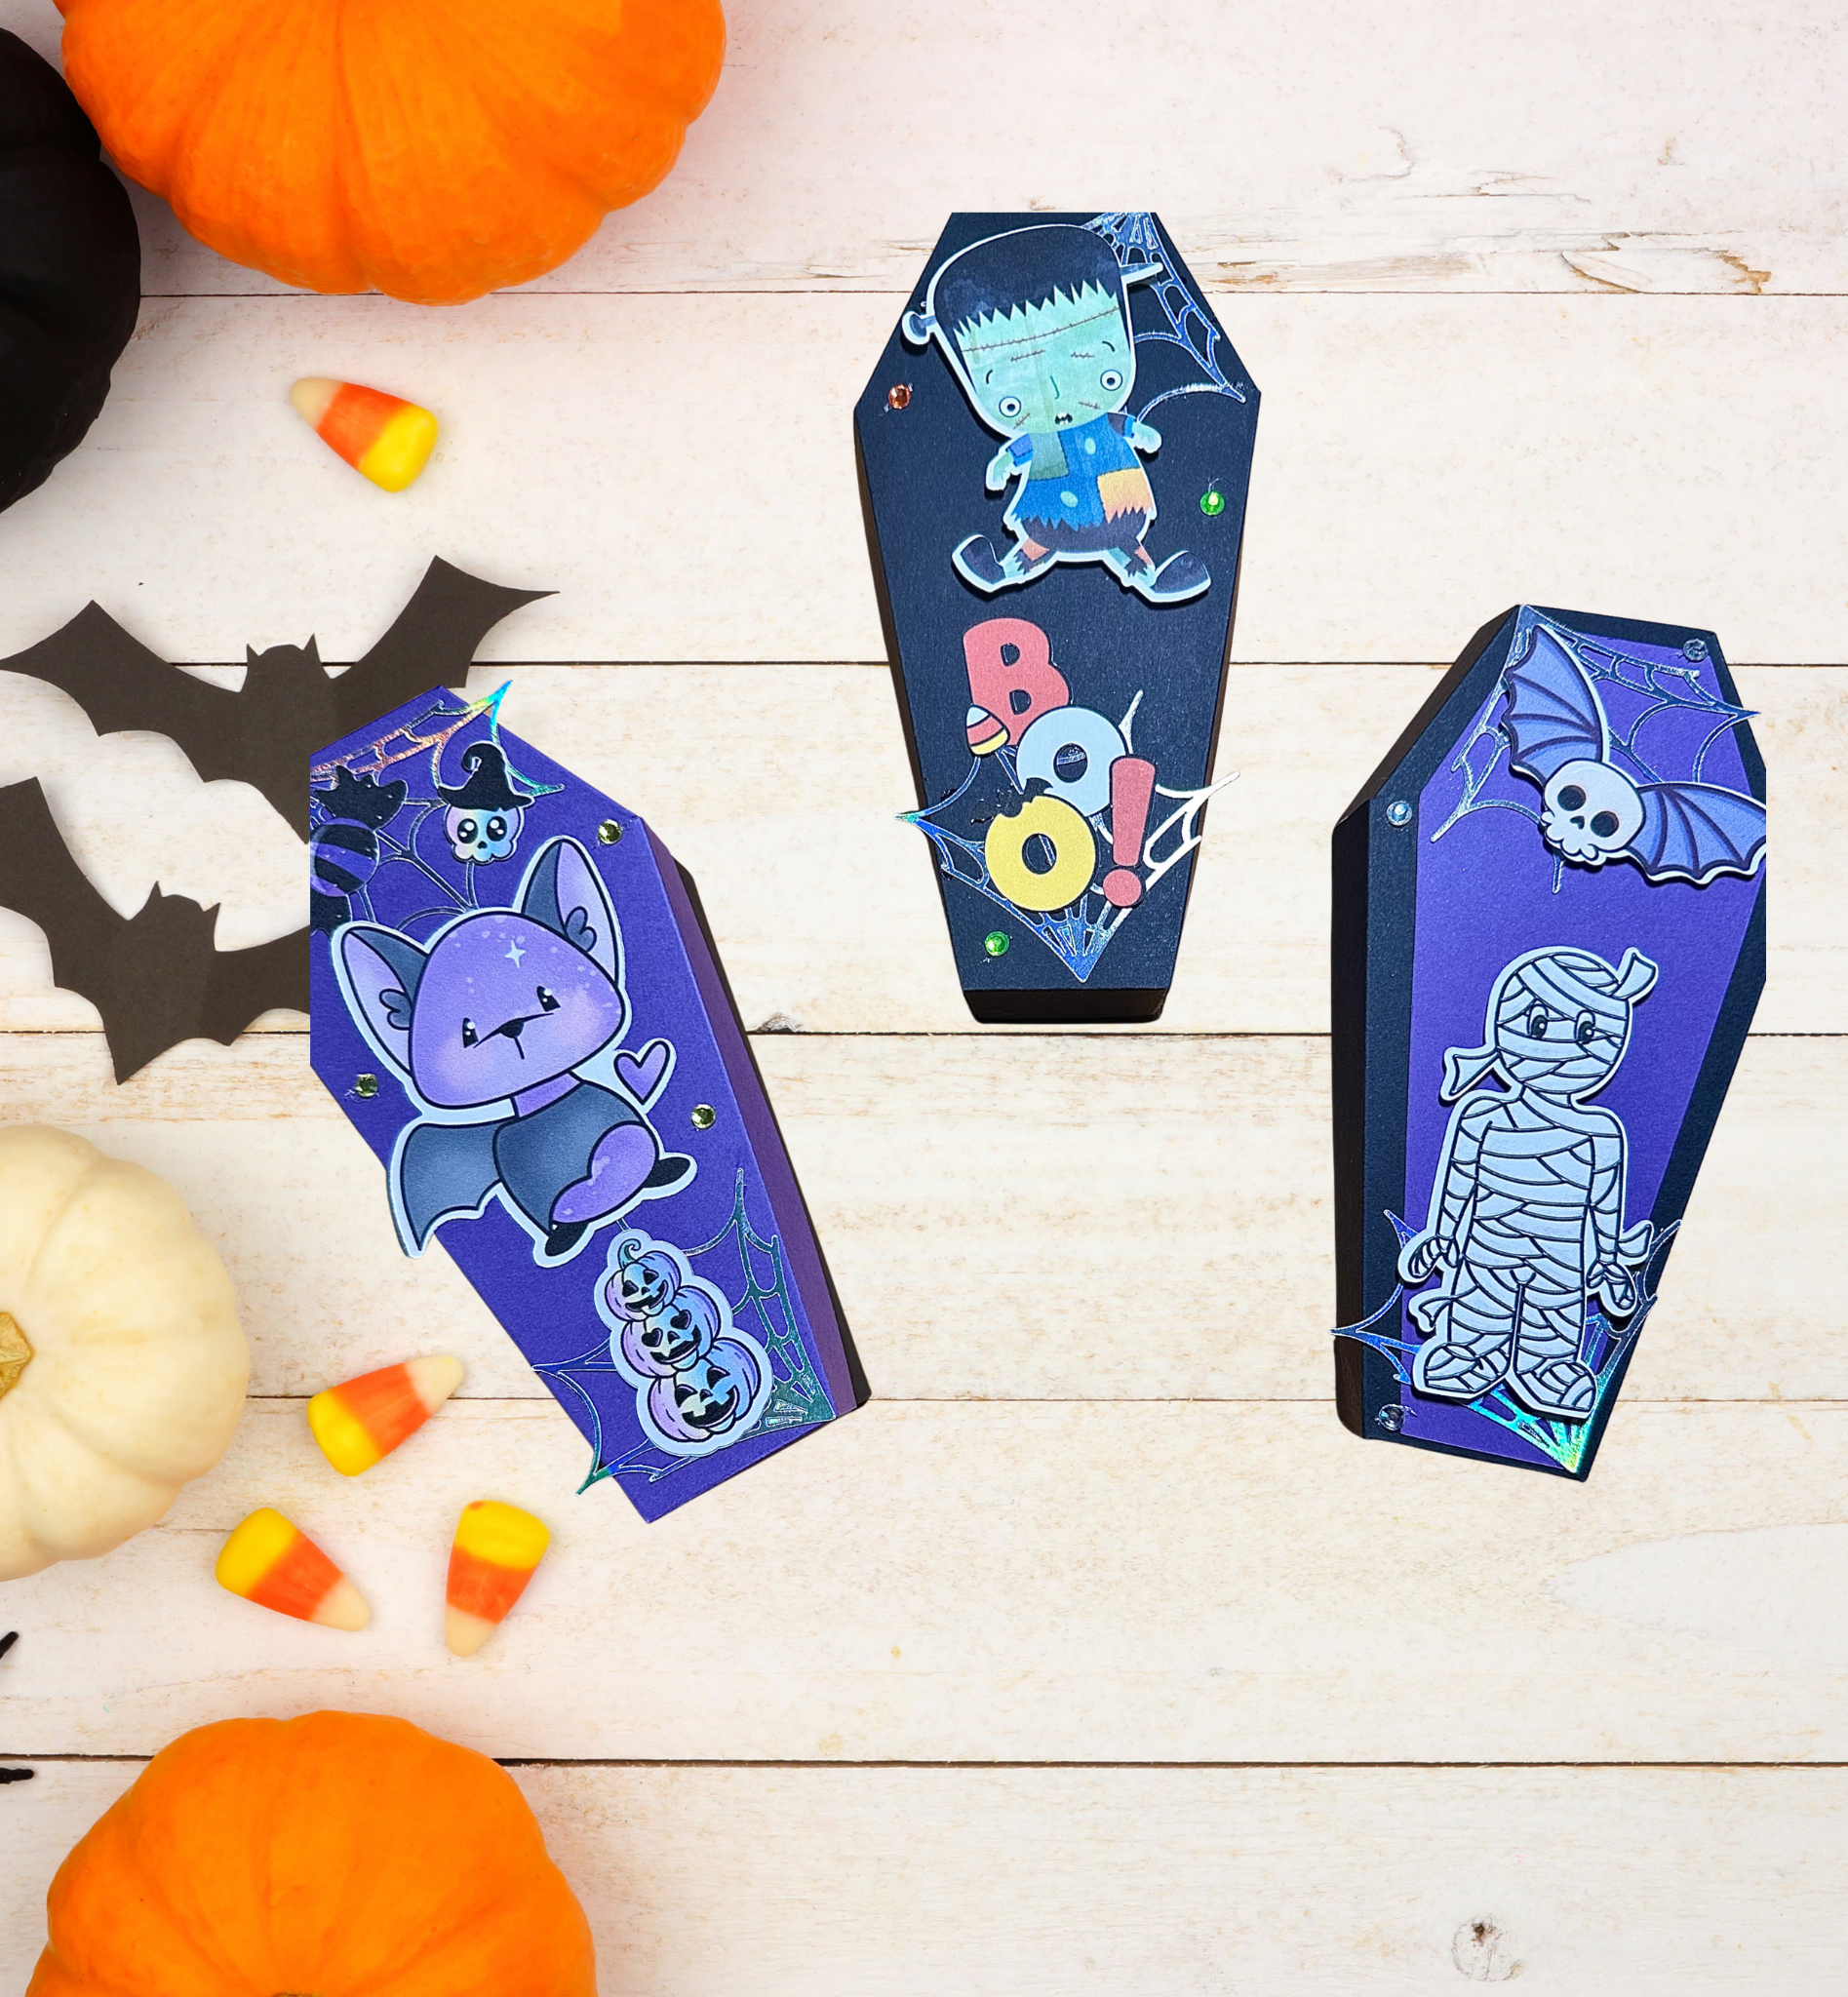
Hello and welcome to my studio! Let me just say how happy I am that you’re here today because Halloween is just around the corner. And I have the perfect Halloween project for you to make. You’ll use your Cricut along with my free design to make these spooky cute coffin boxes.
Then you get to have fun decorating them any way you like! Fill them with candies, stickers and small gifts and offer as party favors at your next Halloween party. Or make them for a classroom, family, friends or your neighbors! These boxes come together quickly and easily thanks to Cricut. This means you can make and decorate several boxes in just one afternoon! Keep reading below as I’ve shared my list of supplies as well as a LINK to my FREE design in Cricut Design Space.

List of Supplies
- CARD STOCK: WHITE [ for the PRINT THEN CUT ephemera ]
- CARD STOCK: whatever colors you’d like for your coffin boxes
- GLUE
- FOILED CARD STOCK: SILVER [optional- I used this for the spider webs]
- COLORFUL GEMS OR SEQUINS [optional-for decoration]
Want more card making & crafting inspiration?
Follow me on social media
Let’s Get Krafty
Right, gather your supplies. You’ll need white card stock if you’re going to use my card stock decorations (ephemera) for your cute coffin boxes. Because these will be printed in full color with your printer, then each element like the cute bats, mummies and monsters will be cut by your Cricut machine! That’s cool, huh? Choose whatever colors you’d like for your coffin boxes. Most of my boxes were made using black CS for the bases of the boxes and purples and light oranges for the lids.
Next, you’ll click the link below and that will take you to my free design. If you wish to make your boxes the same size as mine and you’d like to use the decorative elements I’ve added, just click <MAKE IT>. If you think you’d like to adjust the size of your boxes or change the decorative elements, click <CUSTOMIZE>.
For access to my FREE design in Cricut Design Space, click HERE.
Making the Cut

Printing then Cutting
Place a couple of pieces of white card stock into your printer and CDS will walk you through the steps. Don’t worry, it’s very easy. I LOVE to use the [print then cut] function. It’s an easy way to make loads of ephemera, stickers or tattoos in one go. Below is a photo of my box of “print then cut” goodies I made in just minutes. Some of these are made from card stock and some are made using Cricut’s Waterproof sticker set. We can easily make entire pages of these elements then choose which ones we want for specific projects like the cute coffin boxes.

Scoring and Building Your Boxes
Now that you’ve cut out your coffin box pieces and you’ve got plenty of decorative elements ready to use, it’s time to assemble the boxes. These boxes may look tricky but I promise they’re an easy make. If you have a Cricut with a scoring tool, you can cut the coffin box that has the scoring lines included.
But if, like me, you are not using a scoring tool, choose the box without the score lines attached. I’m using my Cricut Joy Xtra so I don’t have a scoring tool. The good news about the Xtra is that we can use the [print then cut] function that is NOT available with the regular Cricut Joy machine. If you do not have the scoring tool, refer to the photos below to see how you can score your boxes yourself. It only takes a few seconds.


Keeping it Krafty
Finally, I do hope you have enjoyed this project today! These Spooky Cute Coffin Boxes are so much fun to make. And they’re so quick and easy, especially after you’ve made the first one. You’ll be able to make many boxes in an afternoon. I believe the hardest part is choosing which decorative elements to use on each box. These coffin boxes can be easily decorated to conform to your chosen theme by simply changing the colors of card stock or decorative elements. You could also personalize each box if you so desire. No matter what it is that you decide to make just make it your own. And always remember to keep it krafty! Until next time, bye-bye!
WANT TO SEE MORE?
VISIT MY BLOG ARCHIVES
