Using Your Cricut

For The Wee Ones
Hello and welcome to my studio! I’m so happy to have you here today. Because, today, I’m sharing some of the most adorable shape cards I’ve ever made. And these cards are so much fun to make and decorate-I just can’t seem to stop myself! They’ve brought out the little kid in me for sure. The base, decorative top layer and most of the decorative elements are made using the Cricut smart cutting machine.
Therefore, making all of the bobs and bits for these cards is extremely quick and easy. And that leaves more time for the fun part of creating these cute little overall short outfits that ARE the cards! And the good news is that I’ve shared a link to my FREE designs in Cricut Design Space. I’ve also shared a list of the supplies I used to create these adorable shape cards. So keep reading below as I’ve shared my list of supplies, the link to my FREE designs, a few photos and a really simple tutorial. So, without further ado, let’s get krafty!

List of Supplies
- 80 lb. Card Stock: white
- Designed Paper: For the Outfits -OR-solid colors
- Glue
- Cricut (smart cutting machine)
- MY FREE Designs in Cricut Design Space below—-
- T-Shirt Card Base & Overall Shorts Outfit – {Link HERE }
- My Baby Card Stock Ephemera – {Link HERE }
- MY Baby Card Stock Ephemera 2-(an ons ) {Link HERE }
Want more card making & crafting inspiration?
Follow me on social media
Let’s Get Krafty
- First, choose your papers. I used 80 lb. White card stock for the base. This cuts at 4.25 x 10.5”; then fold in half for a finished card base that measures about 4.25 x 5.25”. You could use any color of card stock for the base.
- Next, choose your designed card stock, if using, for the top layer (short overalls). I chose designs that I thought would make cute baby outfits. You could use solids, you could use embossing folders, stencils, etc.
- Now click on the link to my T-Shirt Card Base Design, find it in the “List of Supplies” above.
- This will take you straight to Cricut Design Space: Project Details and you’ll choose to either click the -Make it- button or the -Customize- button. If you think you’ll want to resize the card base, choose -Customize- and make your changes. Otherwise, just click -MAKE IT- and it will take you straight to the cutting mat and just follow the instructions for your machine.
- Once you’ve cut out your card base and your little outfit, it’s time to choose your decorations, if using.
- If you want to use my card stock ephemera, click on those links above. These are “Print Then Cut” designs. So they’ll print on a piece of white card stock in your printer. Then you’ll transfer the paper to the mat of your Cricut and the machine will CUT out all of these little animals, flowers etc. This, by the way, is awesome!!
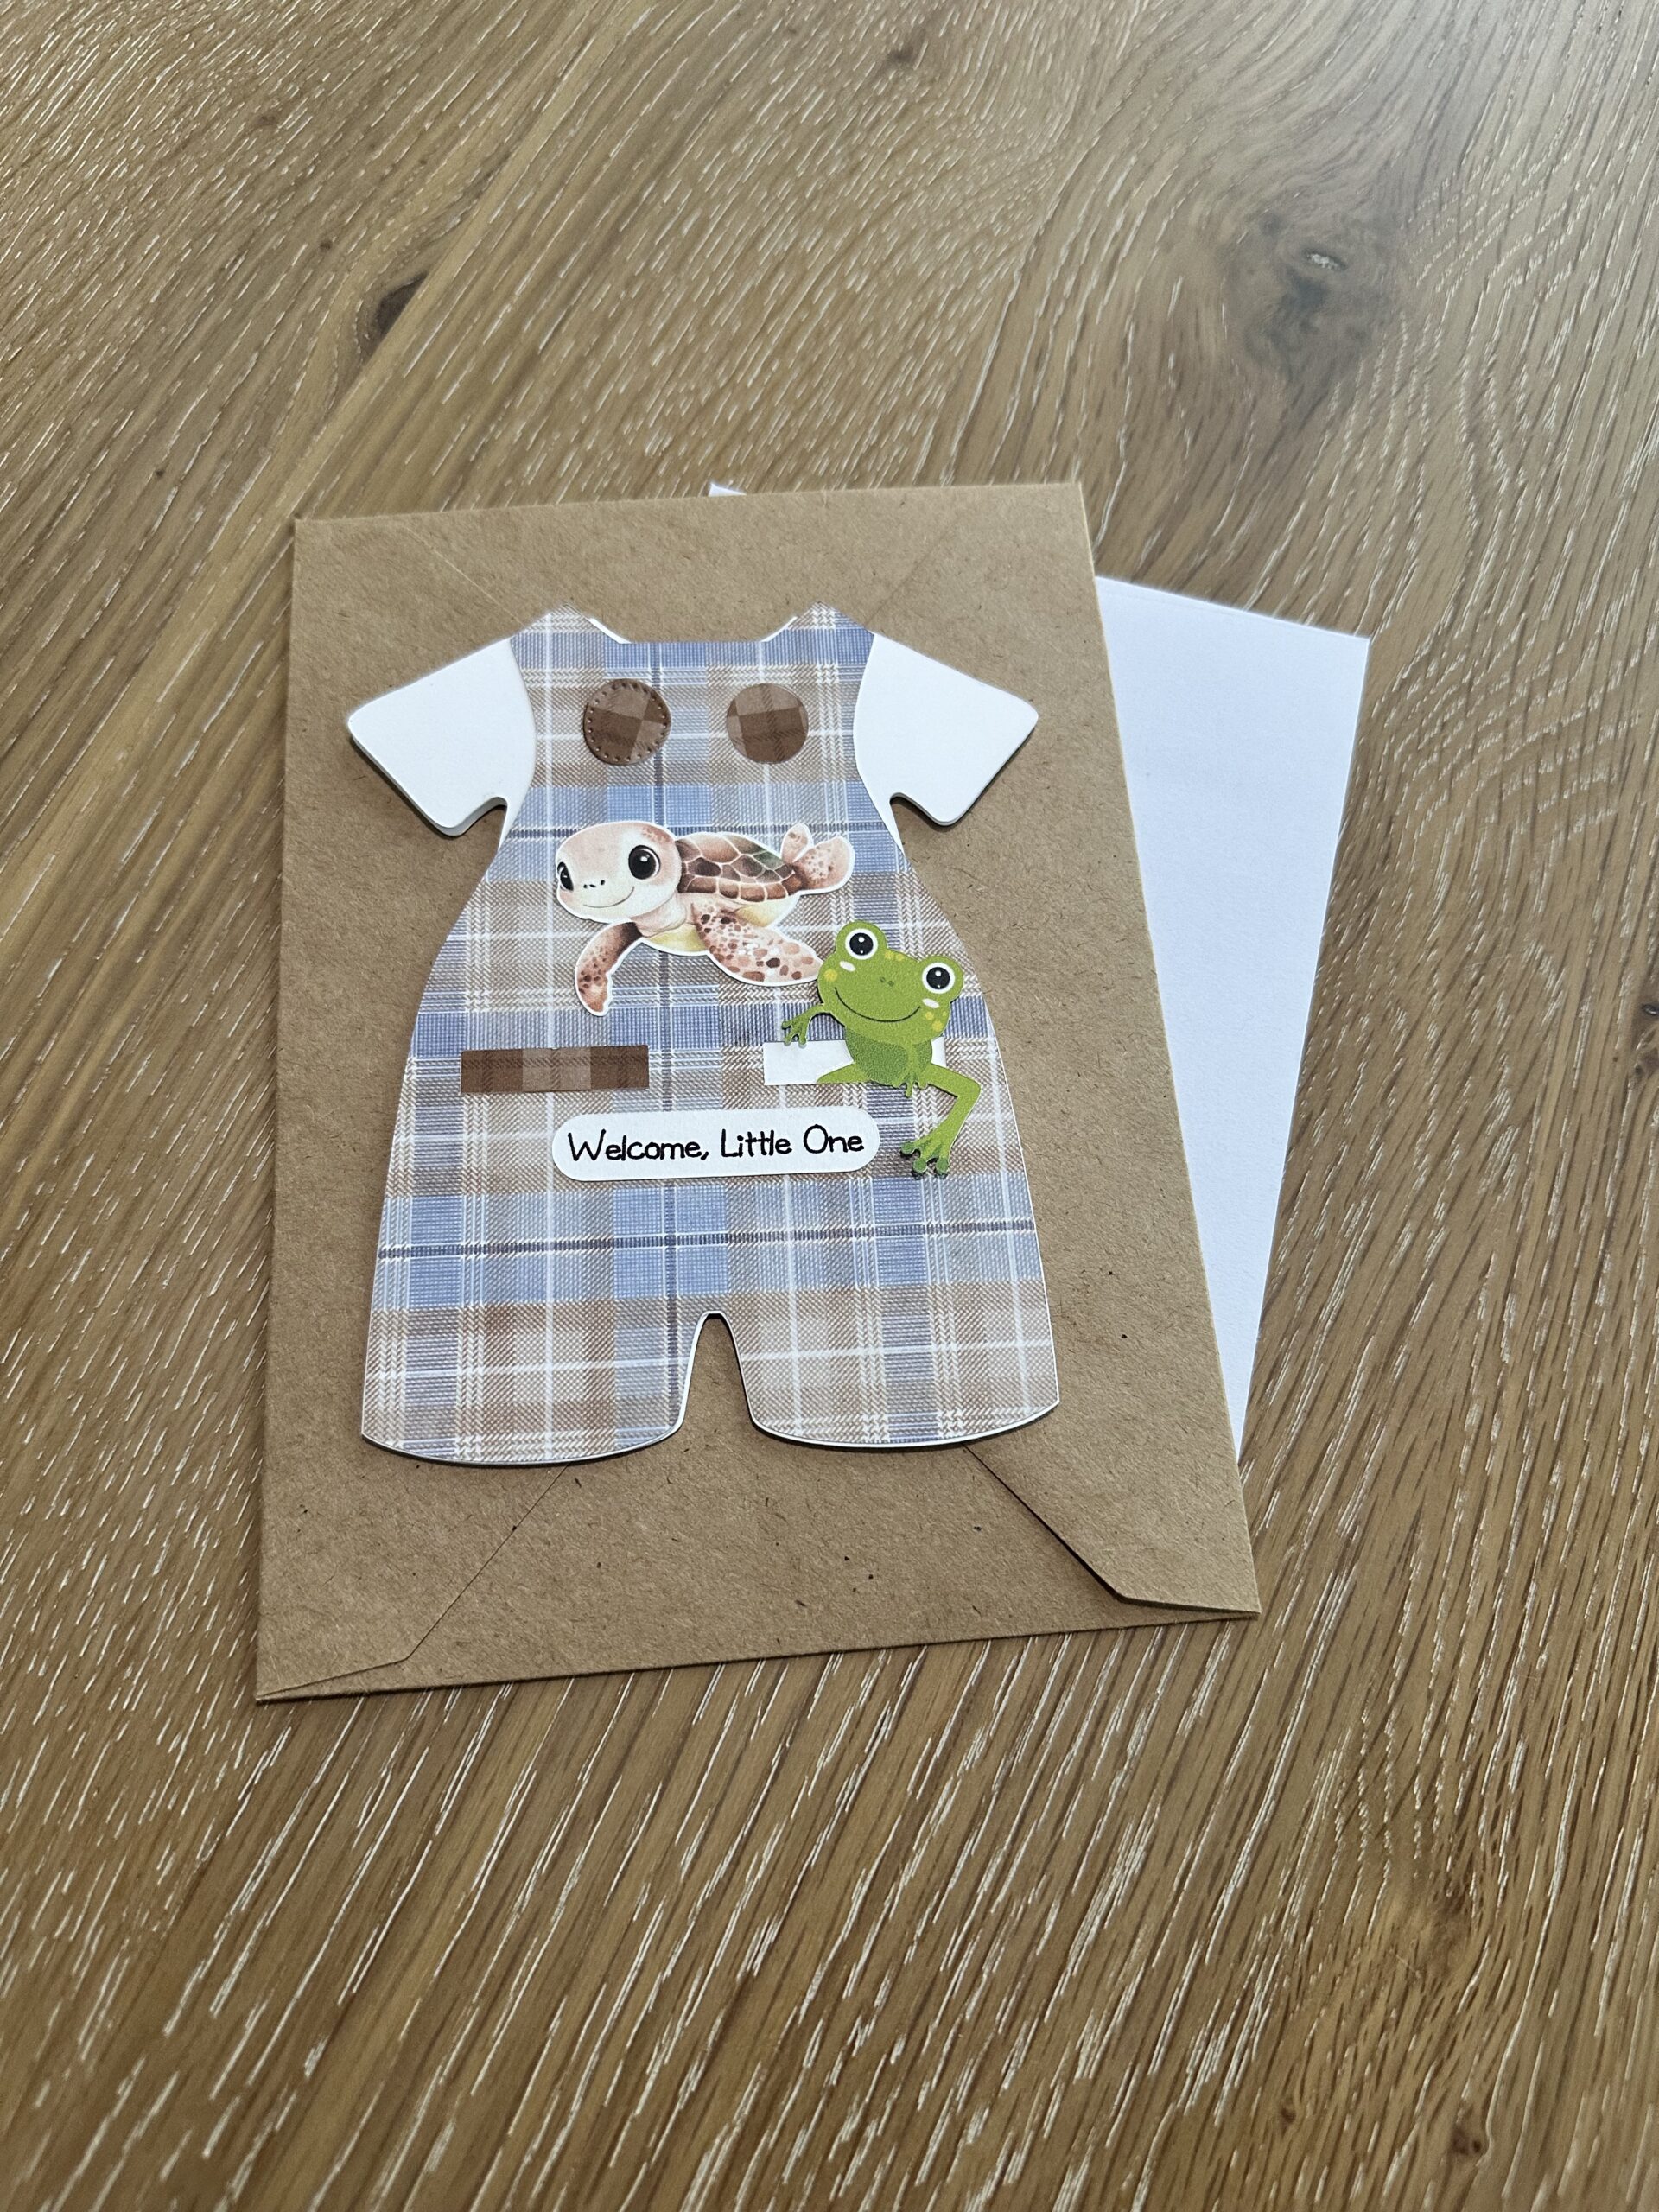
- Once you have all of your elements ready, it’s time to build your adorable little outfits! I placed a little baby animal as the decor for the outfit. Then I used things like frogs, turtles, flowers and puppies to go inside the little pockets.
- If you have real buttons in your stash, those would be a cute addition for the little overalls on this adorable shape card for baby.
- Warning! This is incredibly fun and addictive. I made several cards, though I only needed one for now. 🙂
Let’s Make an Adorable Shape Card For Baby
Your Options are Limitless!


WANT TO SEE MORE?
VISIT MY BLOG ARCHIVES
Keeping It Krafty
In Closing, I’d like to thank you again for joining me here at my studio. I absolutely love what I do and I’m so happy to share my ideas with you! And I’ve loved every minute of creating and decorating these adorable shape cards for baby. The finished size of 4.25 x 5.25” fits into a regular A2 envelope. And they’re perfect for baby showers, new baby greeting cards, birth announcements, “We’re Having a Baby” announcements or even birthday cards for toddlers. As you can see from the photos above, your options are endless! So no matter what it is that you decide to make just make it your own. And always remember to keep it krafty!
Until next time, bye-bye!
