
Full of Shine, Full of Texture & Full of Fun
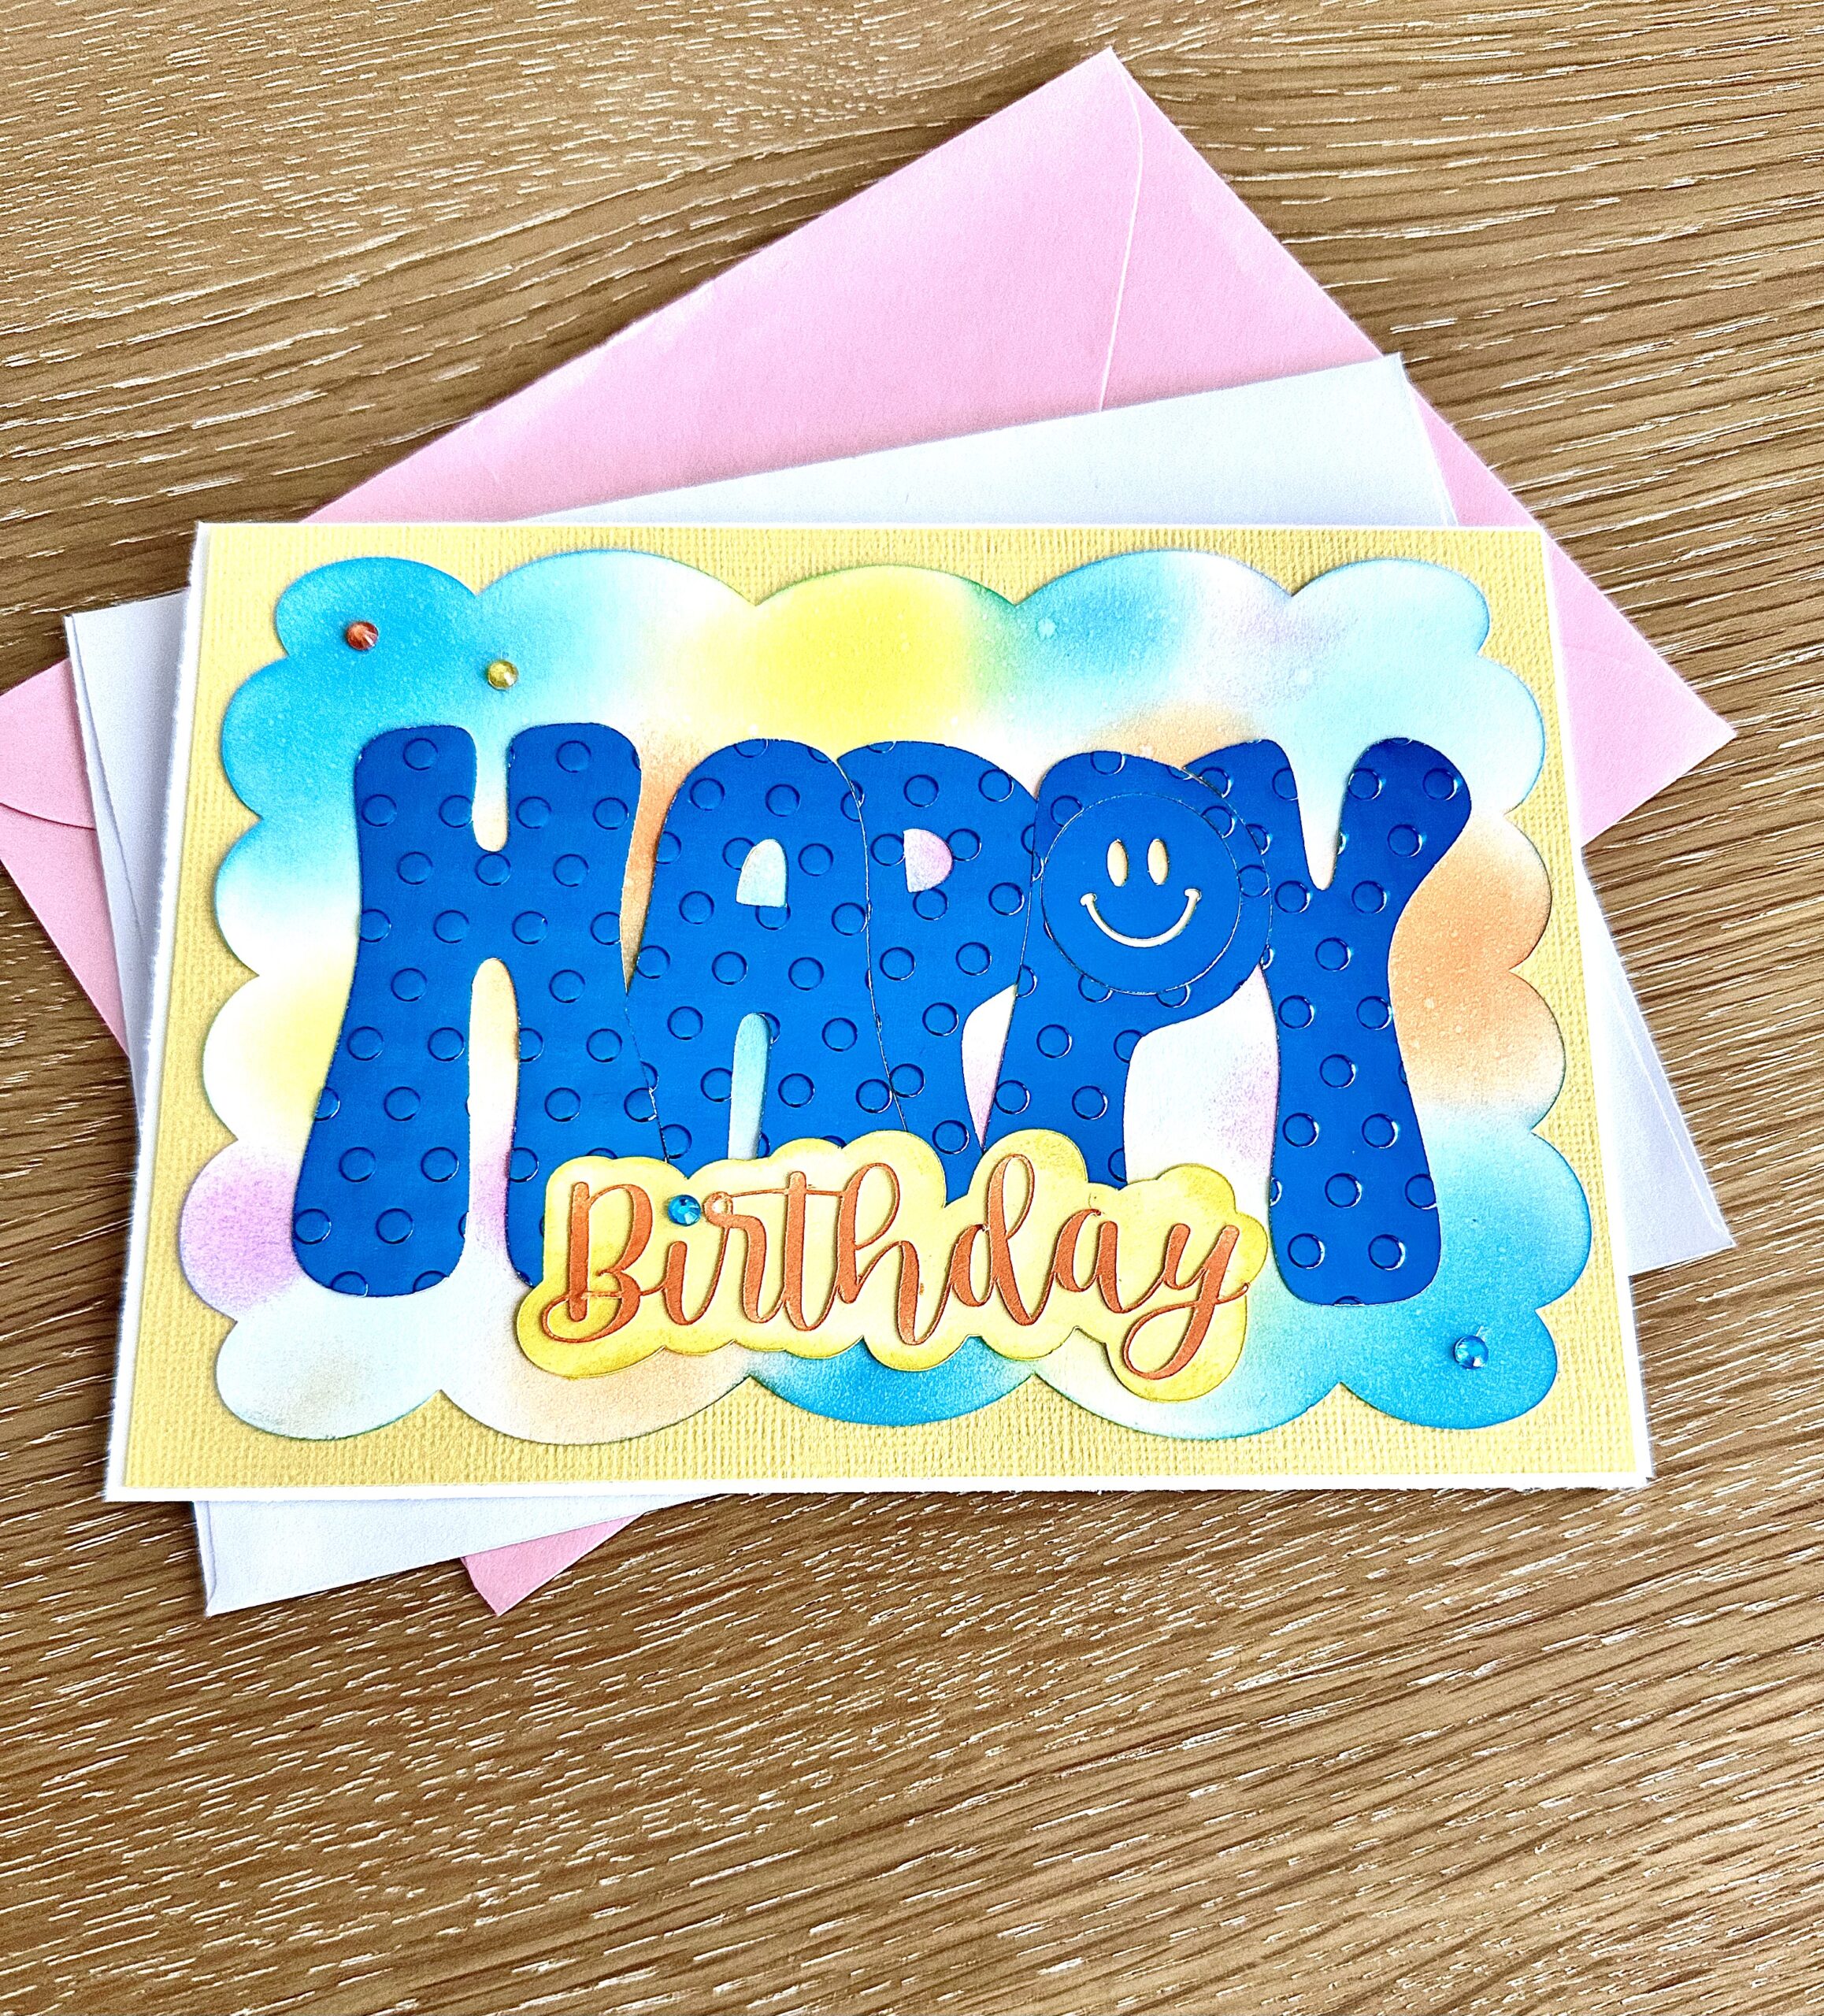
Hello and welcome to my studio! I’m so happy to have you here with me today. Because today’s project is all about the HAPPY! This 5 x 7” card is quick and easy to make. And it’s just full of color, shine, texture and happiness (:
Interestingly, this happy birthday card can be made by utilizing various supplies and tools. I’ve used my Cricut machine to create the scalloped frame, the large “HAPPY” and the smaller script style “birthday” along with its shadow. However, there are other ways to do this if you don’t have a Cricut machine.
So keep reading below as I’ve shared a list of the supplies I used to create this Happy Birthday card, followed by the dimensions for the card base and layers. I have also shared a link to my FREE design in Cricut Design Space. So, without further ado, let’s get krafty!

List of Supplies
- Card Stock: Bright White Trimmed to 7 x 10” and Scored @ 5”. This is for the base.
- Card Stock: Textured Yellow Trimmed to 4 7/8 x 6 7/8”. This is for layer one. Find it HERE.
- Card Stock: Smooth White Trimmed to about 6 x 8”. This is for the Scalloped layer. Layer two.
- Card Stock: Smooth White: 2 Scrap pieces for the “Birthday” and it’s shadow layer.
- Card Stock: Foiled Card stock: “Blue”: like THIS
- Embossing Folder: Medium Dots: like THIS
- CRICUT Smart Cutting Machine: I used the CRICUT JOY XTRA
- Embossing Machine: Like THIS
- Sticky Mat: Like THIS
- Ink Pads: Simon Hurley “Prom Queen” – Distress Oxide “tumbled glass & broken china”—StampinUp! “ Timid Tiger” & “Darling Duckling”
- Foam Ink Blending Tools
- Glue
- Colorful shiny gems
Want more card making & crafting inspiration?
Follow me on social media


Let’s Get Krafty
Making The Cut
Right, let’s get krafty! First, if you are using your CRICUT for this project, click the link to my FREE design: HERE.
Once you’ve had your machine to cut your scalloped frame, your “birthday” and it’s shadow piece from white card stock, set them aside. We will be using ink pads and ink blending tools to color these in. Once you have cut the “HAPPY” of the happy birthday card, using the foiled card stock, you’ll take each of the letters and emboss them with your embossing machine and embossing folder. I used a medium sized dots folder. This adds texture to the foil letters. In fact, I often use an embossing folder with foiled card stock. Foiled card stock levels up certain projects and embossing that foiled card stock levels it up another notch! You should try it out.
Ink It Up!
Now, take your scalloped frame and place it onto your sticky mat. Apply ink using your ink blending tools, adding the colors in random blotches. Just be certain to cover the scalloped frame edge to edge. You should play around with this on another scrap piece of white CS just to see how you’d like it to look before you apply the colors onto your scalloped CS. And I must say, this is so much fun! If you’ve never tried this technique before, you’ll probably find you can’t stop and you’ll look for more and more ways to play with inks! At this point, go ahead and place your script “birthday” and its shadow piece onto your sticky mat and apply ink to those. As you can see in the photos, I used the orange ink for the “birthday” and the yellow ink for the background.
Building Your Card
Finally, you’re ready to build your HAPPY BIRTHDAY card! Fold and burnish the score line you made on the 7 x 10” white CS to create your 5 x 7” card base. Use glue to adhere the textured, yellow rectangle piece onto the front of your card base. Next, adhere your scalloped frame. Now, adhere your “HAPPY” letters making sure to align them properly finishing with the smiley face in the last “P”! Cute, huh? Lastly, adhere the “birthday” onto its shadow piece and then add that to your card front. Complete the look by adding some shiny, colorful gems and that’s it! You’ve now created the happiest of happy birthday cards!
WANT TO SEE MORE?
VISIT MY BLOG ARCHIVES
Keeping It Krafty
I’d like to thank you again for joining me today! This project has been so much fun! I know I always say that and you know what? It’s always true! This is a quick and easy project that would be a great choice if you want to make multiples to have on hand. I always keep ready-made cards on hand for those times ( and we all have those times ) when we need a card and we need it in a hurry!
If you do not have a CRICUT machine, no worries. You may already have the supplies you need to create this look in your craft stash! Honestly, after I created the “Happy” using my CRICUT, I remembered I do have alphabet dies I could have used. But that’s okay, I’m happy with this “Happy”. And one of the reasons I so love the CRICUT is that if I can imagine it, I can make it. Again, I am not affiliated with CRICUT or any of the other companies I’ve mentioned. I just like to be helpful and I do love my crafting tools and machines. Also, you can find supplies to help you achieve this style of card at many online stores such as Spellbinders, Scrapbook.com, Simon Says Stamp etc. So no matter what it is that you decide to make, just make it your own. And always remember to keep it krafty!
Until next time,
