
DIY Little Gift Boxes for Any Occasion
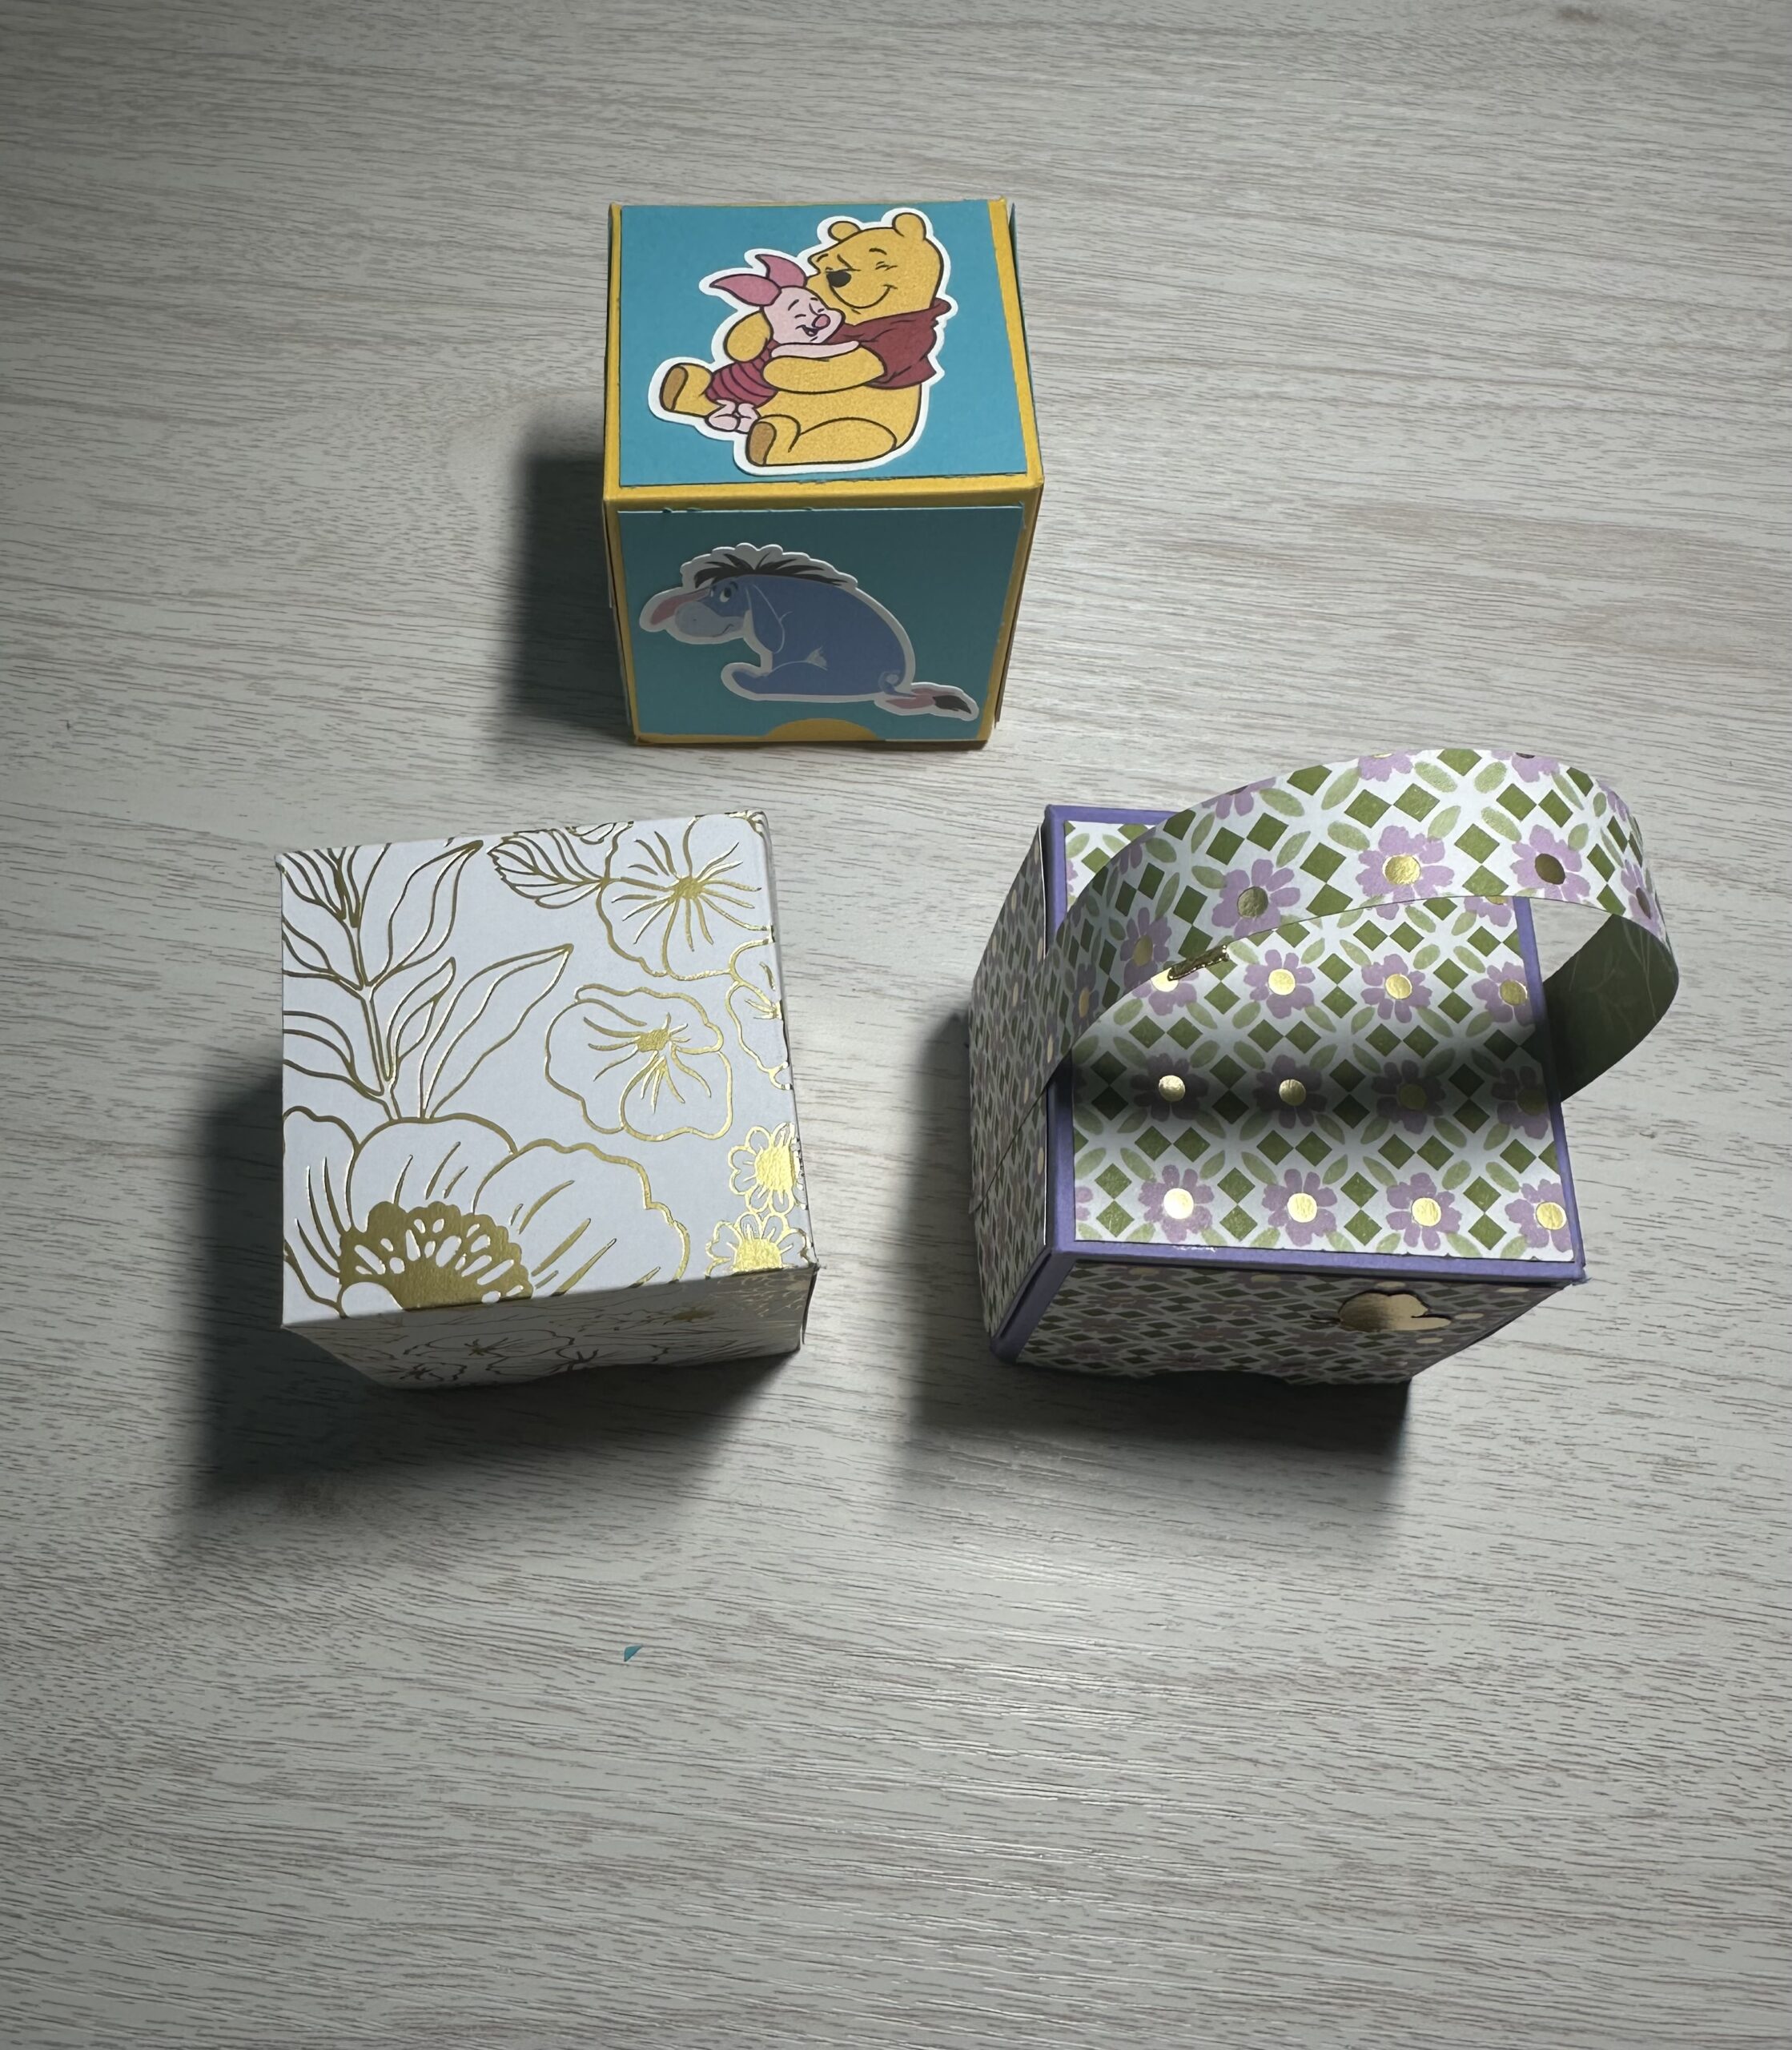
Hello and welcome to my studio. I’m so glad you stopped by because I have the cutest and easiest gift boxes to share with you. These easy little DIY gift boxes are great for any occasion. They measure a small but mighty 2 x 2 x 2” making these little gems perfect for small gifts such as jewelry, candy, candles etc.
In addition to that, these little boxes use just one sheet of card stock and have an attached lid. And they can be used for any occasion just by using various card stock colors and designer papers. Also, the measurements for making these amazing little boxes are really easy to remember rendering these to be the cutest and Easiest gift boxes! Below, I’ve shared a list of the supplies I used followed by some photos and a short tutorial for making your own little gift boxes. So without further ado, let’s get krafty!

List of Supplies
- Medium Weight Card Stock in Solid Colors
- Designer Papers ( I used some of the papers from “Lovely & Beautiful” DSP) by Stampin’Up!
- Glue or a strong Double Sided Tape
- Paper Trimmer
- Scissors
- Embellishments
Want more card making & crafting inspiration?
Follow me on social media
Let’s Get Krafty
- First, choose your papers. If you’re using designer card stock, decide if you want to make the box from just the designer card stock {as in my little box with the gold foil flowers}, or if you are making your box base with solid card stock and adding little squares of designer card stock, find colors that compliment each other {as in my little box with lavender, green and gold foil.} OR if you are using 2 different solid card stock colors { as in my little box with Winnie the Pooh and friends }.
- Next, trim and score your chosen paper as follows:
- TRIM your CS to {6 x 10 in.} And SCORE The Short Side @ {2 and 4 in.}
- and SCORE The Long Side @ {2, 4, 6 and 8 in.}
- How easy was that? Now fold and burnish your score lines.
- At this point, use scissors to cut the score lines as in the photos below.


Building Your Little Gift Boxes

Fold up your box, adhering the tabs to the inside. The little lidded box comes together like magic!


WANT TO SEE MORE?
VISIT MY BLOG ARCHIVES
Keeping It Krafty
In closing, I’d like to thank you again for joining me here today at Kelli’s Kraft Studio! I love what I do and I adore sharing my ideas with you! As you can see, the measurements for creating these boxes are so easy to remember. Trim card stock to 6 x 10”. Score short side @ 2 and 4”, and score long side @ 2, 4, 6 and 8”. And this makes these the absolute cutest and easiest gift boxes to DIY. You could make these for wedding favors, baby shower favors, children’s birthday party favors, teacher’s gifts and so much more. So no matter what it is that you decide to make, just make it your own. Have fun with these. And always remember to keep it krafty!
Until next time ,
