
For Those Who Have Lost Their Beloved Pet
Hello and welcome to my studio! I’m so happy you’re here today! I really love what I do and I love sharing my ideas with you! I try to keep my projects inspiring, fun and beginner-friendly. So whether you’re looking for some new ideas, techniques or simple creativity- then you’ve come to the right place. Today’s project, a Rainbow Bridge Pet Sympathy card, includes ink blending, embossing, die cutting, stamping and coloring! How fun is that?
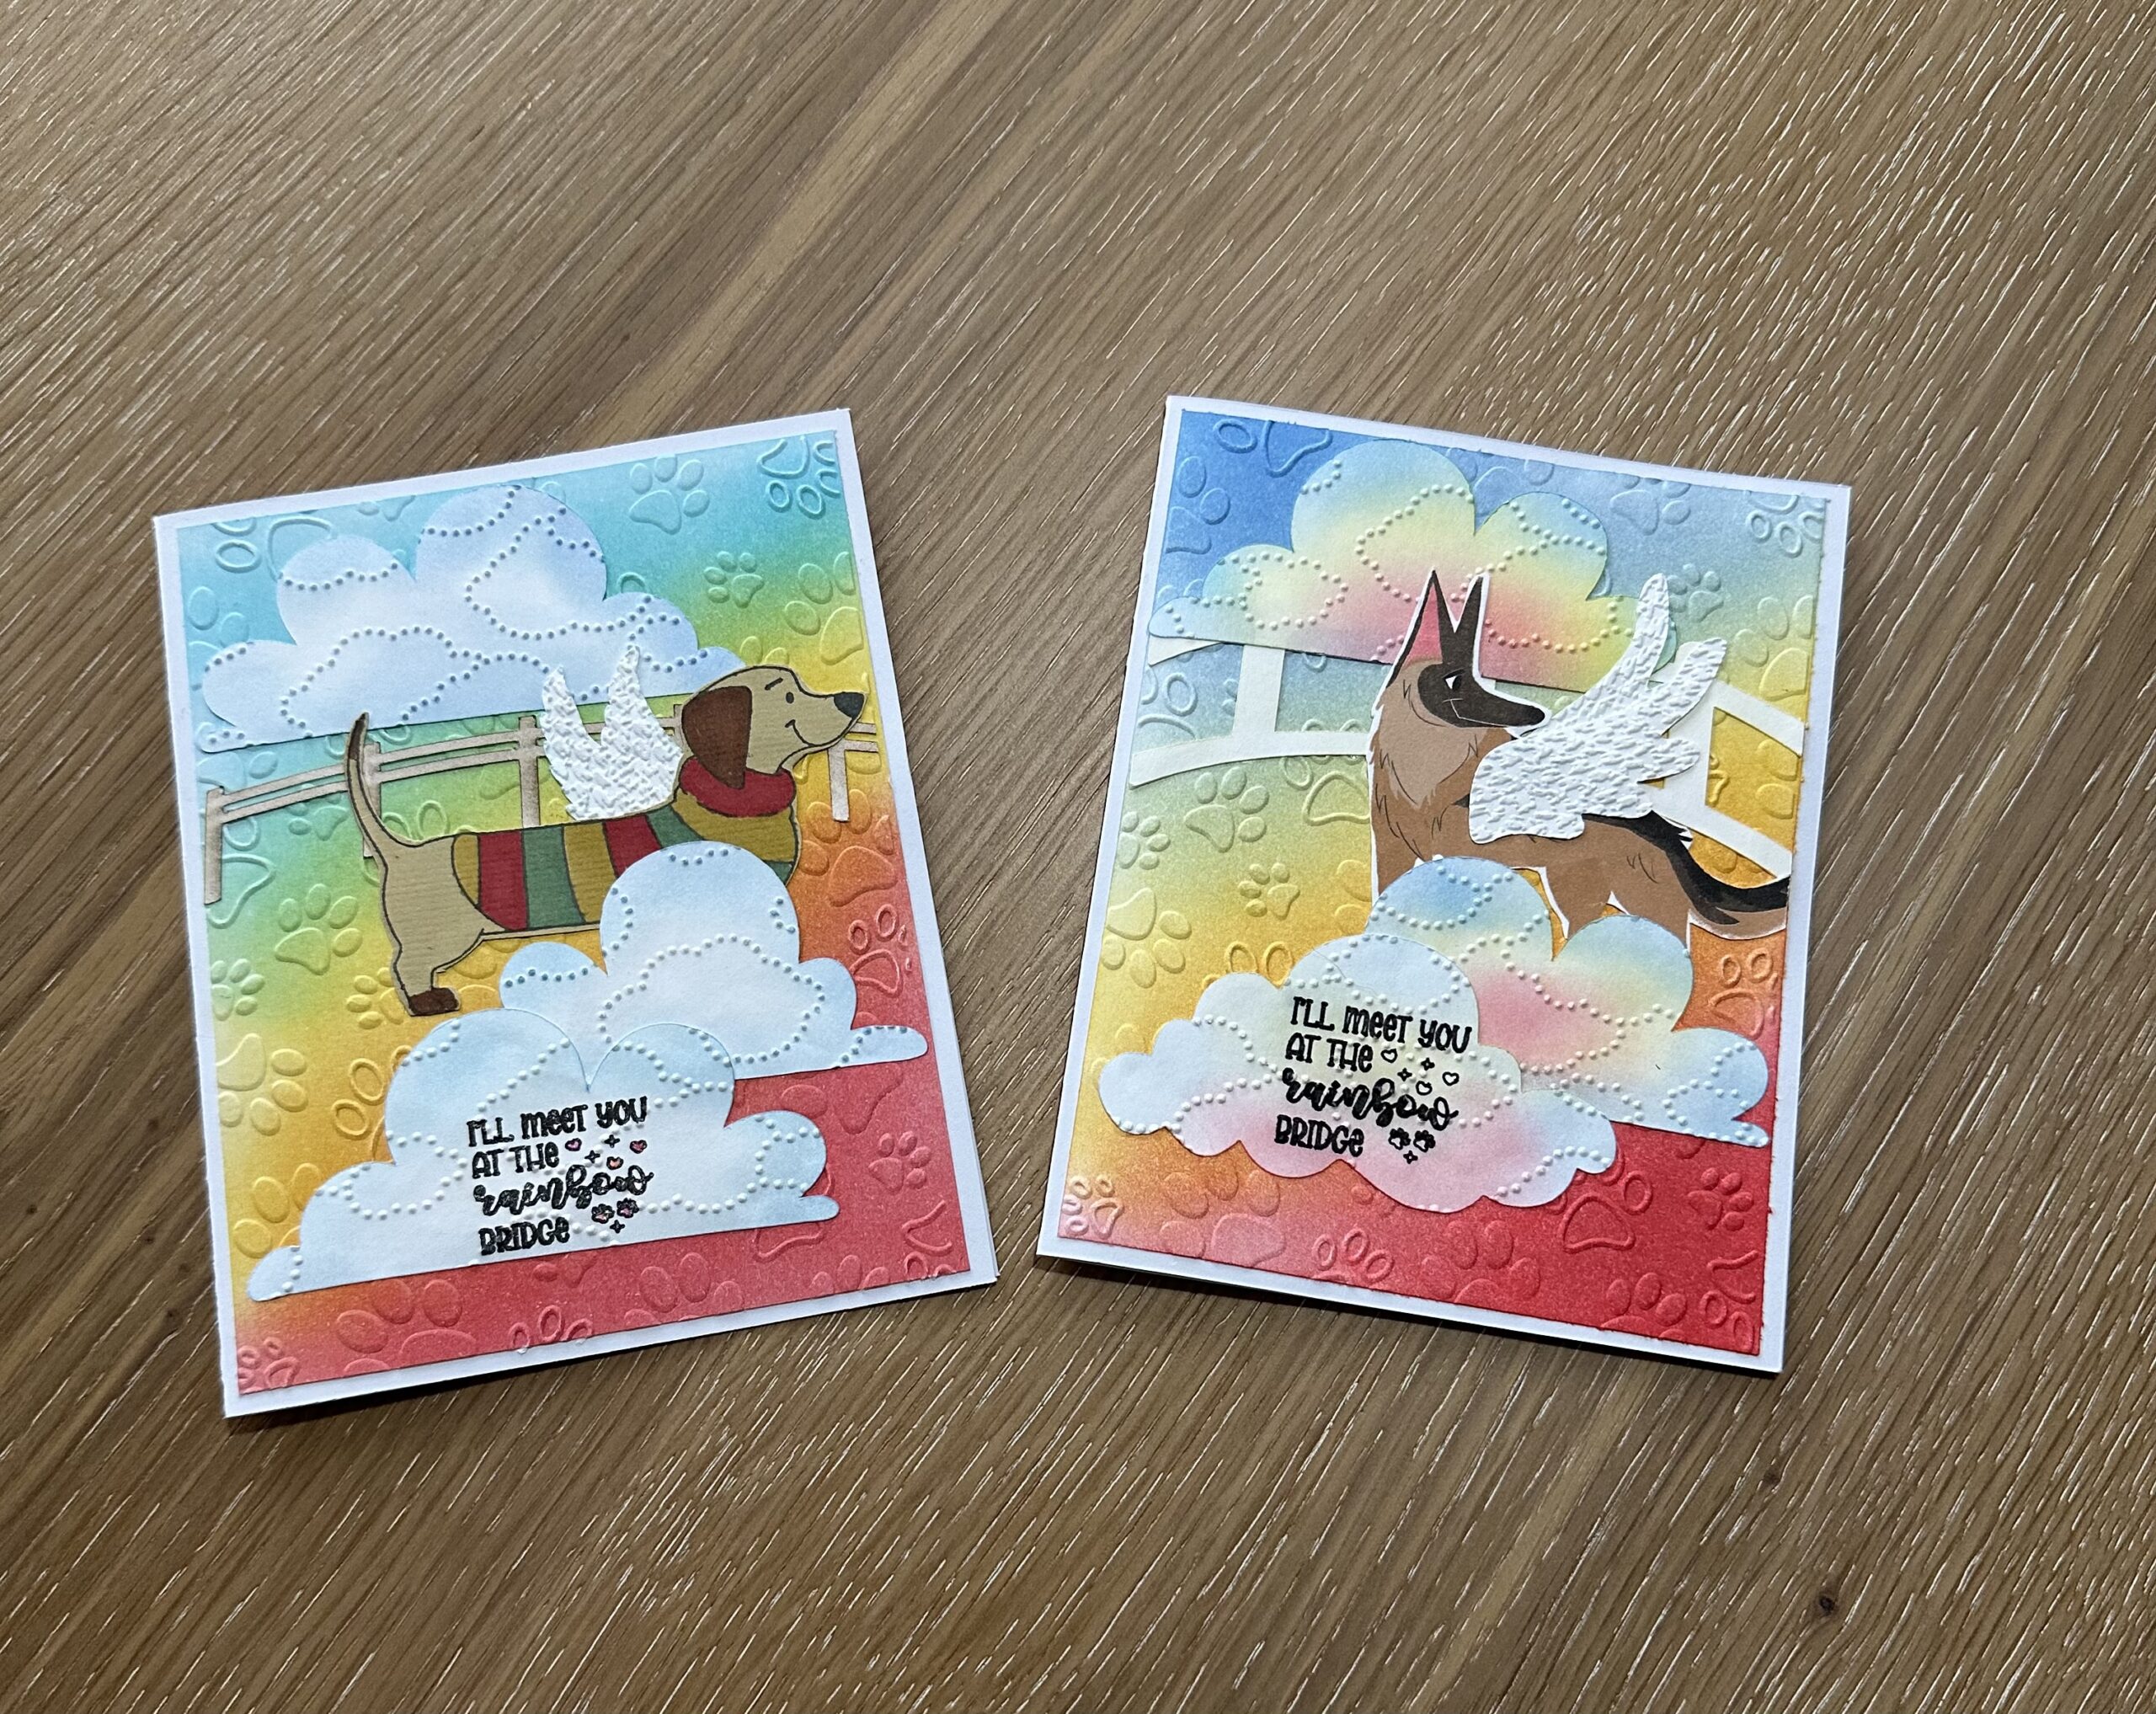
That being said, today’s project is a sympathy card to make for someone who has recently lost their beloved pet. Losing a pet is a pretty devastating event, and it’s quite nice for the recipient to realize just how much you care. These Rainbow Bridge cards are a great way to send caring thoughts to friends or family who are going through a trying time. And they are easily customizable if you wish to feature a certain type or breed of pet. Below I’ve shared a list of the supplies I used to make these cards, followed by a bit of how-to. So, without further ado, let’s get krafty!

List of Supplies
- White Card Stock
- Ink Pads by Simon Hurley in Colors: “Bee Sting”, “Slippery When Wet”, and “Breakup Blue”
- Cutting Dies: Clouds, fence. Angel wings
- OR Cricut Cutting Machine
- Embossing Folders: clouds, paw prints, texture
- Alcohol Markers
- Paper Trimmer
- Glue
- Ink Blending Tools
Want more card making & crafting inspiration?
Follow me on social media


Let’s Get Krafty
Making the Base
First things first, make your card base. For the cards I’m sharing today, I made them A2 ( 4.25 x 5.5”). So, take a piece of white card stock and trim it to 5.5 by 8.5”. Score the long side @ 4.25”. Fold and burnish your fold very well. This creates your card base.
Next, take a piece of white card stock and trim it to 4 x 5.25”. This will be for the rainbow colored, ink blended and embossed background.
Ink Blending
Now, for the ink blending. Ink blending is so much fun! It’s become one of my favorite paper crafting techniques. Take the 4 x 5.25” card stock and place it on a sticky mat or just use some low tack tape to hold it down. Starting at the lower right corner, use an ink blending tool and the red ink pad and start applying ink to your card stock. Use more ink at the bottom corner and gradually lighted up as you move up about a third of the card panel. Next, take the yellow ink and start applying it over the red in the same fashion. Then finish up the last third of the card panel with the light blue ink. Within a couple of minutes, you’ll see that you now have red-pink-orange-yellow-green-blue in varying shades. I just love it! Three ink pads work together to give more than 6 colors for your rainbow bridge card background. Now, take your rainbow layer and place in a (paw print) OR (rainbow)embossing folder and emboss the panel.
Adding the Details
Also, take white card stock and use some cloud dies to die cut your clouds. I didn’t have any cloud dies. But I do have a Cricut smart cutting machine, which is simply indispensable in my craft room. Below, I’ll share some photos of what it looks like to create the images we want with a Cricut. Note that there are over 18,000 German Shepherd images and over 16,000 dachshund images ready for you to draw or cut or draw and cut or even print then cut. There are so many options.
Cricut Design Space Offers Loads of Options


Customizing Your Card Design
Shade in your clouds a bit. For one card, I just used a bit of the light blue ink to shade around the clouds. On the other card, I decided to use a bit of all of the same colors as the background. Next, stamp a message on one of the three clouds. Now, emboss your clouds. This just helps to add dimension and interest. It’s optional, of course.
I did not have a stamp set that was appropriate, so when I designed the clouds using Cricut Design Space, I was able to add the sentiment, “I’ll Meet You At the Rainbow Bridge”. Attached it to the cloud and had the machine to write the sentiment and cut the cloud. Again, I LOVE my Cricut. I also used the Cricut to create some angel wings for the cute dogs. You could hand draw them and use scissors to cut them out as well. If you want a bridge piece, use a die or again create one with a smart cutting machine.
For the Sweet Pets
As for the pets, I needed dogs for my two friends who have just lost their sweet fur babies. I’m sure you can guess what breeds they are. One is a dachshund and one is a German Shepherd. I just so happened to have a stamp set from Stampin’Up called “Long Time No See” which is where the dachshund comes from. I used that set in my last 2 posts. You should check those out HERE. For the German Shepherd , I had some retired Designer Series Paper, also from Stampin’Up. And I used scissors to cut out the German Shepherd. You could use your computer to find an image of the pet you want to use. IF you have a Cricut or other smart cutting machine, there are literally thousands of images to choose from.
Finishing Your Pet Sympathy Card
Lastly, simply attach the wings to the pets and place with the clouds, using glue to adhere all of it to the rainbow colored card panel. Adhere the finished panel to your card base and that’s it! Remember to add your message to the inside of the card and you’ll have a very thoughtful sympathy card to give or send to your loved ones.
Keeping it Krafty
In closing, I’d like to thank you again for joining me today. These Rainbow Bridge Pet Sympathy cards are enjoyable to make even though they are to be given in sympathy for someone’s loss of a beloved pet. Ink blending and/or embossing creates unique backgrounds for any occasion. In fact, this card can be used as a birthday, hello, thank you, missing you… by simply leaving off the angel wings, changing the clouds about, maybe adding a tree and changing the sentiment on the front of the card. So no matter what it is that you decide to make, just make it your own. And always remember to keep it krafty! Until next time , bye-bye!
WANT TO SEE MORE?
VISIT MY BLOG ARCHIVES
