
Using Quick Card Fronts
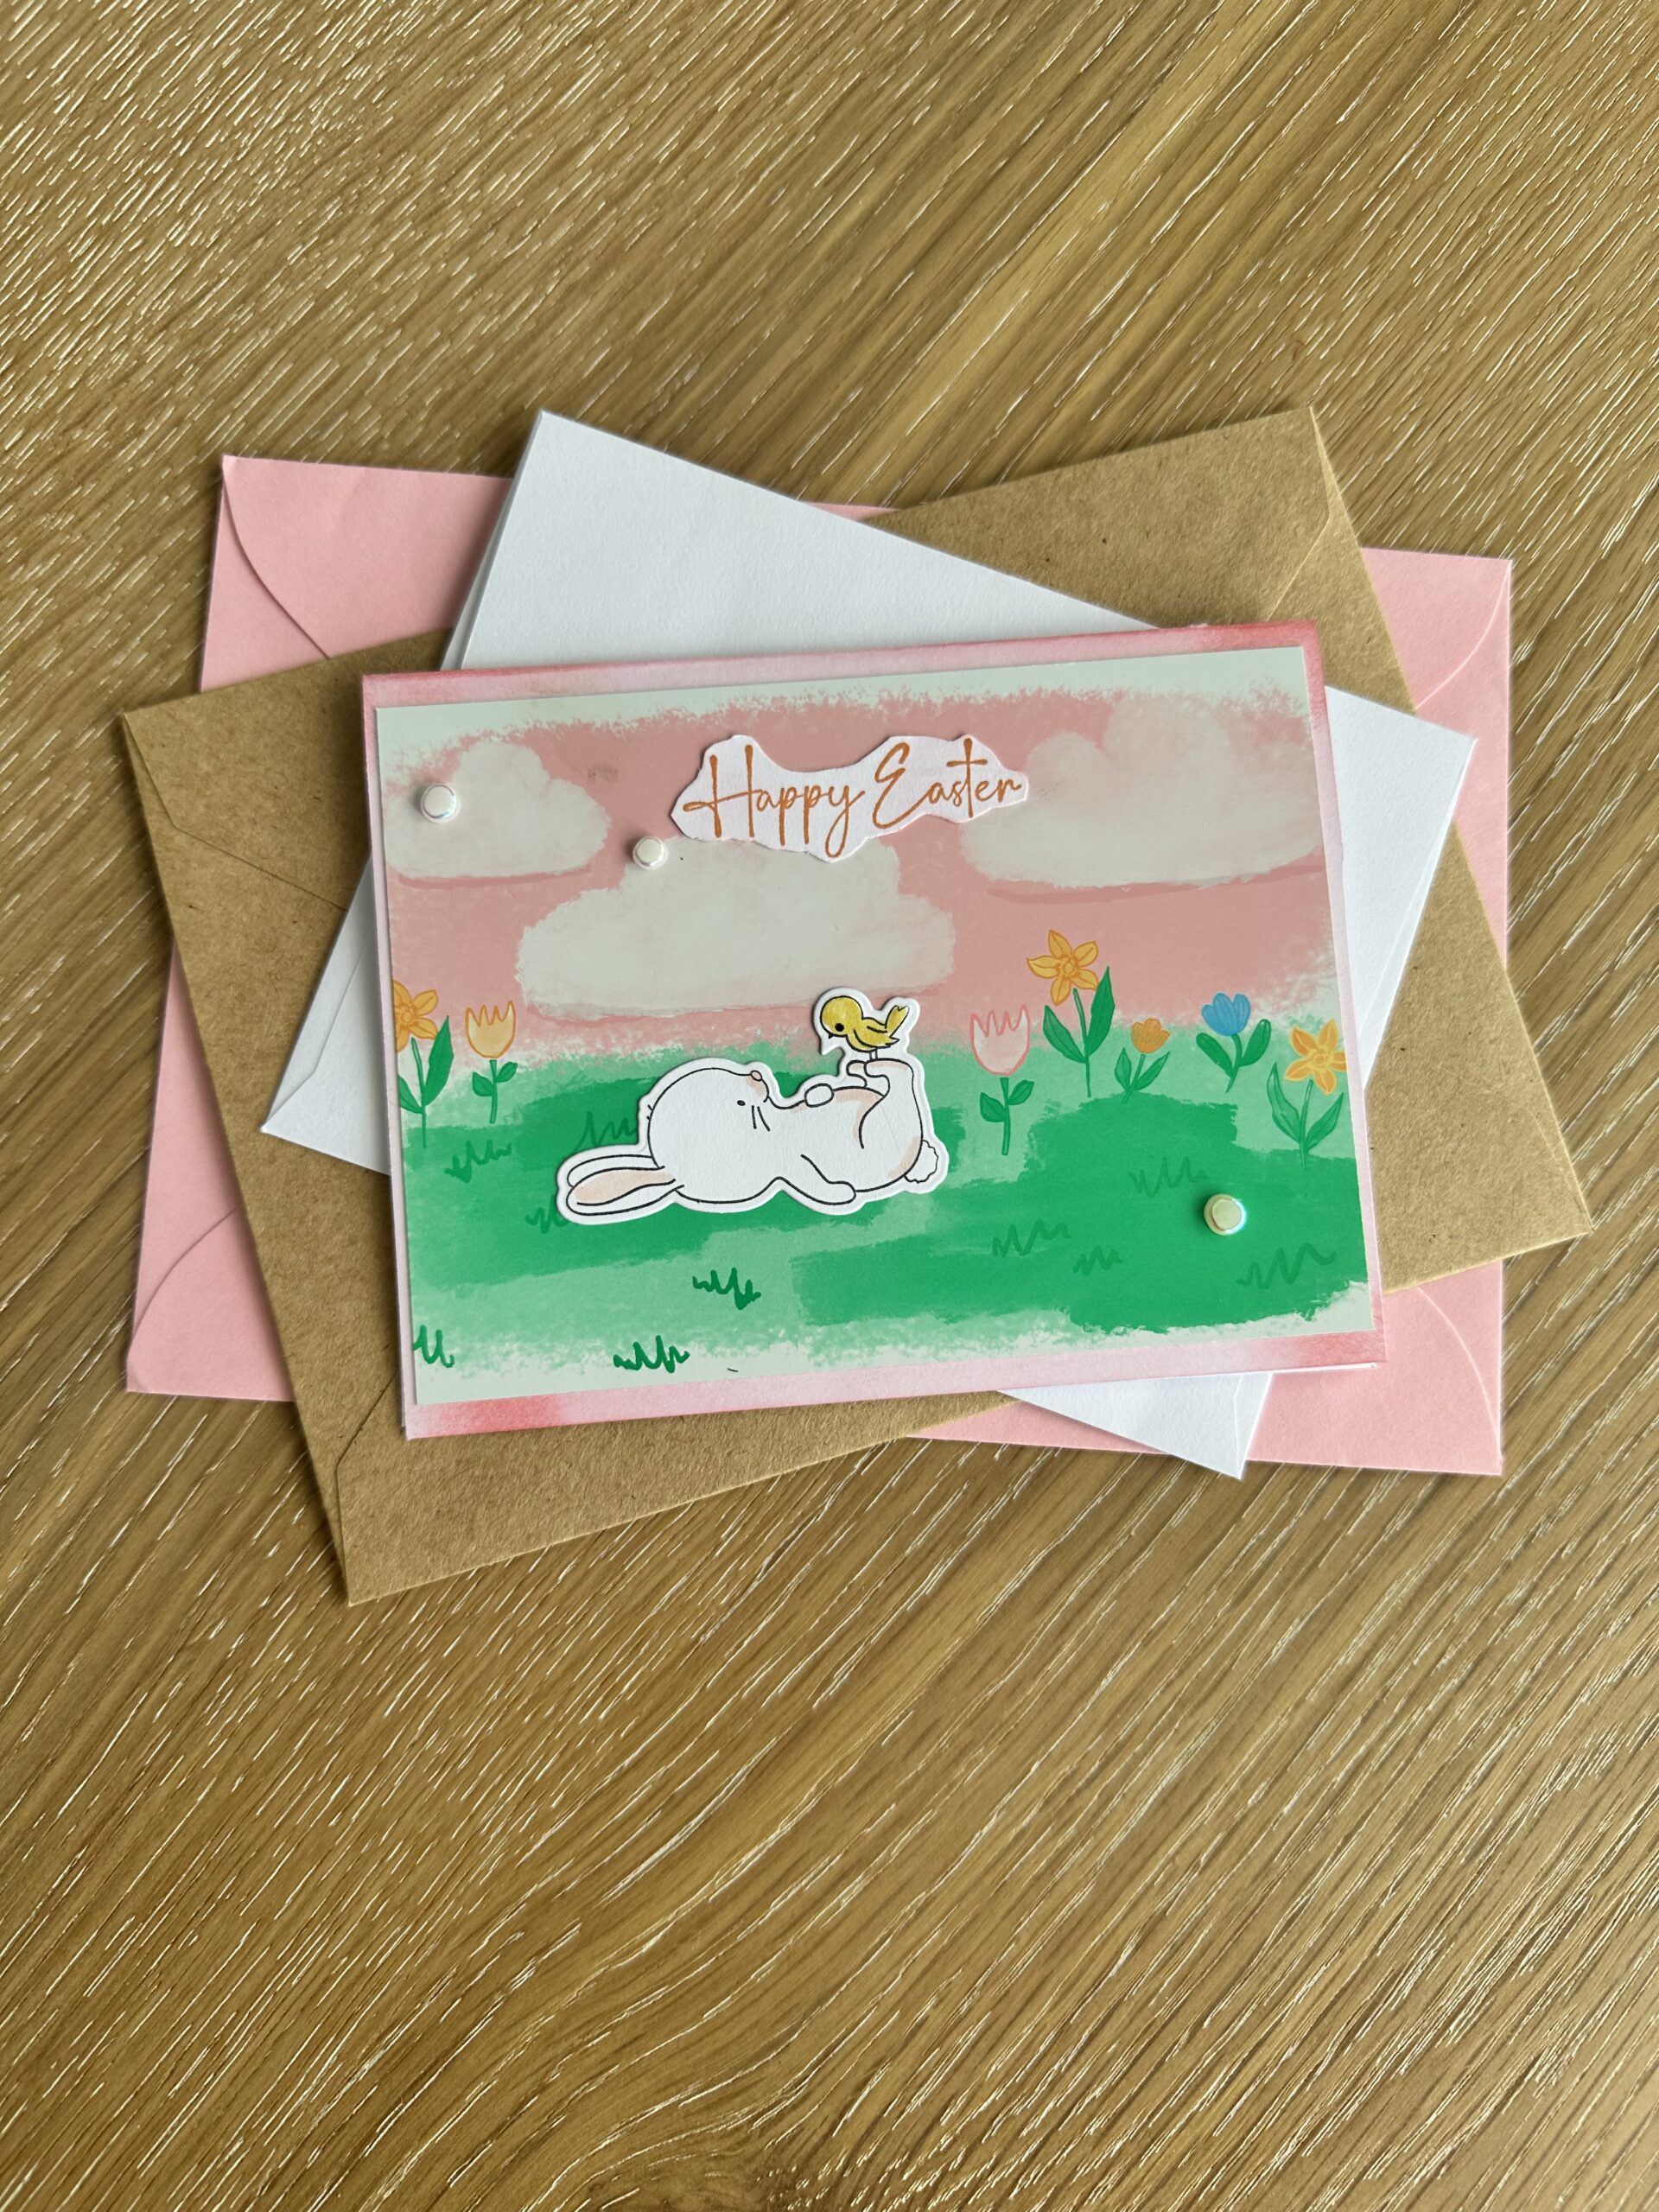
Hello and welcome to my studio! I’m so glad you’re here! I love just love what I do and I love sharing my ideas with you! Easter is just around the corner and I’ve created a few Easter cards that I’ll be sharing over the coming weeks. So today I’d like to share this adorable quick and easy Easter card! It uses a quick card front that you simply adhere to the front of your A2 base. Add a couple of sweet elements like bunnies, chicks, lambs… that you stamp and die cut. Stamp a “Happy Easter” sentiment and then adhere these to the front of the card and that’s it! Quick and Easy, huh?
For Example, this card took me less than 5 minutes to create. I used a quick card front that comes in a package of designer paper. I’ll share the info down in my list of supplies. I’ll also share any helpful links that I can find. So, without further ado, let’s get krafty!

List of Supplies
- ”Easter Joy” Designer Series Paper: by Stampin’Up! HERE
- A2 Card Base: White
- (OPTIONAL)“Happy Easter” Stamp from the set “Excellent Eggs” by SU
- “Bunny with Bird” from a stamp/die set from Amazon
- Pink Ink Pad
- Foam Blending Tool
- Copic Markers or colored pencils
Want more card making & crafting inspiration?
Follow me on social media
Let’s Get Krafty

RIGHT! So to make this card, all you do is choose a Quick Card front from the “Easter Joy” Designer Series Paper. These card fronts are glossy and ready to use. Just add whatever elements you wish. You could stamp an image like the bunny I used and then die cut it. Or you could stamp an image and fussy cut it or even use a premade Easter card stock ephemera.
I purchased the stamp and die set with the bunnies from Amazon. Amazon is a great place to find really cute and inexpensive stamp and die sets. Also, there are loads of choices for Easter cuteness on offer from companies like, Stampin’Up, Whimsy Stamps, Altenew, Spellbinders…And Scrapbook.com and Simon Says Stamp are great companies to shop with as they carry products from hundreds of suppliers.

For this card, I used a pink ink pad and a foam blending tool to add some color around the edges of the white card base. The effect matches the background on the pre-printed card front nicely. I stamped the little bunny using a black ink pad. Then I used copic markers to add some color and used the matching die to die cut the image. I stamped the “Happy Easter” sentiment and used scissors to fussy cut that. Then I simply adhered the glossy card front onto the card base. Adhered the bunny onto the card front along with the sentiment at the top. Easy as can be! That’s why I takes less than 5 minutes to make these adorable quick and easy Easter cards!
Keeping it Krafty
In closing, I’d like to thank you again for joining me here today! What a quick and easy Easter card this is to make! I’d like to add that you have lots of choices in quick card fronts. StampinUp has a few as well as other companies like Whimsy Stamps, Picket Fence Studios and more. You can find these products at Scrapbook.com or Simon Says Stamp as well as their own websites. You can find Whimsy Stamps HERE. Picket Fence Studios HERE! And, You’re welcome! Also, I’m sorry. 🙂
I think you’re going to love shopping at these places! And whatever it is that you decide to make just make it your own! And always remember to keep it krafty! Until next time, bye-bye!
WANT TO SEE MORE?
VISIT MY BLOG ARCHIVES
