
This Puts the “Fun” in Fun Folds
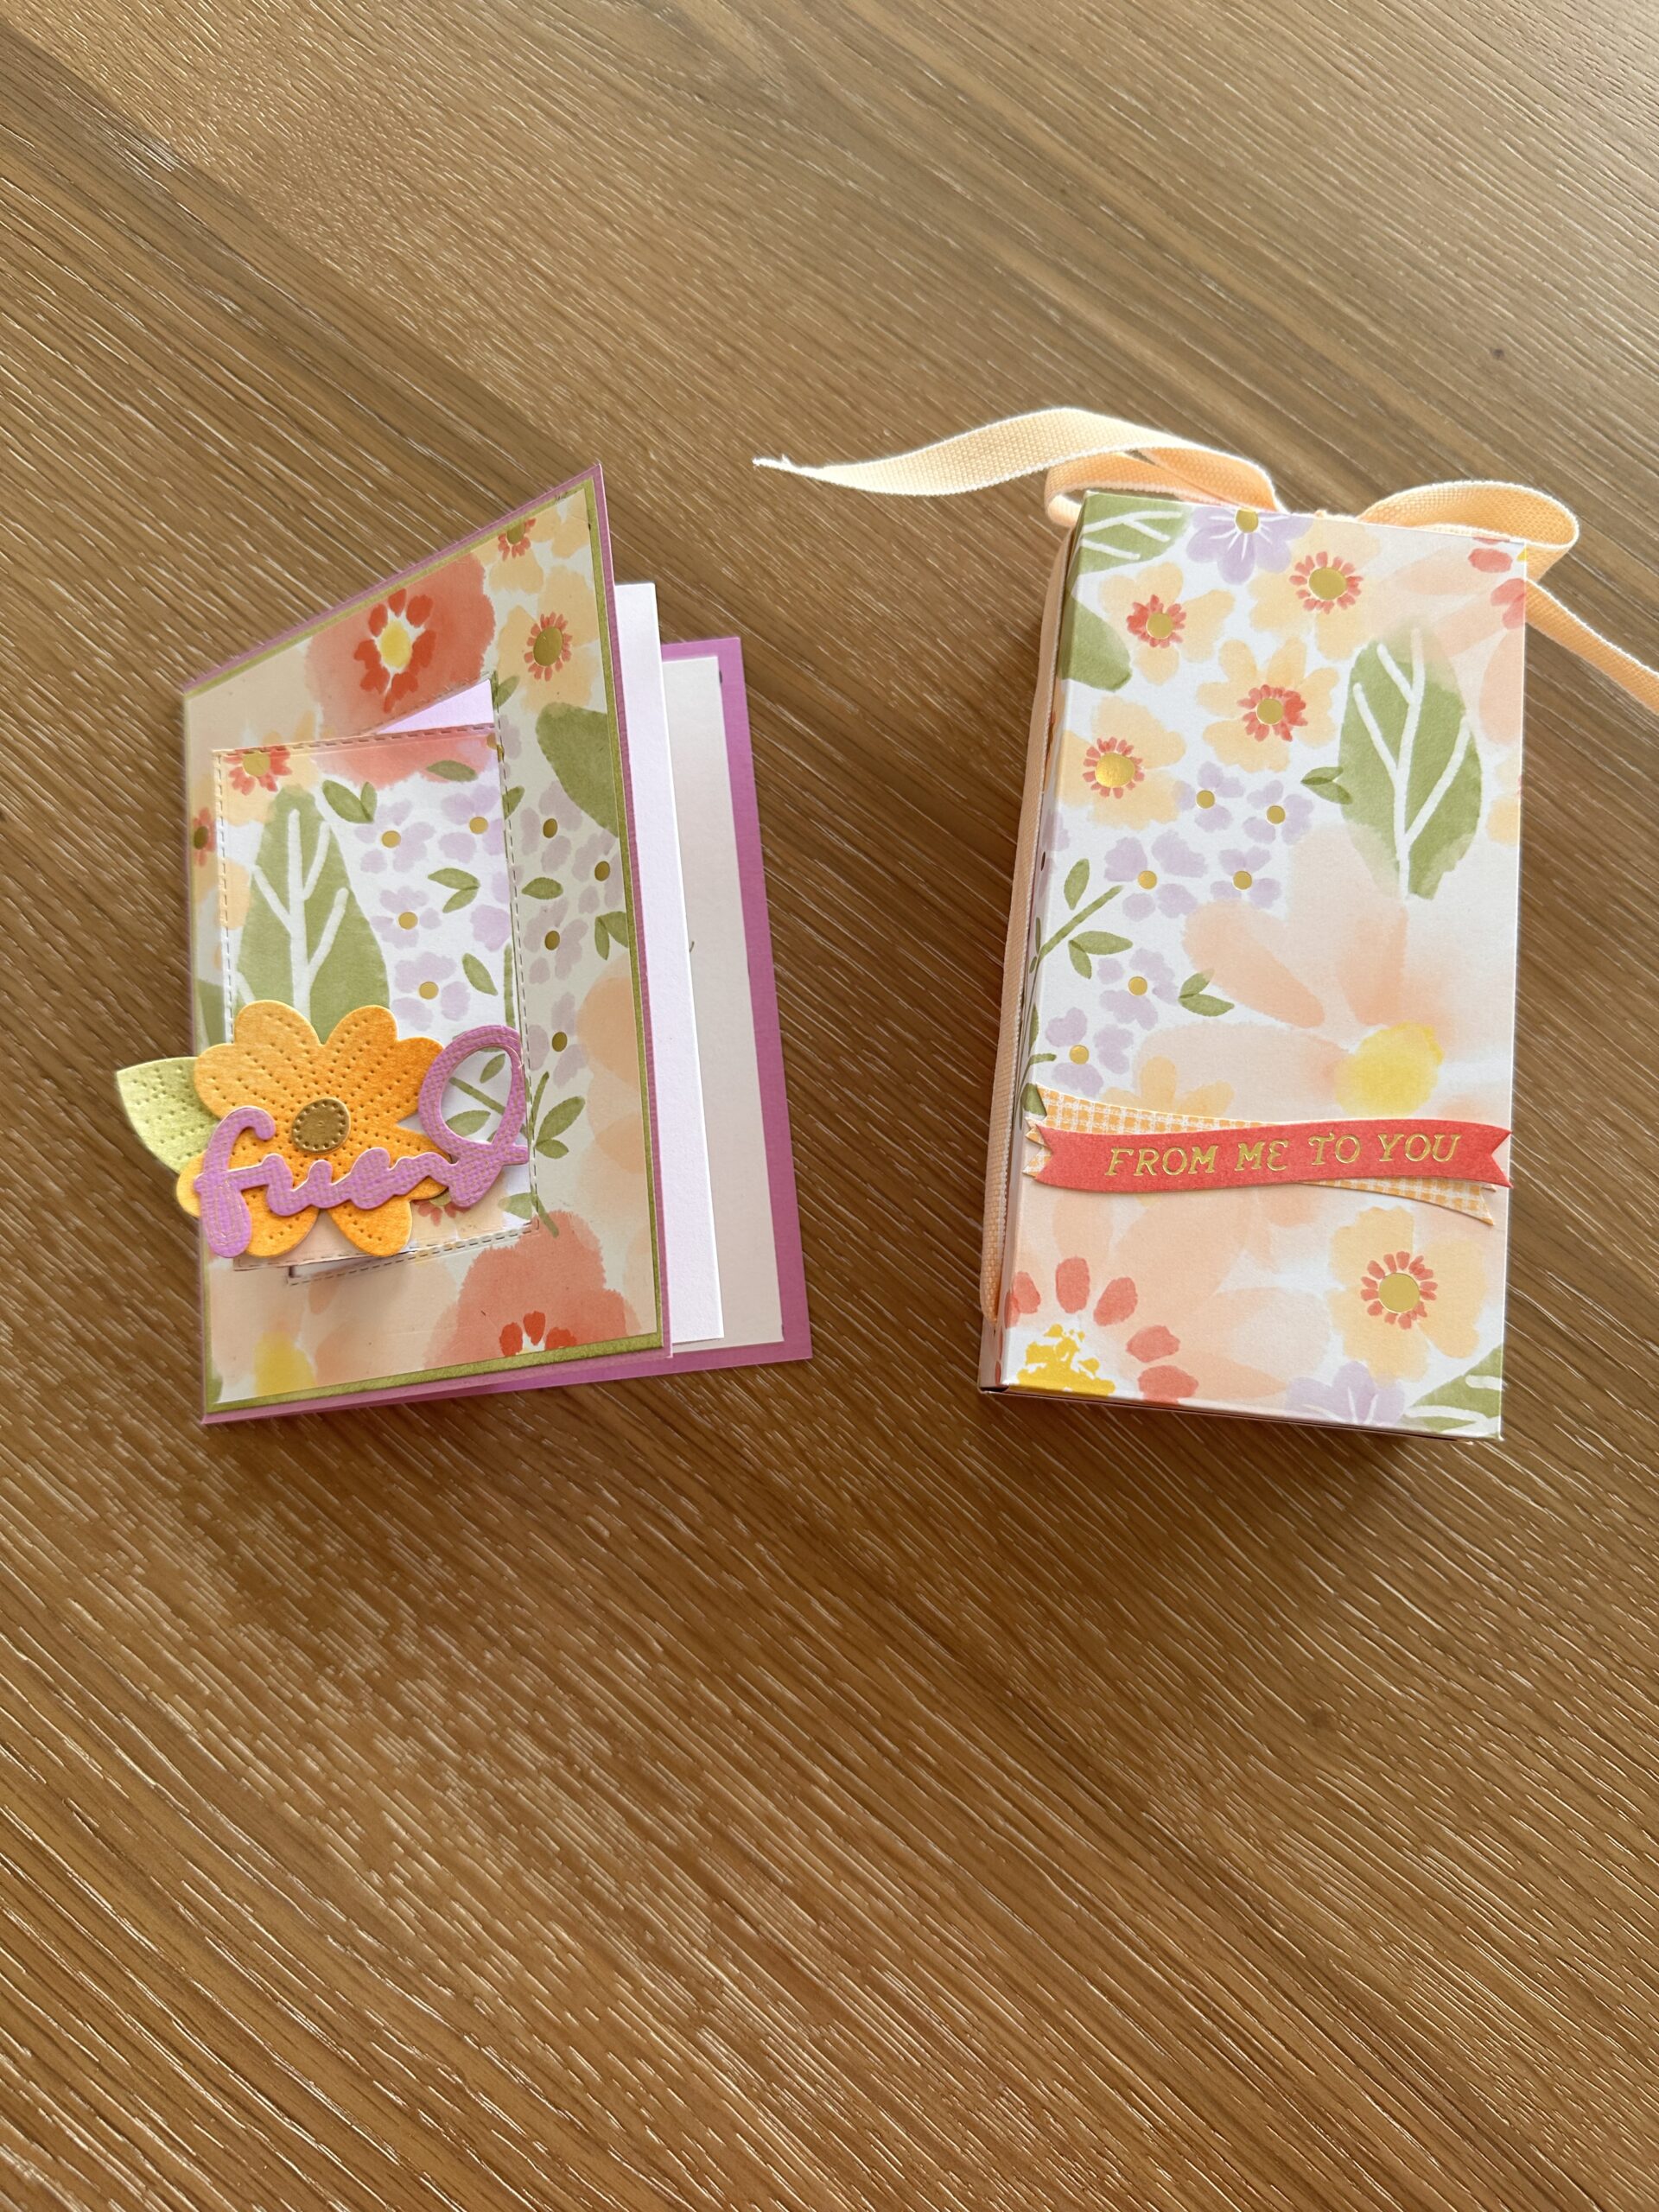
Hello and welcome to my studio. I’m so happy you’re here with me today. Because, today, I have a delightful fun fold card to share with you. This card comes together surprisingly quickly and features a “swinging” focal point on the front. It also boasts a sweetly unique inner fold!
Also, I have created a matching box! I will post that tutorial next so be sure to follow me on social media so you don’t miss out! And I have to say that the magic of this delightful swing fun fold card is its design but also, in this case, it’s the beautiful designer paper I chose to use! This paper is aptly called “Lovely and Beautiful” and it’s from Stampin’Up! I guess you can tell I think it’s amazing!
Keep reading below, as I’ve shared a list of the supplies I used. And it’s followed by some helpful photos and a diagram that includes all of the dimensions to make this fun fold card. So… let’s get krafty!

List of Supplies
- Designer Series Paper: “Lovely & Beautiful” by Stampin’Up! HERE
- Matching Card Stock: I chose the lavender for this card.
- White Card Stock
- Stitched Rectangle nesting dies
- Cutting Dies: flowers, leaves, “friend”
- Inside message stamp “Wishing you the happiest birthday”
- Olive Green ink pad
- glue
- paper trimmer with scoring tool
Want more card making & crafting inspiration?
Follow me on social media
Let’s Get Krafty


In closing, I’d love to thank you again for visiting my studio! Be sure to follow me on social media to see the beautiful gift box I made to match this delightful Swing fun fold card! The box measures a generous 3” wide by 6” tall by 1.5” deep. It will be my next post. You can find links to my social media accounts near the top of this page. This style of card can, of course, be created using any designer paper or card stock you wish. It can also be used for any occasion you’d like! So no matter what it is that you decide to make just make it your own! And always remember to keep it krafty! Until next time, bye bye!
WANT TO SEE MORE?
VISIT MY BLOG ARCHIVES
