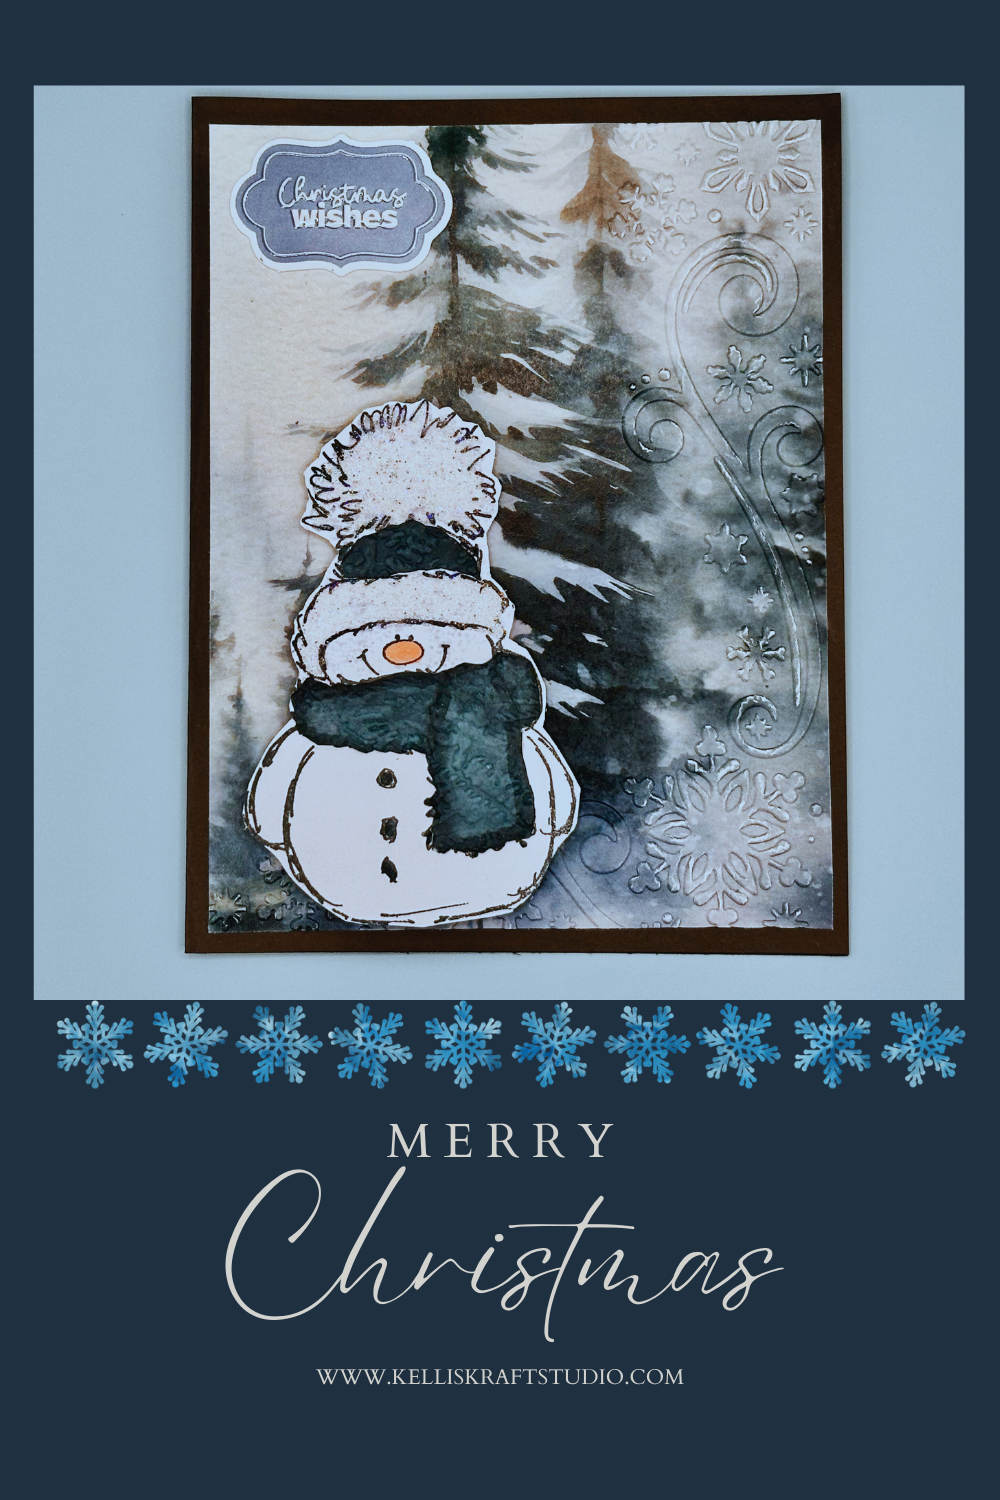
Hello and Merry Christmas! Welcome to my studio~ it’s Dec. 6, 2024 and Christmas Day will soon be upon us! Even with all of my projects and Christmas activities, it’s still taking me by surprise this year and it’s time we get our Christmas cards in the mail. I’m sharing some last minute inspiration with you with Day 11 of my series.
Today’s project features one of my very favorites, “Snowy” the snowman from Penny Black. Every year I look forward to using my “Snowy” stamp and I use it for Christmas, winter birthdays and even Christmas in July cards! Yes, yes I do love it that much. If you do not already have this adorable stamp, you can find it on Amazon or Simon Says Stamp. I’ll share the link with you on the list of Supplies. This is a very quick card to make even though there are several steps to making it. Today, for the first time, I see that Scrapbook.com has a die that will work on “Snowy”. I may just have to get that for myself! I’ll link that product in the Supplies List. Now, let’s grab our supplies and make some Christmas Cards!
Supplies I Used for this Project:
*** I have no affiliation with nor do I earn commissions from any of the companies I mention or products I endorse.
- 80 lb Card Stock (gray) Trimmed to make a 4.25 x 5.5” card base
- Designer Paper- “White Christmas” by Paper Rose Studio trimmed to 4 x 5.25”https://www.scrapbook.com/store/pr-32913.html#:~:text=Paper%20%20Product%20Info-,Paper%20Rose%20%2D%20White%20Christmas,x%2012%20Paper%20Pack%20%2D%20Basics,-New
- ”Snowy” the snowman rubber stamp by Penny Black – https://a.co/d/gAqHTub
- Alcohol Markers- Caliart (Blue gray #7); (skin white)
- glue pen
- Holographic Embossing Powder by Ranger Ink https://a.co/d/3ioldvF
- Heat tool for embossing powders
- Black ink pad
- Embossing Folder for the knitted hat and scarf elements: ( the one I used is no longer available BUT Sizzex has a beautiful one that will work nicely called “Winter Sweater” https://a.co/d/29bwqRR
- Snowflake border embossing folder
Let’s Do This!
First, we take the designer paper and emboss the edge with a snowflake embossing folder. Next, we stamp “Snowy” the snowman onto a piece of white card stock two times using a black ink pad. On one of the stamped snowmen, color in the scarf and the hat’s middle using the (blue gray #7) Caliart marker. If you have chosen to make this card using the same designer paper as I did, that marker is the perfect match. These markers are fabulous, last a long time and are pretty inexpensive. They can be purchased on Amazon.
Fussy cut the colored hat piece and scarf, then use a sweater-like embossing folder to emboss the small pieces. This brings life and texture to our little snowman. Now, fussy cut the other stamped ”Snowy”, color in his nose using the skin white marker and use a glue pen to fill in the other parts of the hat- the trim and the pompom. Then use the holographic embossing powder to heat emboss those parts. This brings a brilliant glittery shine to the project. Now, glue the colored pieces ( the hat and scarf) onto Snowy. Adhere Snowy onto the bottom left side of the designer panel—- I lifted him using some adhesive foam dots—-and the “Christmas Wishes” sentiment onto the top left of the designer panel. Finally, adhere the designer paper with Snowy onto the card base and you’re finished!
I hope you have enjoyed today’s project using the ever-so-darling “Snowy” from Penny Black! Remember, I encourage you to take these ideas and make them your own and always always remember to Keep it Krafty!
Merry Christmas!
