
It’s Easy to Make Handmade Boxes
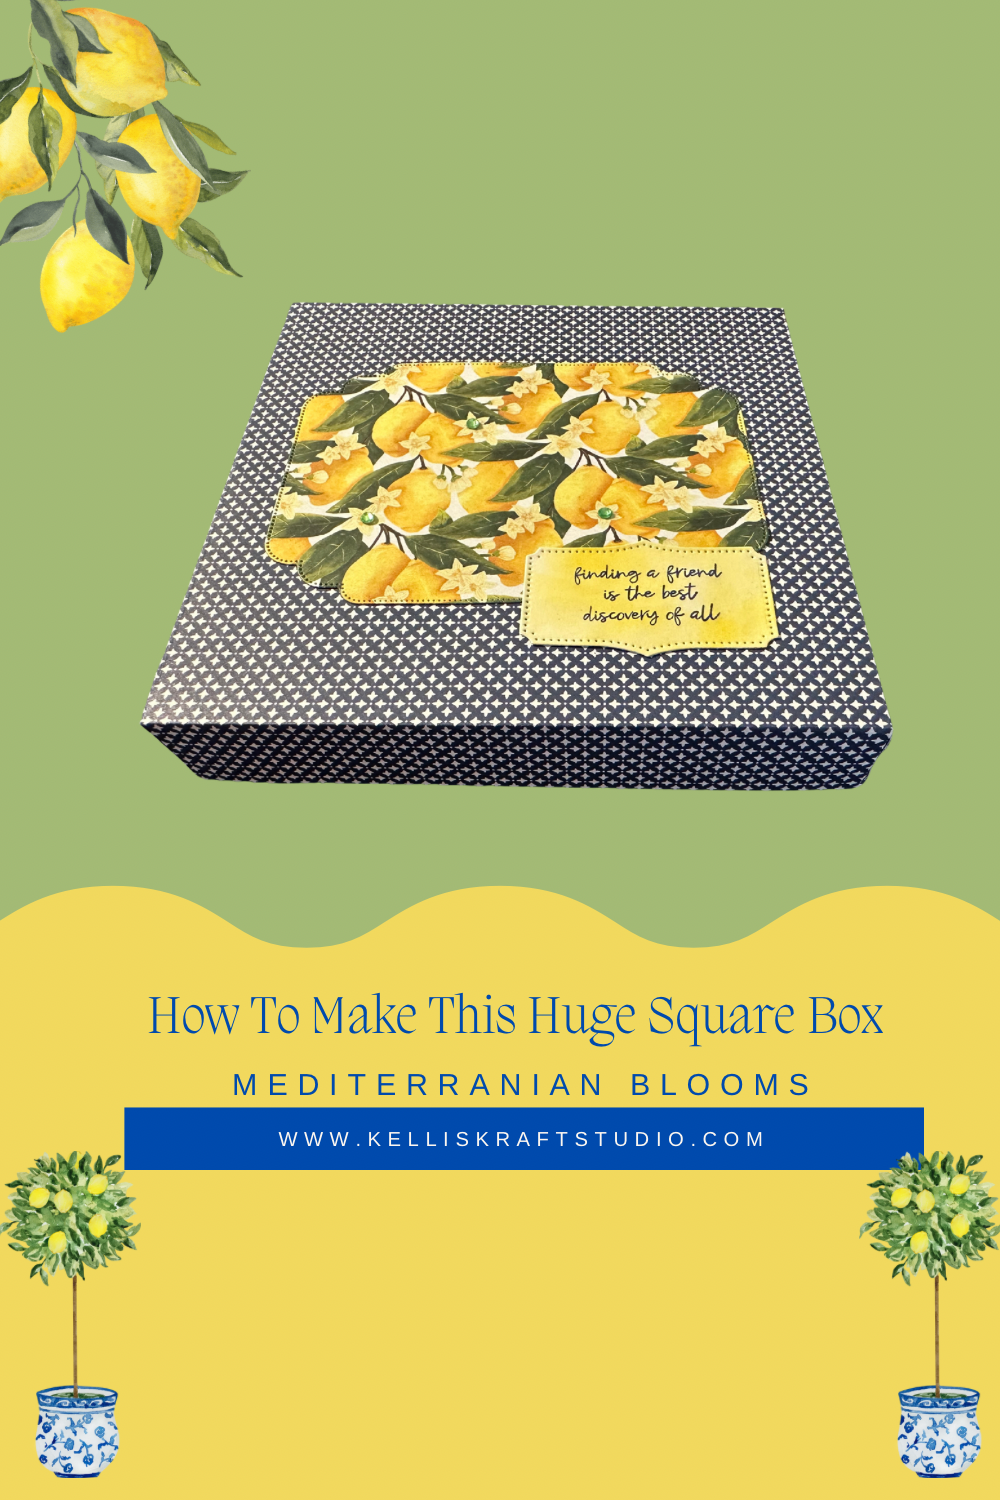
Hello and welcome to my studio. I am so happy you are here today. I am going to share with you how to make this lovely gift box. The finished size of this box is a nice big 6x6x1”. There is loads of room inside for gifting that special something to that special someone. Keep reading below where I share my small list of supplies, a helpful handy dandy diagram and a step by step guide to creating your very own handmade boxes.
I just love making handmade boxes. It’s way easier and quicker than trying to find just the right size box in a store. Believe me, I’ve tried. I made this box to hold a gift for my friend. The gift is a metal die for die cutting a cute little box, funnily enough. The die I’m giving her came in a plain plastic bag and I just couldn’t give it to her that way. She loves the Mediterranean Blooms paper from Stampin’Up! So I created this box using that lovely paper just for her. Next is my very small supply list along with links to where to find them. These links are for your convenience only.

Supplies List
- 8.5 X 11” CARD STOCK: WHITE- {for the base}
- MEDITERRANEAN BLOOMS DESIGNER SERIES PAPER: by Stampin’Up!{ for the lid} I chose one with the navy pattern as in the pictures for the lid of the box. I chose the lemon branches one for the design on the lid. https://www.stampinup.com/products/mediterranean-blooms-12-x-12-30-5-x-30-5-cm-designer-series-paper
- Tombow Mono Multi Glue: Amazon. http://Tombow Mono Multi Liquid Glue (3 Pack) – Clear, Low Viscosity, Dries Clear https://a.co/d/706E8Gj
- Citrus Blooms Dies: Stampin’Up! —-The open frame die
- Label Die
- SENTIMENT STAMP: I used the “Finding a Friend is the Best Discovery of All” Stamp from the “Happy Hedgehogs” photopolymer stamp set from Stampin’Up.
- Simply Scored Scoring Tool https://www.stampinup.com/products/simply-scored-scoring-tool
- (OR) Paper Trimmer: Stampin’Up https://www.stampinup.com/products/paper-trimmer
- (OR) Ruler and straight edge

Let’s Get Krafty

Firstly, choose the card stock and/or designer paper you plan to use to make your box. It certainly does not have to be the same ones I have used here. You can make this box with any design you wish. And guess what? I used my very last piece of Mediterranean Blooms DSP for the box that is in the featured photo. To show some photos of the steps to creating this box, I’ve designed one using different designer paper for the lid. And it’s decorated differently. So, as you can see, we have lots of options for how our box will look in the end.
Secondly, Trim your cardstock that will be the BASE of your box to: 8” x 8” and Score all sides at 1 INCH using a scoring tool. { SEE SUPPLY LIST } I used the “Simply Scored Scoring Tool” for this project. Fold and Burnish your score lines.
Thirdly, use your scissors to cut up the score lines and create a little wedge as in the photos below. This will create the tabs that will form your fabulous box.


Your next step is to add GLUE to all of the corner TABS. Close up each corner to form the box.
Do the same steps to create your LID.

Finally, fold and create the BASE and LID of your huge handmade box. Decorate your lid if you wish. Remember to put your gift inside (: Add a ribbon and a tag and you’re ready to make someone’s day! You have made a nice box. It’s a very handy box to make many times so be sure to save this PIN. Think birthday designer paper and birthday ephemera. You could use Christmas paper or even do a Christmas in July. Your possibilities are endless when it comes to this box. No matter what you do, just make it your own and remember to always keep it krafty!

Want more card making & crafting inspiration?