I’ll Share My free Design
Hello and welcome to my studio! If you have been following my blog, you’ll notice I’ve recently made several edge cards. I was not going to share any more of these for a while but I just can’t help myself! This one is so awesome I had to share it with you! We can make a card in minutes with Cricut.
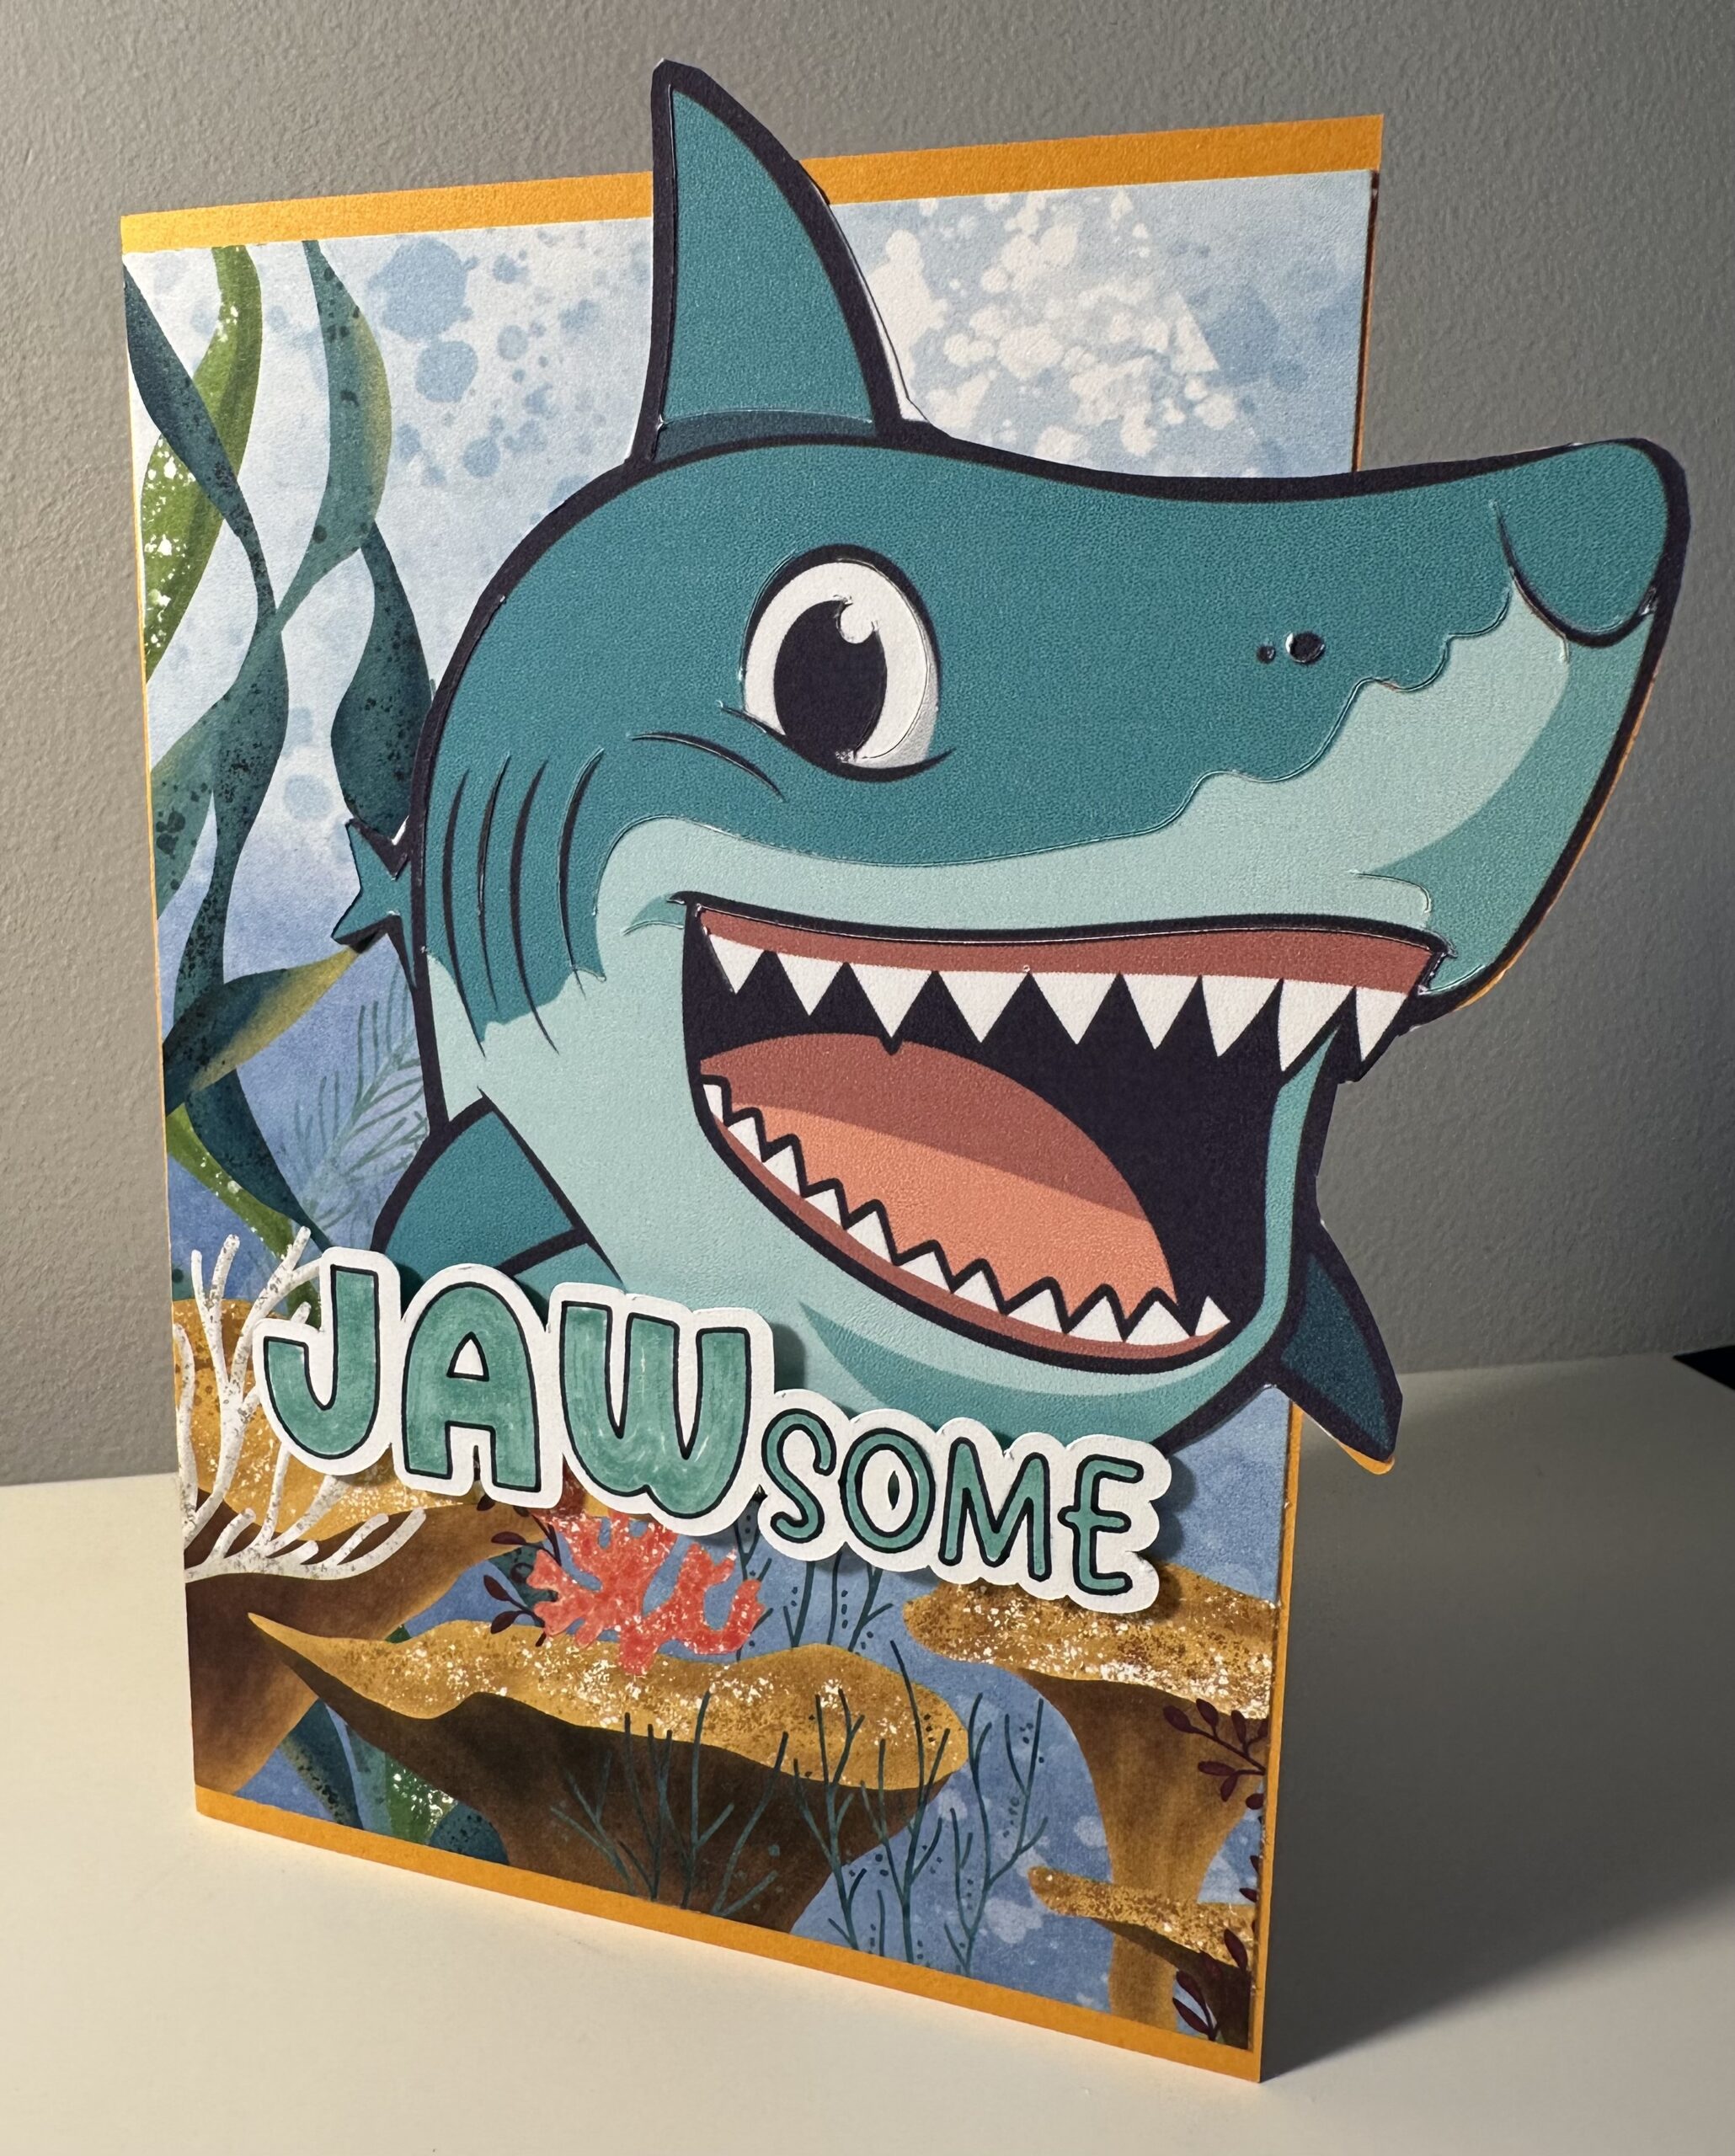
I really wanted to make some sort of shark card. Since I seem to be addicted to making these edge-styled cards, it just seemed to happen! I went into Cricut Design Space to search “Shark Images” and was not disappointed. Wow! They have thousands to choose from. I chose a whimsical shark that seemed to jump off the page. I love it. It was exactly what I was looking for. Thank you CDS! I made more than one style. I created some of the sharks using the DRAW function. I created others using the print then cut function. Keep reading below. I’ve shared a free link to my exact design in CDS. This is the one that utilizes Cricut’s amazing print then cut function. And that means you can make a card in minutes with Cricut.
Supplies Needed
- 65 lb card stock: white
- colored card stock: choose one that coordinates with your designer paper, if using
- Cricut Machine
- Cricut Pen-Black( for the Jawsome sentiment to draw/cut)
- Printer with black and colored ink cartridges
- glue
- (Optional) Designer Paper: ocean themed : not necessary but amazing (like this: https://www.scrapbook.com/store/cci-s-eo-pad6.html

Let’s Get Krafty
This is a very straightforward design. Gather up your supplies and click on the link below that will take you to my exact design in Cricut Design Space. There, you can choose to {Make It} or {Customize}. My design makes a finished card that measures 5 x 7”. The base will cut to a dimension of 10” width by 7” height. You’ll fold the card base in half, lining up the edges.
Then you’ll trim your designer paper, if using, to approximately 4 x 6.75”. Adhere the designer paper to the card base and set aside. Once your shark has been printed then cut, you’ll simply remove it from your cutting mat and adhere it into place on your card base. You’ll be able to see exactly where it goes.
Next, the “JAWsome” sentiment will “Draw” on a piece of white card stock and then cut out. Then you can color it in with a coordinating marker if you want. You’ll finish the card by adhering the sentiment to the front of the card. I used some foam dots to lift the sentiment which adds to the 3D effect of this Shark Card. You can see how you can make a card in minutes with Cricut.
But Wait- There’s More
HERE IS THE LINK TO MY DESIGN IN CRICUT DESIGN SPACE
This card came out way better than I expected thanks to Cricut. I have a huge collection of stamps and dies and papers for my crafting obsession. But I can never have everything I could want to use for a project. This is where I have found Cricut to be such a useful addition to my craft room. There are so many images to choose from and the possibilities are amazingly endless!

If you’d like to see the how-to for creating your own edge cards with Cricut, visit my last blog post below.
How to Create Your Own Edge Card with Cricut
Video and PDF Included
I hope you enjoy making this project. This shark card is truly JAW some. Adults and kids alike will love receiving this card so go ahead and give it a go. It’s easy to make a card in minutes with Cricut. Just remember to make it your own and always keep it Krafty!