With 1 Piece of 6×6 Designer Paper or Card Stock
Hello and welcome to my studio! I am so happy you’ve joined me today because I am excited to share with you this uniquely wonderful box! This is not my own design, I saw a picture of one and then worked out how to make it. This is a very handy little package! Best of all, it only takes about 3 minutes to make it and that includes the embellishments. The finished size is approximately 6 inches tall and about 2-2.5 inches wide. It will hold loads of candies or other small gifts! I always like to give favor or candy boxes to my family and friends when they come over to my house for pretty much any occasion. So, when I can make sweet gift boxes and make them quickly, I’m all about that!
This will be one of my shortest posts because it’s really simple. You’re my friend and I just had to share this idea with you! Below, I’ll share my list of supplies and my quick how-to.
SUPPLIES*
- 6 X 6” DESIGNER PAPER ( or card stock trimmed to 6 x 6 )
- TEAR & TAPE ( Stampin’Up!) https://www.stampinup.com/products/tear-tape-adhesive
- OR “STAMPIN’SEAL+ ( Stampin’Up!) https://www.stampinup.com/products/stampin-seal-plus
- OR GLUE
- EMBELLISHMENTS: stamped and die cut images for the occasion, ribbons, twine, whatever you choose!
** I am not affiliated with any of the companies I mention, nor do I earn commissions from any product I endorse.
LET’S GET KRAFTY!
Right. Yes, grab your supplies and let’s do this. You’re gonna love it because this is a very quick make, my friend. If you are going to embellish your boxes the way I did, go ahead and stamp your chosen images and cut them out and set them aside. Take some ribbon or twine and cut it to about 4” and create a loop and use some glue or a glue dot to hold it if you wish. Set this aside.

I recommend the Tear & Tape from Stampin’Up! I have purchased several brands of this type of adhesive and they simply don’t work nearly as well as the Tear & Tape. When I used the other brands, it looked as if it worked but 24 to 48 hours later, the boxes come undone. My second choice would be Stampin’Up!s Stampin’Seal Plus. That’s a mouthful, huh? But it’s a great product. Instant adhesion. Again, other tape runners work but they usually don’t hold up for me when it comes to boxes, bags and packages. And my final choice would be glue. It works great but is messier and more difficult to use and is not instant so you have to hold it till it dries.
Take the 6×6” designer paper or card stock and place in front of you. Use a piece of Tear & Tape all the way down the edge of the right side of what will be the outside of your box. If your paper is designer paper and has a design on both sides, choose which side you want to be the outer part of the box. Now flip the paper over and place a piece of Tear & Tape across the top of the paper and across the bottom of the paper. Remove the adhesive paper from the right side of the box and fold the left side over to adhere it. Keep it open like a cylinder at this point. Don’t crease down the sides. Now, take the adhesive paper off of the bottom inside of the cylinder shape and press down to glue.

Remember to add your gifts or candies at this time! It’s so easy to get carried away making this box and forget that part. This box seals shut. Your lucky recipient will have to tear it open to get what’s inside. ( I was able to fit 9 Dove Promises- dark chocolate almond into this box )

Now, pull the adhesive paper off of the top of the inside of the cylinder shape and press down to close it shut. This is your finished box. Nifty, huh?
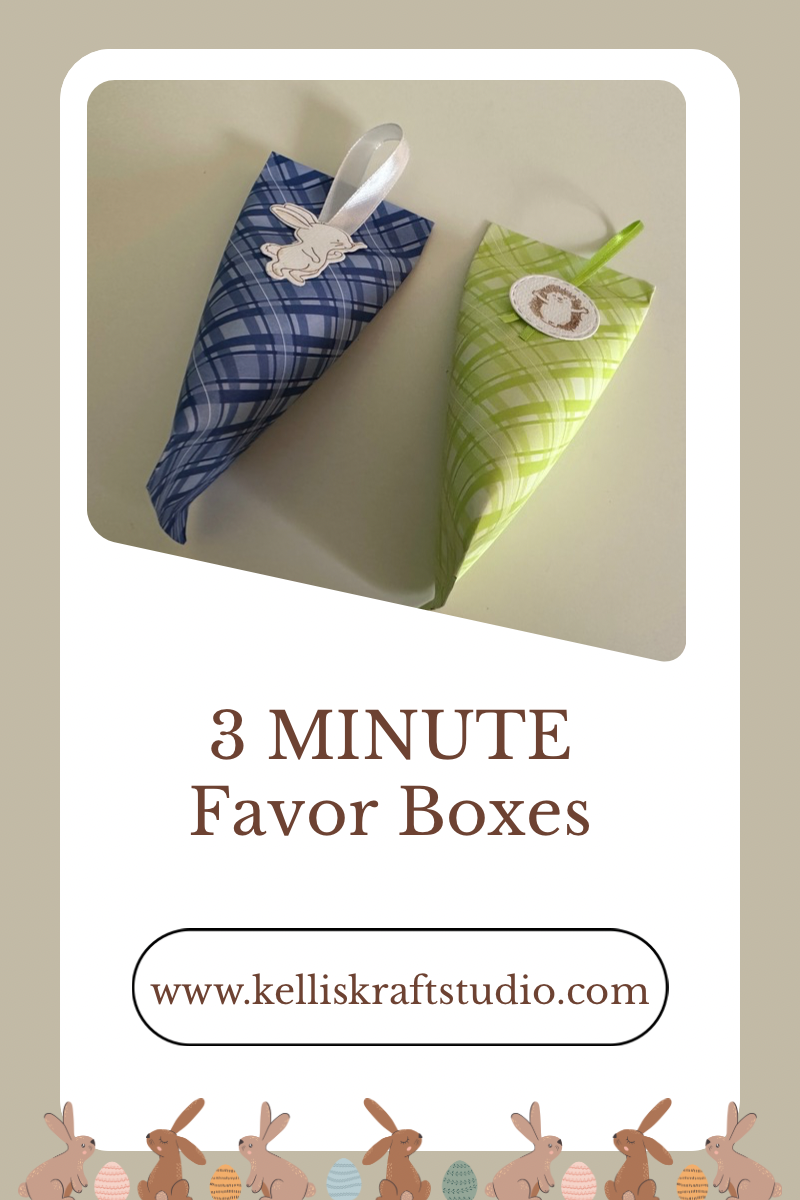
Lastly, embellish your sweet packages any way you like! I’ve made some for Easter and they are so cute! I’ve filled my boxes with various candies to give as favors to my Easter dinner guests.

I hope you enjoyed this quick little box idea. Give it a try! It’s going to become a favorite go-to for me and I’m sure it will for you as well.
REMEMBER
WANT TO SEE MORE?