Hello and welcome to my studio! Today, I am going to share a surprisingly quick and easy DIY Spring wreath with you! This wreath is filled with beautiful tulips awash with a spring-like pallet of colors! With just a few simple, inexpensive supplies; and in just a few minutes, you can create your very own wreath for the much awaited and anticipated Spring Season!
I love making my own wreaths. I suppose because I am a DIYer and a crafter, there are just some things I never buy premade. Now, don’t get me wrong, there are absolutely lovely premade wreaths that I have seen. But it’s just one of those things I always want to make for myself. Premade wreaths are costly because we are paying not only for the supplies they used but for the time it took someone to create them.
When I make a wreath, I want it to be beautiful, I want it to be thrifty and I want it to tell a story ie. “it’s Spring and I’m happy!” That being said, we are in control of how much we spend on a wreath because it’s all about the supplies and where we find them. I am so excited about Spring and as soon as I had the idea for a tulip wreath, I went straight to the store and made my choices.
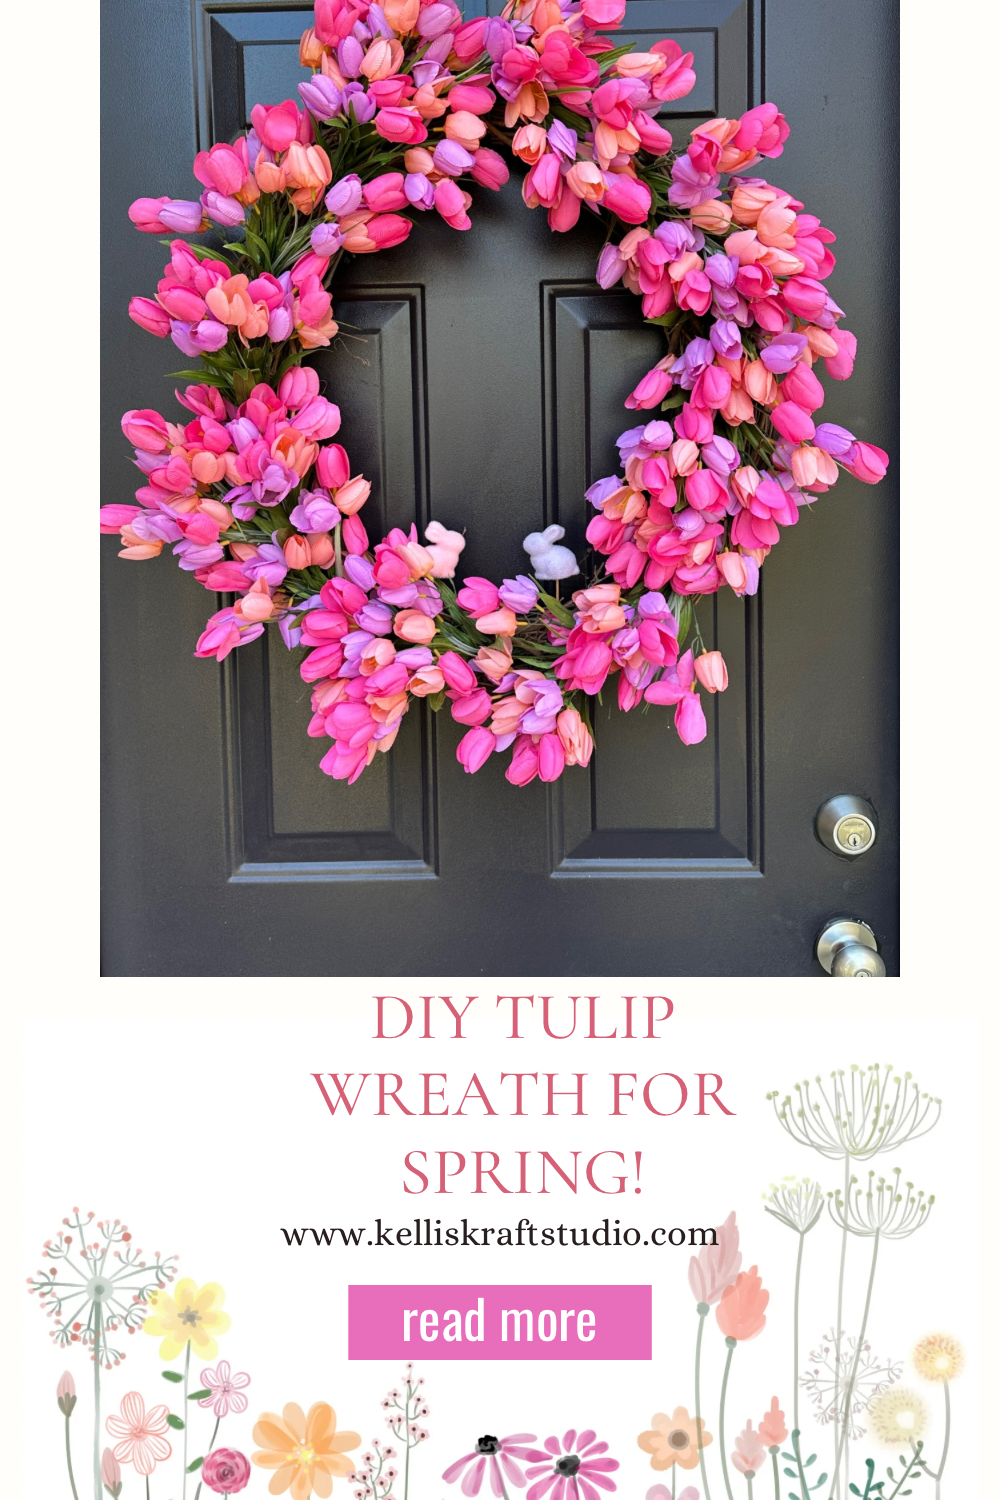
I knew I wanted to make a wreath absolutely bounding in tulips! I love tulips! They scream “Hello Spring” to me. I made a trip to my local Michael’s craft store and was not disappointed. Wow! That store was bursting with spring florals! Yay! I’ll share a link with any of my finds in my short supply list below. I know we can often find very pretty florals in places like Dollar Tree. If you want to take a look there, you can often make a very thrifty wreath. However, keep in mind that the less expensive floral stems, bushes… are usually smaller and thinner so we’d need to buy twice as many. So, in the end, we could pay just as much if not more than we would buying them from a craft store. Also, I already had the premade grapevine wreath. I have several I have collected over the years. Keep them! You can always remove the worn out or aged decor and reuse the vines. I added two little bunnies at the bottom that works for the Spring season as well as Easter and they’re just so cute I had to!
Supplies I Used for this Project
- Premade Grapevine Wreath
- Tulip Bushes: multicolored: https://www.michaels.com/product/145-tulip-bush-by-ashland-10762197?michaelsStore=3755&inv=249
- Small Flocked Bunny Picks: lavender and pink: https://www.michaels.com/product/assorted-9-bright-flocked-bunny-pick-1pc-by-ashland-10762122?michaelsStore=3755&inv=31
- green pipe cleaners or floral wire ( optional )
Let’s Get Krafty!

This is so quick and easy! Honestly, the most difficult part is choosing the flowers! Gather all of your supplies and lay them out on your work surface. Arrange the grapevine as it would hang on your door. Start at the top and push one of the tulip bushes into the wreath form. The stems on the bushes are long enough to secure them in. If you want, secure it further with a pipe cleaner or floral wire. I didn’t because the flowers were stable and secure without it. Now, moving in a clockwise direction, add in the next bush. Push it snugly underneath the one above. Spread out each of the stems a bit and make sure you like the coverage. Now continue with this pattern all the way around and back up to the top. I used 18 bushes all together but could have easily just used 14 for the frame I have here. Then hang your wreath on a door hanger and add in the cute little bunnies at this time. Trim off any excess stems or wood pieces that may show underneath the wreath and you’re done! That was very quick and easy, right? My wreaths always stay in perfect shape even though I do not have much protection at my front door.
It is so much fun creating things for our home. We can make things that we like. Things that tell a story not only about a season or celebration but also about ourselves. Anyone who comes up to my front door will feel welcomed by the bright and beautiful wreath. They’ll know I am happy about the arrival of Spring and the joyful feelings of Easter. They will also know I love colorful, beautiful tulips!
Thank you for joining me today. If you’ve never made your own wreath, give it a try. This wreath is a quick and easy weekend project and I’m sure you’ll be happy with your results! If you’re not crazy about tulips, choose a flower you do love and use those instead. Just take an idea and make it your own and remember always Keep it Krafty! Check out some of my projects on the “Latest Project Tutorial’s” tab on my website at www.kelliskraftstudio.com and follow me on Pinterest. See you soon- Bye Bye!

REMEMBER
Want to save this idea?