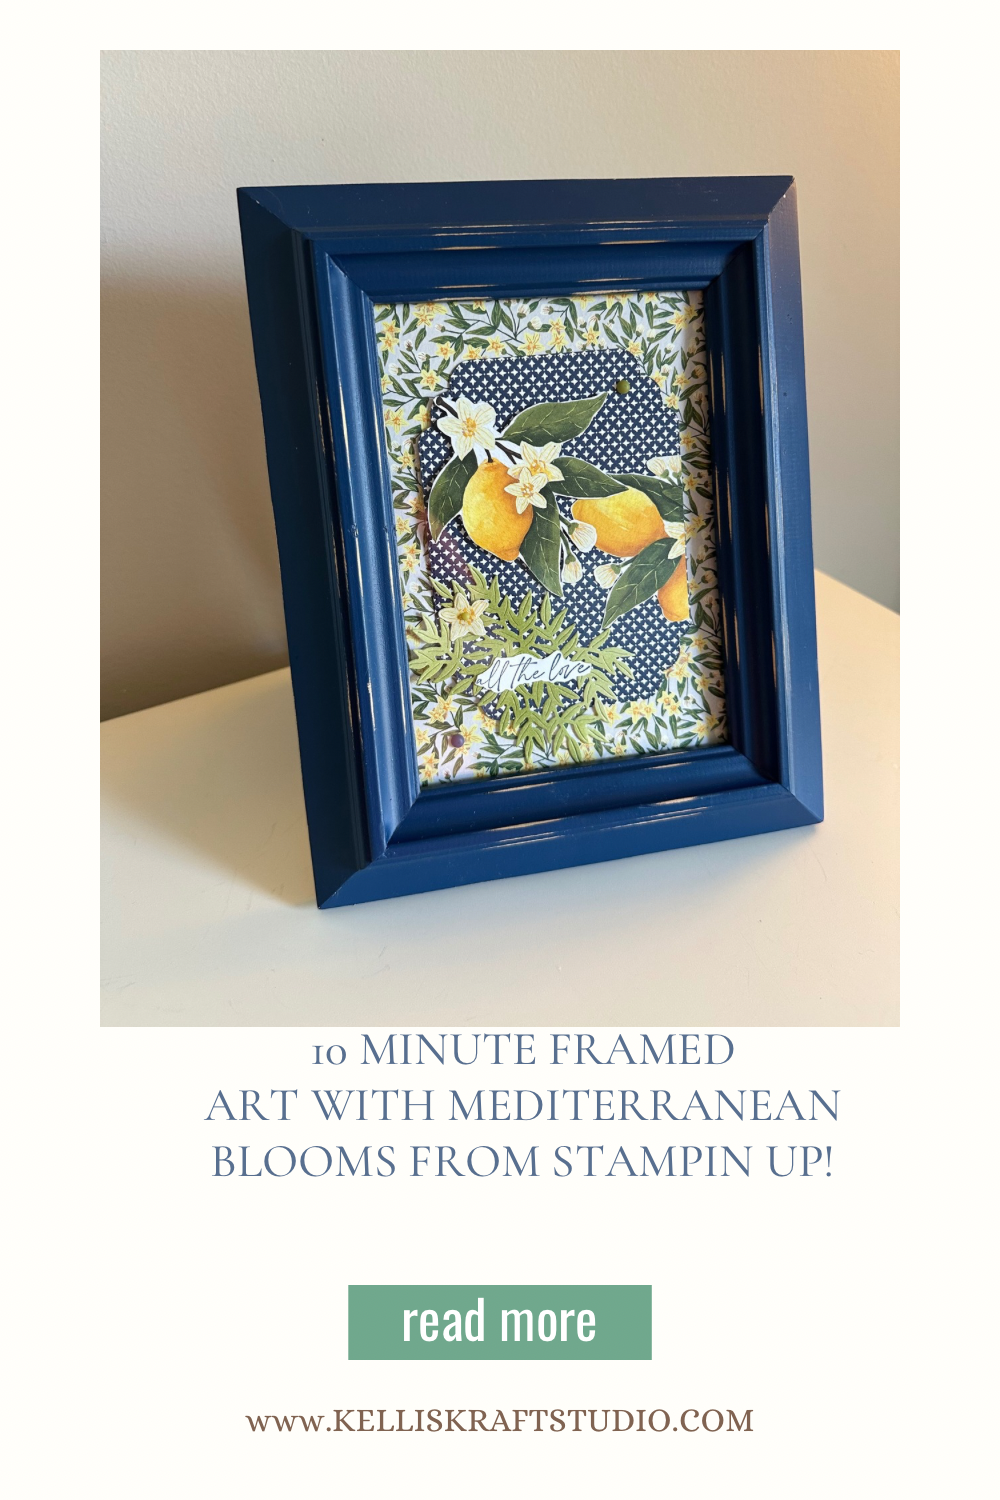
I just can’t help myself, I love this Designer Series Paper from Stampin’Up! So much! This gorgeous paper along with the Citrus Blooms Bundle is in the current May 2024-April 2025 Annual Catalog from Stampin’Up! I love designer paper and Stampin’Up! Never disappoints. I have a confession to make. I am a paper hoarder. Yep, I hoard my designer papers- especially the ones I most adore. I always want to keep them for that really special project I may need it for in the future. As this catalog is getting close to it’s finale in April of ‘25, I decided to make a framed art project showing off this gorgeous suite collection that includes the Mediterranean Blooms 12” x 12” Designer Series Paper (DSP) and the Citrus Blooms Bundle. It also works as a brilliant springtime home office decor project. It only took me about 10 minutes to make from start to finish so I’ve decided to share this idea with you.
Supplies I Used for this Project
- Mediterranean Blooms 12” x 12” DSP: Stampin’Up!
- Citrus Blooms Bundle: Stampin’Up!
- Navy Blue 5”x7” picture frame
- ink pads in colors: “Night of Navy”, “Old Olive”: Stampin’Up!
- foam blending tool
- Adhesive Foam Dots
- Ombre Matte Decorative Dots: Stampin’Up!
Let’s Do This
- Choose a piece of DSP for the background- I chose the one that looks like small lemon tree blossoms. Trim this to 5” x 7”
- Choose a piece of DSP for the shaped background- I chose one that is in Night of Navy- use the die from the bundle to cut the decorative shape.
- I used the lemon branch clusters paper and fussy cut some of the branches. I love the way the yellow of the lemons coordinates with the navy and the greens.
- I didn’t have any “old olive” cardstock but I did have “old olive” ink pad, so I used a foam blending tool to add some of the ink to a piece of white cardstock. Then I used the “leaf group” accent die to die cut that shape.
- I used one of the flower blossom dies to die cut the lemon blossom.
- I chose the “all the love” sentiment cling stamp and stamped with the “Night of Navy” ink pad. Then I fussy cut the sentiment. I love that font!
- I glued one of the lemon branches to the right side of the shape and then I raised the other branch using adhesive foam dots.
- I adhered the blue shape onto the 5”x7” background
- I adhered the “old olive” leaf accent to the bottom left of the shape and background to tie them together.
- I glued the “all the love” sentiment and the yellow blossom onto the accent piece.
- I finished by adding some of the ombré matte decorative dots then placing the completed “artwork” into the frame.
Using a foam blending tool/ ink pad or alcohol markers to add color to white cardstock is a useful hack for the times we don’t have any cardstock in that color. This project took me 10 minutes or less to make and is quite lovely sitting on my desk in my craft room. It creates a joyous springtime vibe that just makes me happy.
Thank you for joining me today here at Kelli’s Kraft Studio. If you are a paper hoarder like me, just go ahead and choose something you love and make a framed art project to display in your home craft area or your desk in your office. This way, you’re still hoarding the paper but you’ve also put it to good use as well as showcasing your amazing crafting skills! Just take an idea and make it your own and always remember to keep it krafty! Save this Pin and follow my blog for more Spring themed projects coming soon! See you soon! Bye Bye!