Using Your Cricut Mug Press
For the Loves of your Life
Who
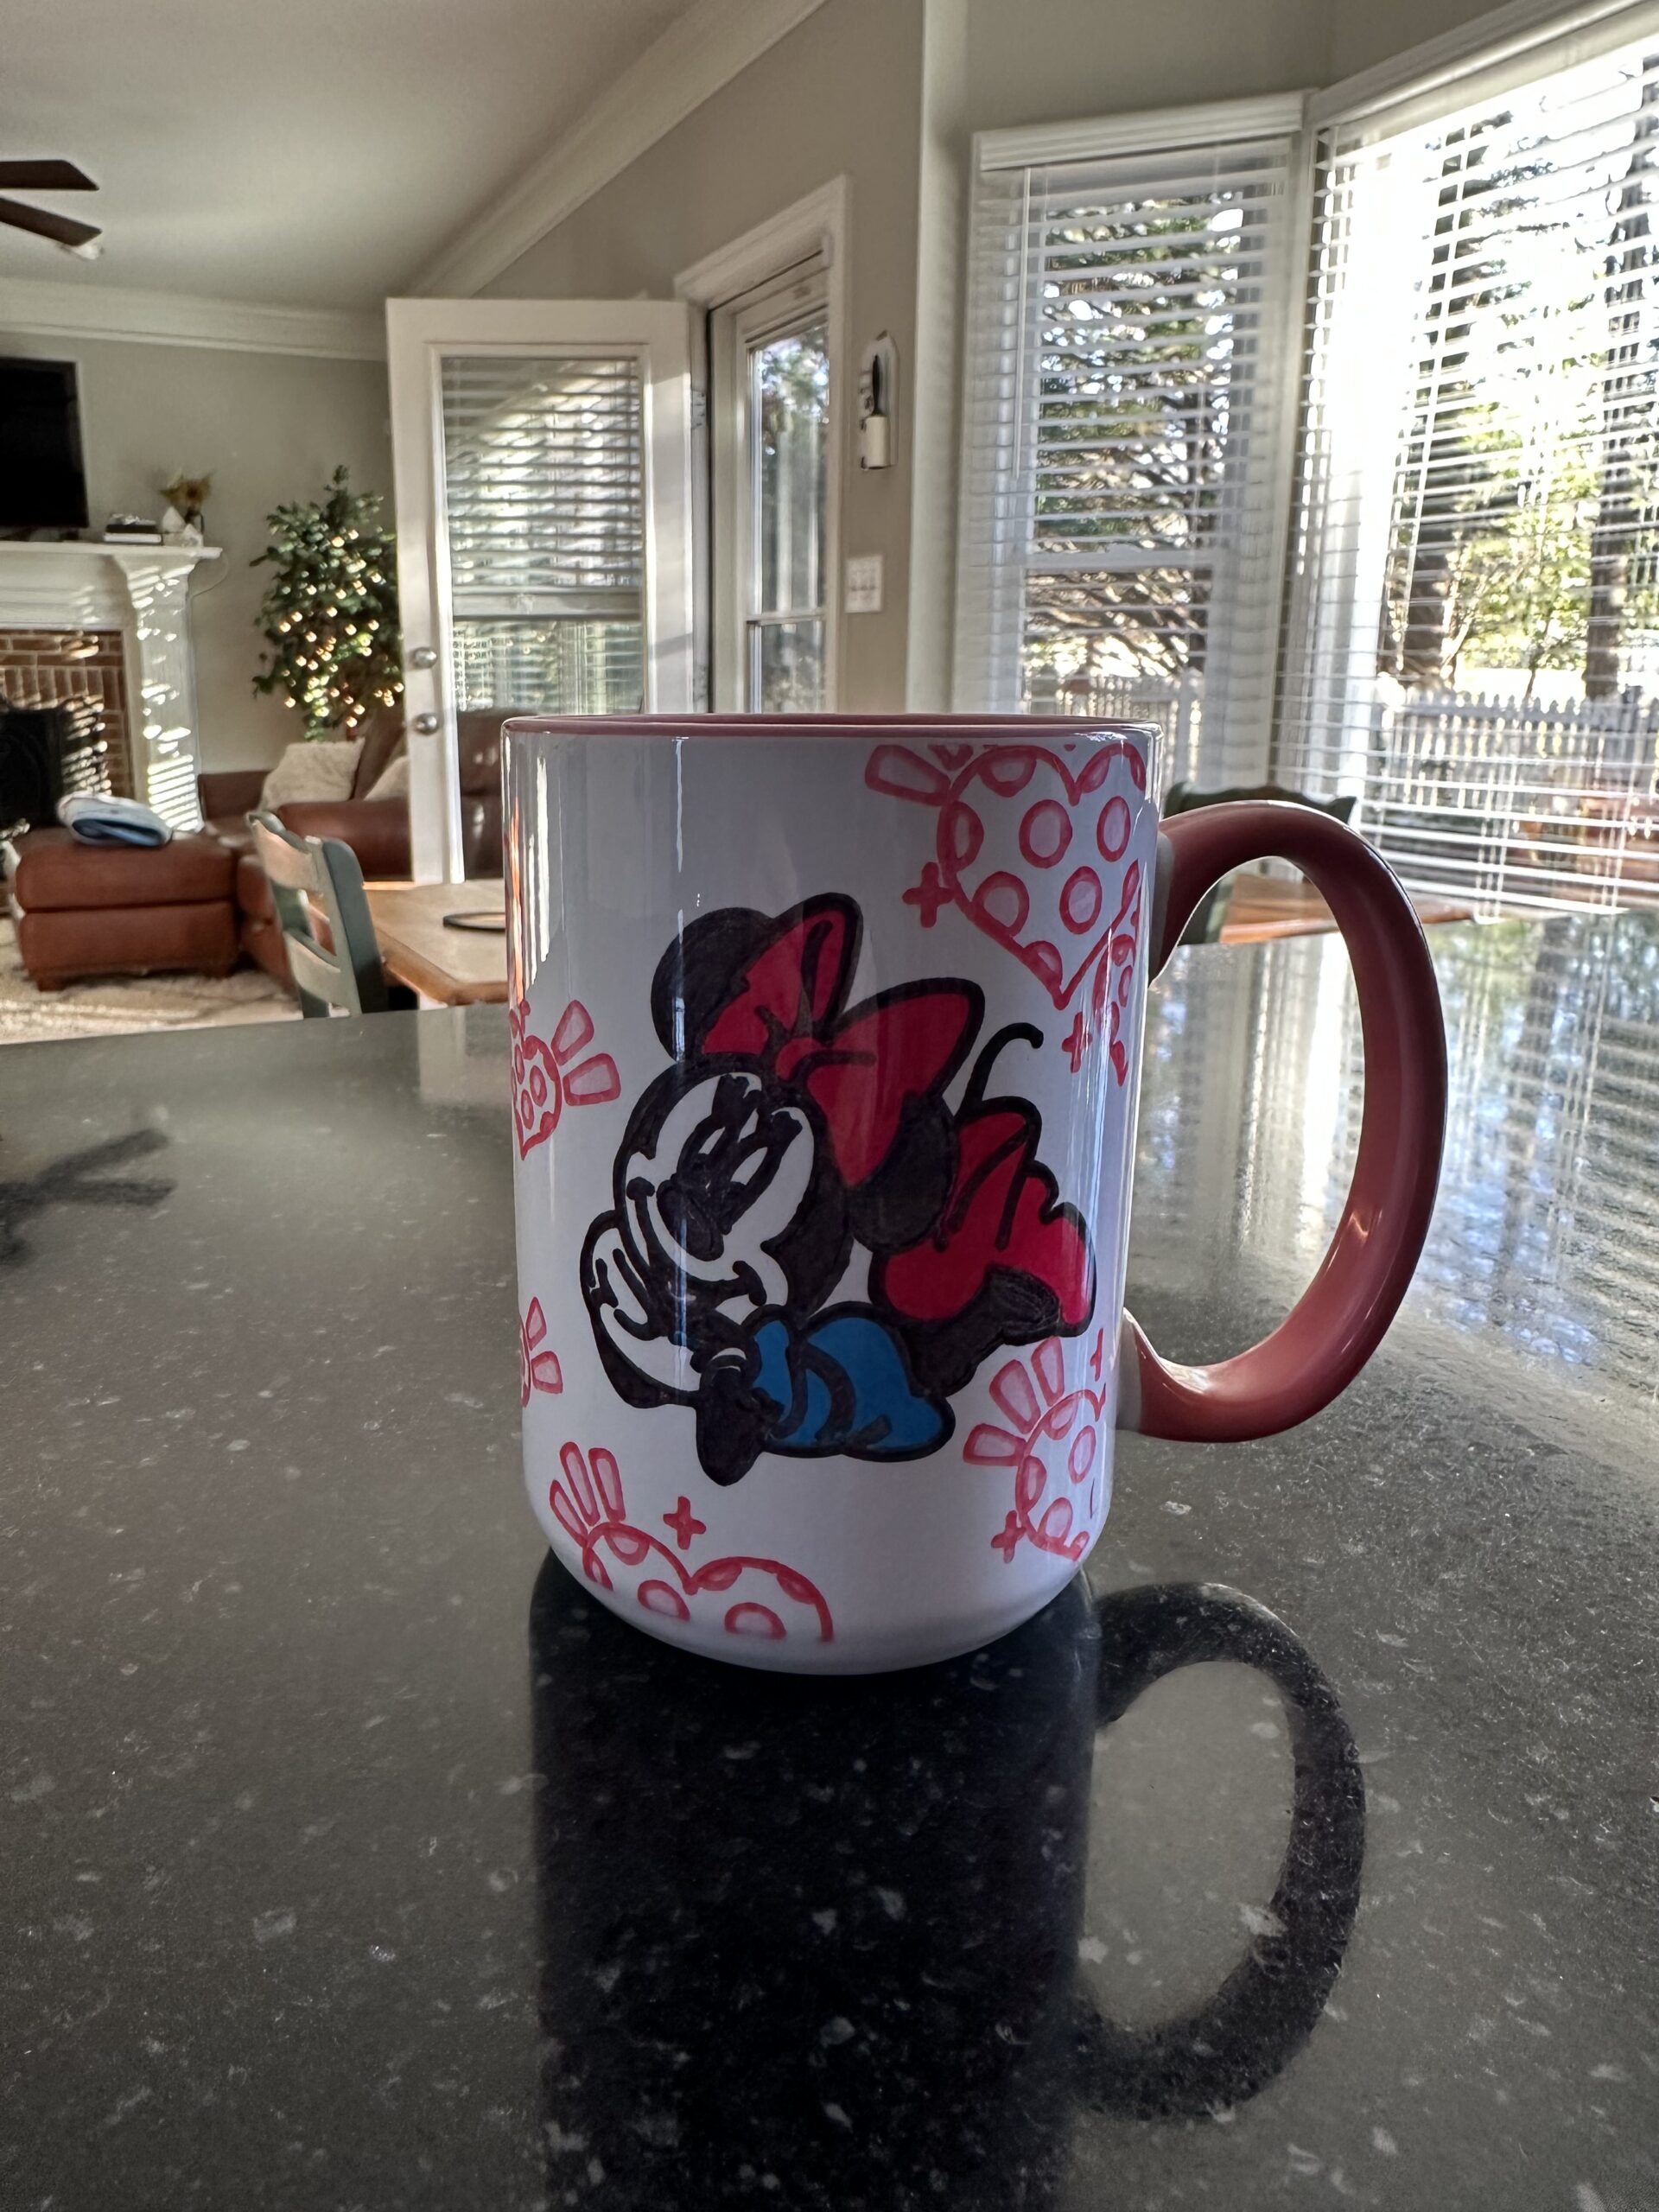
is it in your life that loves Disney- and totally adores Minnie Mouse? Well then, this mug’s for you, kid! I have a few people in my life that adore Disney. Anything Disney. Everything Disney. I was looking for a cute design to use on a mug for a Valentine’s Day gift and remembered through Cricut Design Space, we have access to many Disney designs. Thank you, Cricut! I had just visited a friend of mine who happens to love Minnie Mouse. She has Minnie all over her house so I decided my first Valentine Mug was going to feature Minnie Mouse! I selected the cute image of her laying down as if she’s thinking about the one she loves, then I chose some hearts that totally remind me of Minnie Mouse and a new mug was born.
I love sublimation because it produces a professional quality product and is very easy to use. We can choose from sublimation paper also known as Infusible ink sheets or sublimation ( Infusible ink ) markers. I find I use the markers more often as it seems to give me so much freedom to be creative! When using the markers, we don’t need any special paper, just a sheet of printer paper will do and that’s another plus. The ink gets infused into the blank ( mugs, canvas, t-shirts, coasters…) There’s no vinyl that will come off or has to be protected by coating with a top coat. I love vinyl and use it as often as I use Infusible ink but for different projects. When it comes to mugs, coasters… I prefer Infusible ink.
Here is a list of supplies I used followed by the steps to creating this mug. I will also have links to help you find products and to share my exact design in Cricut Design Space.
*Disclaimer: I earn no commission from nor do I endorse any products or companies I mention in my posts.
Supplies I Used for This Project
- Cricut Explore Air 2
- Cricut Mug Press
- 15 oz. Cricut Beveled Blank Mug- Color “Miami” https://a.co/d/6aIONFC
- Cricut Infusible Ink Markers set of 30 https://a.co/d/gOE2YJf I used the black, red, rose
- Cricut Infusible Ink Markers NEONS https://a.co/d/6R0ZVXy. I used the blue and pink
- Printer Paper 2 sheets
- Heat Resistant Tape https://cricut.com/en-us/materials/material-type/infusible-ink/transfer-sheets/heat-resistant-tape/2006951.html
Let’s Do This!
- Step 1: Turn on your Cricut Machine and your Cricut Mug Press
- Step 2: Gather your supplies. Choose the color of markers you wish to use and lay them out, grab 2 sheets of printer paper
- Step 3: Use this link to get to my exact design if you wish https://design.cricut.com/landing/project-detail/67a1158f342ded43fdab52ac
- Step 4: Place your printer paper on your cutting mat and load into the machine.
- Step 5: press the “Make It” button at the top of the page.


- Step 6: Remove the drawn and cut rectangular shape from the cutting mat and tap into your inner child and color your images in as you desire. I used black for Minnie’s ears, legs, arms, eyes, nose. I used neon blue for her dress, neon pink for her bow and shoes. I had the hearts drawn in red and I used the rose marker to color them in.
- Step 7: Once you have colored in your wrap as you desire, wrap it around your mug, ink side down and place it so the designs line up as needed. I created this mug wrap so that Minnie Mouse is on both sides.
- Step 8: Use “Heat Resistant Tape” to hold your wrap in place. Fold the other sheet of printer paper in half lengthwise and tape over the top of your printed design to protect your mug press from ink. Secure this with more heat resistant tape. Make sure your wrap is tight and held securely in place on the mug.
- Step 9: your mug press should have beeped its readiness at you, so carefully place the mug into the slot. Remember it’s HOT!
- Step 10: Close the lever and the mug press will do it’s job
- Step 11: When the mug press beeps again, your mug is complete, Carefully remove the VERY HOT mug by it’s handle, out of the mug press and place on a heat resistant surface to cool down completely. I give it about 20 minutes.
- Step 12: Last Step! Remove all the paper from your mug to reveal that beautiful color and image!
This is the first 15 ounce mug I have made. I’ve used the smaller ones before but this is an awesome size! And that beautiful “Miami” color inside and on the handle of the Cricut Mug is gorgeous on its own! The rose colored marker I used to color in the polka dots inside the red hearts matches perfectly. That neon blue and pink on Minnie Mouse is bright and lovely! I cannot wait to gift this to my friend for Valentine’s Day! She’s going to love it!
Thank you for joining me today here at https://kelliskraftstudio.com/. I hope you have enjoyed this Valentine’s Day Mug project. If you have never used your Cricut Mug Press, this is a nice project to start with as it uses just a few inexpensive supplies. This technique for sublimating a mug can be used with just about any design you wish! You can even free hand your own design. The mugs( many brands are available, just make certain they’re sublimation ready) and the Infusible ink markers are quite inexpensive so you could allow children to design their own cocoa mugs! Of course you need to use the mug press because it gets way too hot for little ones to use. Kids would absolutely love making their own mugs. Whatever you decide to make using Infusible ink, just remember to make it your own and always keep it Krafty!
