Hello and welcome to my studio! Today I am sharing these quick and easy hinge lidded gift boxes. I personally love making my own gift boxes. I don’t enjoy using gift bags too often and there was a time in my life I went from store to store looking for just the right boxes to fit my gift giving needs. I love gifting small items all year long for all occasions, may it be candies, candles or anything that suits the occasion. I was delighted to learn I could use cardstock and or designer paper and MAKE my own boxes and have been doing so ever since. My go-to way of making gift boxes uses no special equipment and anyone can make them.
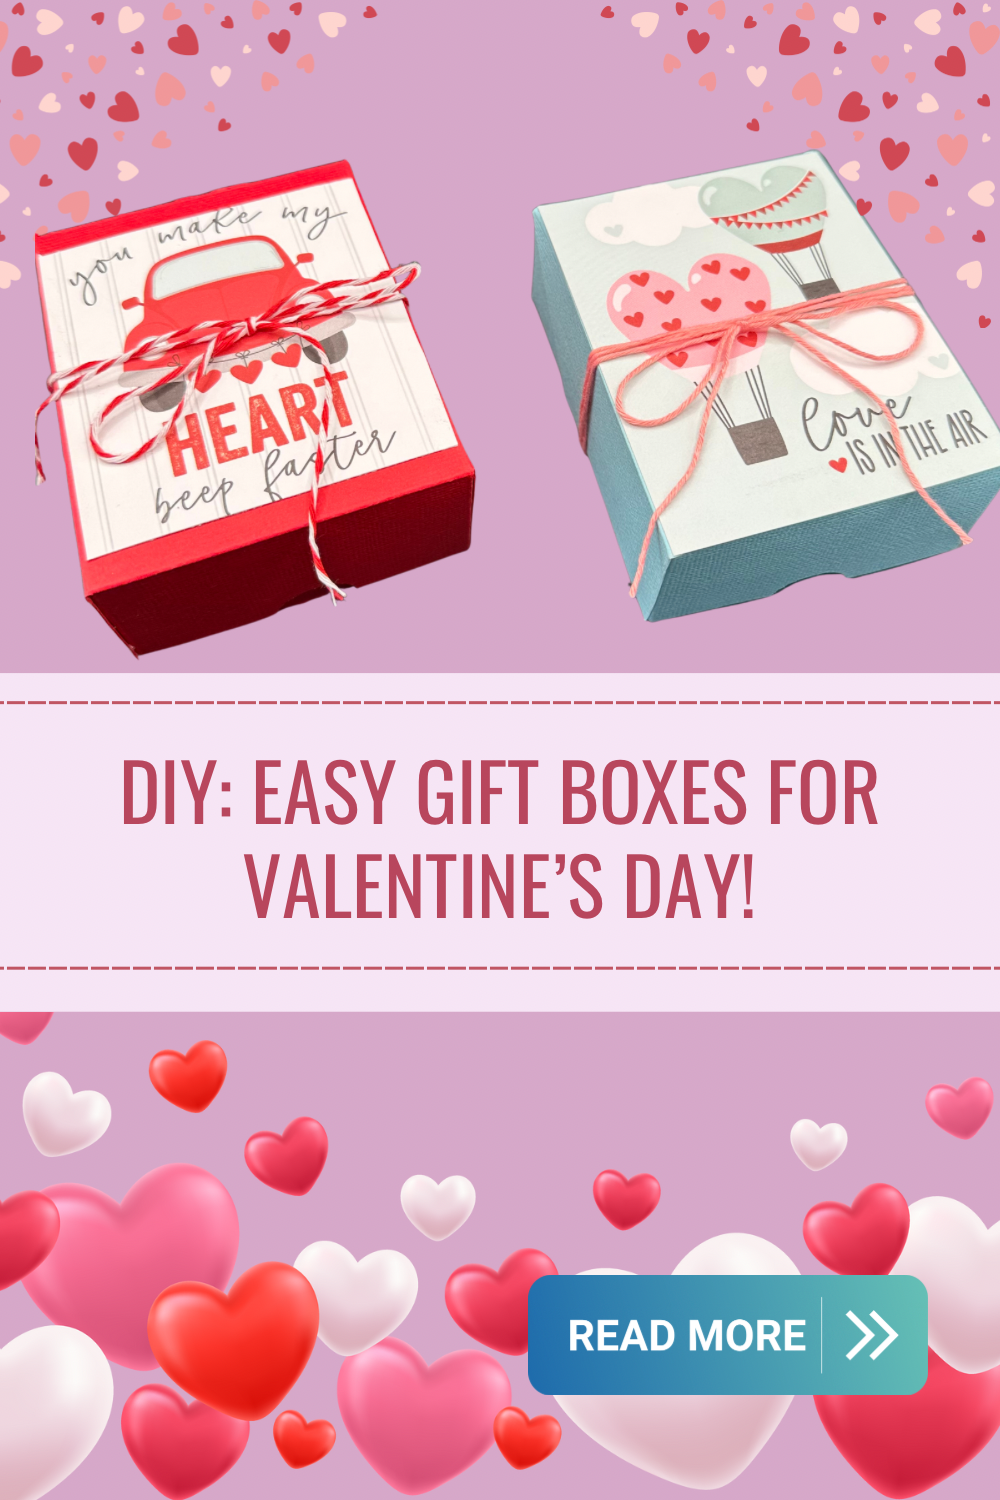
Since it’s almost Valentine’s Day, I have decorated these not-so-little boxes for the occasion! They measure a lovely 3×3.75×1.5”, with a hinged lid. The entire box uses only half of a 12×12” Cardstock so we can get 2 boxes with one sheet of 12×12” cardstock! A paper trimmer, some cardstock and some glue is about all you need! Easy Peasy! Actually, you don’t have to have a paper trimmer, you could use a ruler to mark your lines and just cut with scissors. These boxes are so cute decorated for Valentine’s Day! You can decorate them to suit any occasion and any recipient. They could hold loads of sweeties, a bracelet, necklace, candle or many other items. They’re very quick to make, so you could make several in no time at all.


Supplies I Used for These Boxes
- 12 x 12” 65 lb. Cardstock in light blue and red
- designer paper: I used paper from a 6×6 Paper Pad by Echo Park called “Love Notes” for the light blue and the red box. Any designed paper you have on hand that works for the occasion will do.
- Paper trimmer that also has a scoring blade
- scissors
- bone folder
- glue
Let’s Do This
Start by trimming your piece of cardstock you wish to be the box to 6 by 12 inches. Score the 12” side @ 1.5 – 5.25 – 6.75 and 10.5 inches and score the 6” side @ 1.5 and 4.5 inches. Fold and burnish all of the score lines—- holding the cardstock in the landscape position, use scissors to cut up each of the score lines stopping at the horizontal score line. There should be 4 slits. Rotate the cardstock 180 degrees and cut the same score lines on the other side. It should look like this:

Now turn the cardstock over and apply glue to all of the “tabs” like this:

Then just fold up the box and glue the sides together. Don’t worry, it all comes together beautifully!

Optional: Use scissors to snip the back triangular piece off of each side of the lid and use a small circle punch to make a notch at the front of the lid to give the box a bit of a finished look.
Lastly, decorate your box with decorative paper by trimming it to 3 by 3.75” and using glue to adhere it to the lid of the box. Add any finishing touches you’d like- I used some coordinating twine to keep the box closed until my lucky recipients open them to reveal the gifts inside!
Thank you for visiting me here at Kelli’s Kraft Studio. I hope you have enjoyed our little project today and if you have never tried making your own boxes or bags, you should give it a go. This is a nice and easy box to make and the finished size is lovely. Never be afraid to take an idea and make it your own and remember always Keep it Krafty!