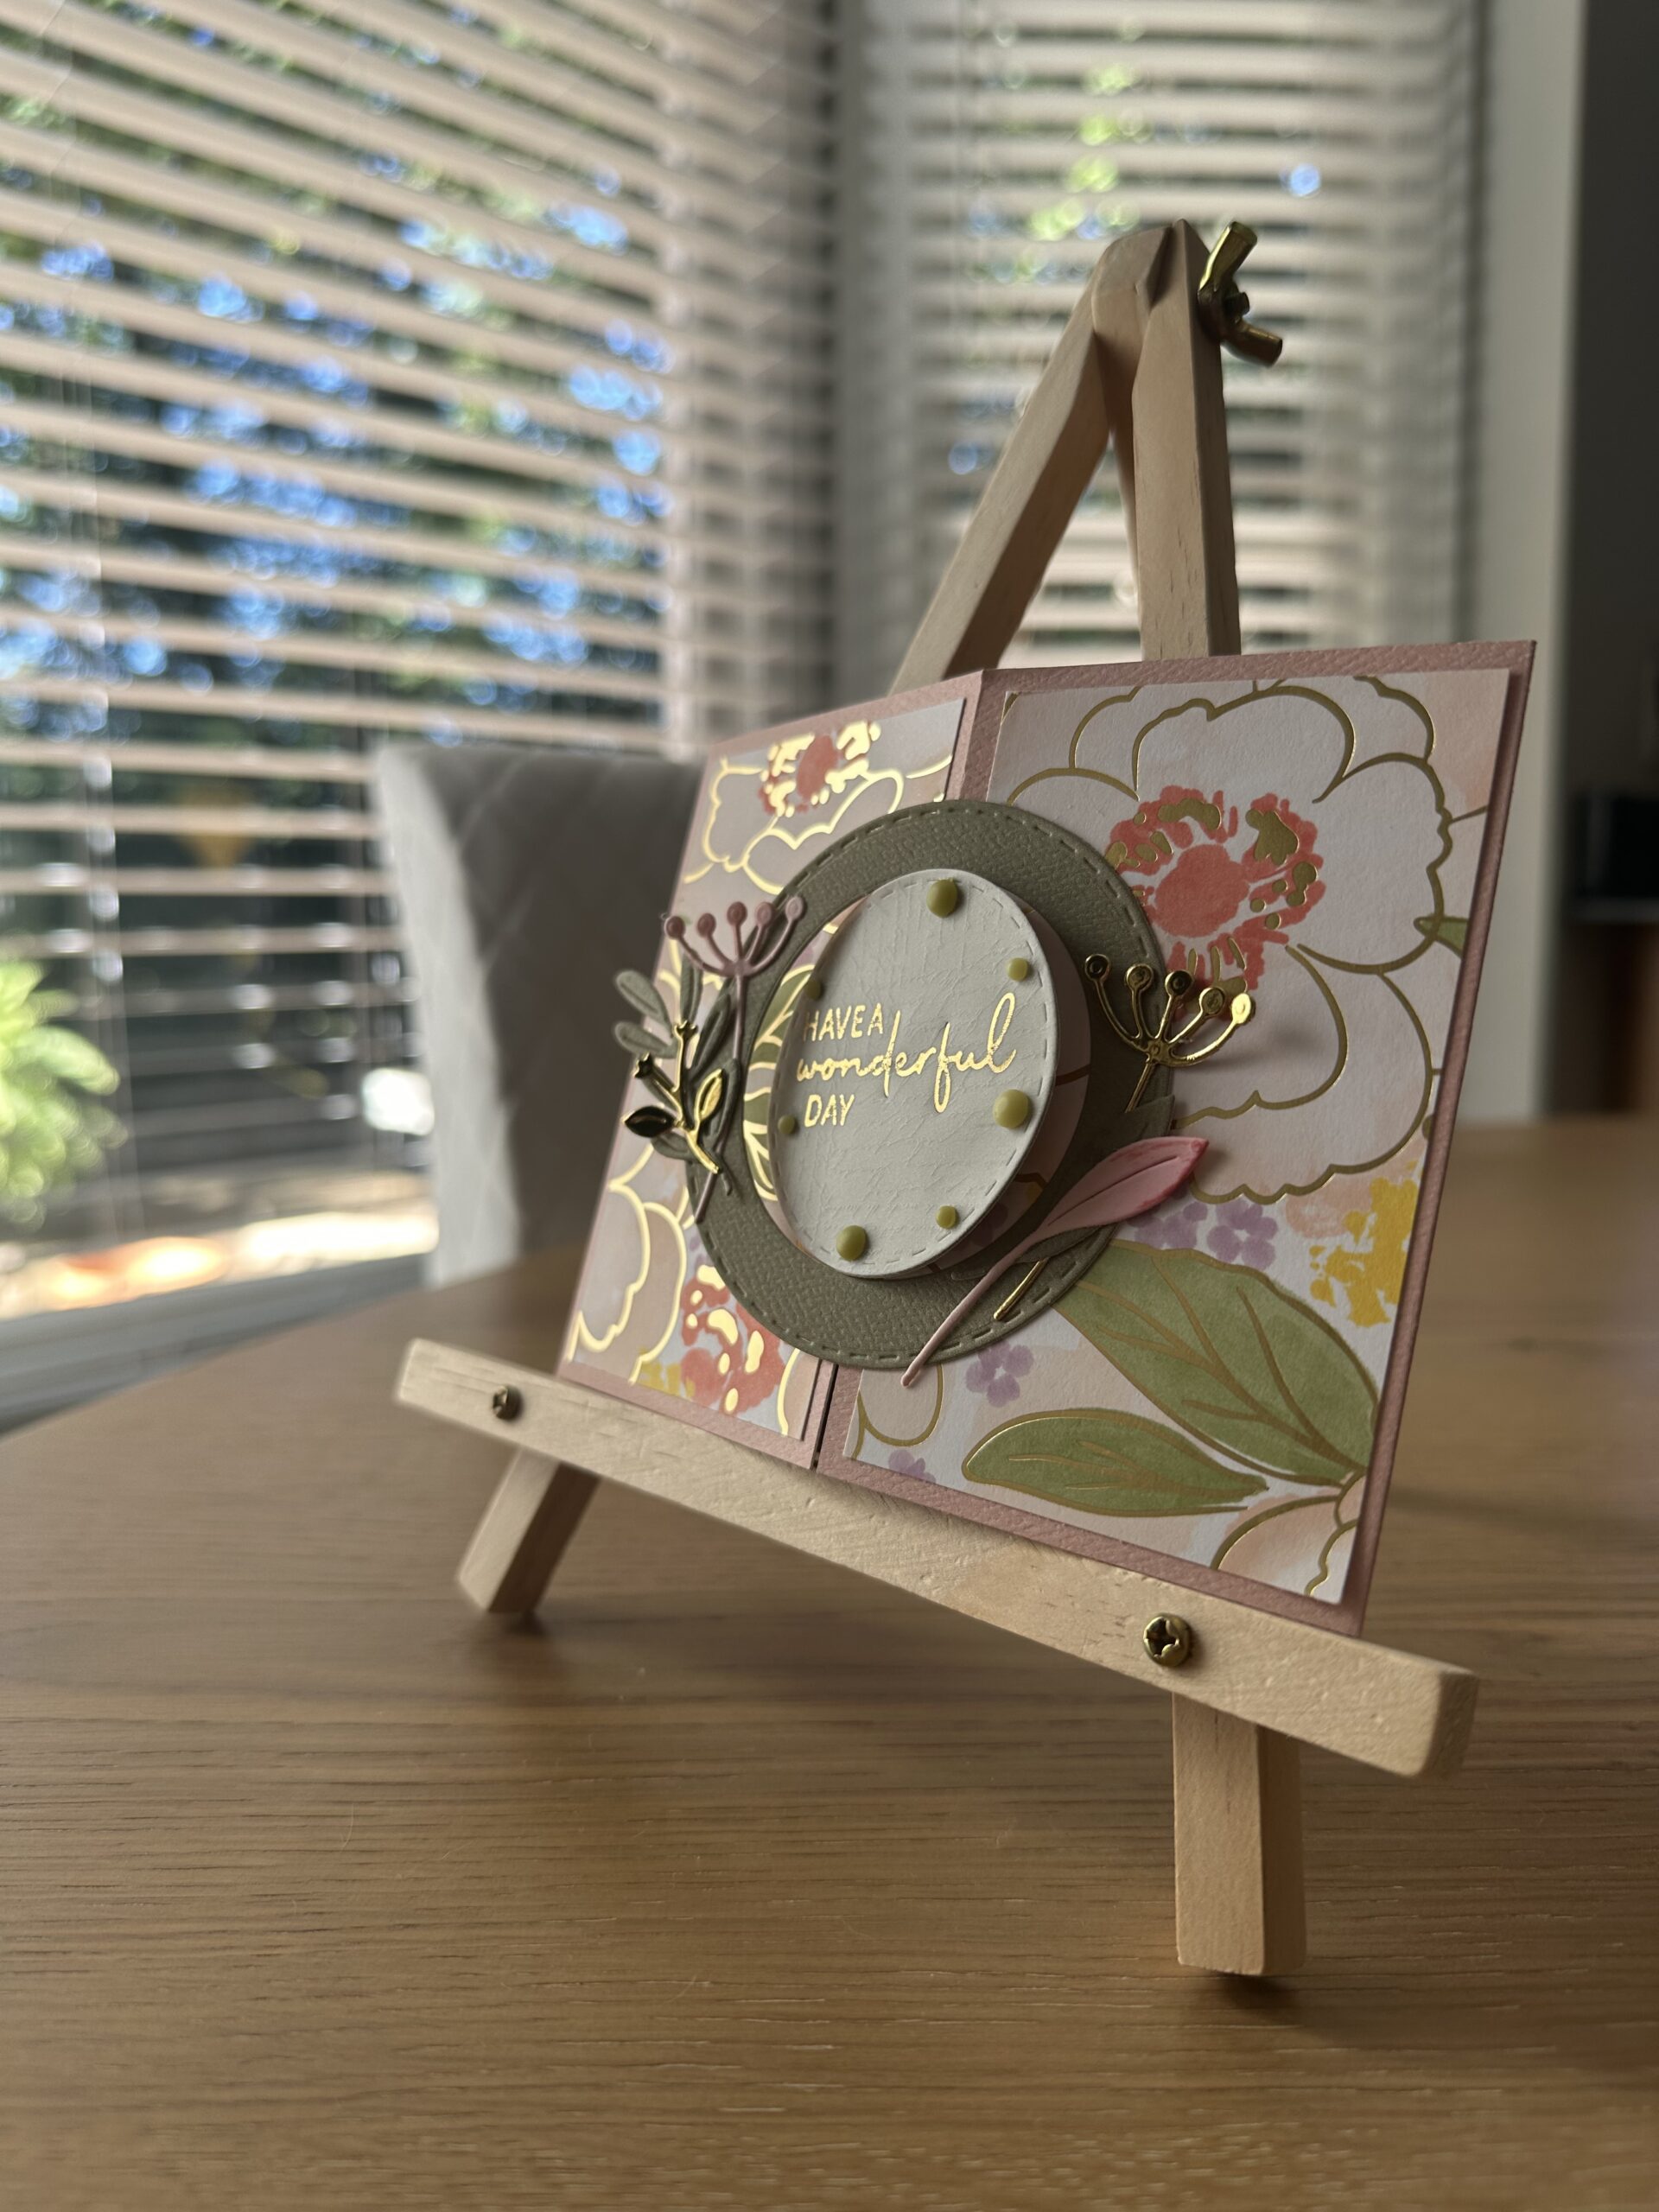

It’s An Interlocking Gate Fold Card
Hello and welcome to my studio! I’m so happy you’re here with me today because I love what I do and I adore sharing my ideas with you. And this week I’m sharing this lovely gate fold card!
This fun fold card is very simple to make. And it’s such a fun design that will impress anyone receiving a card like this. As a reminder to myself as well as anyone reading this, we can and we should mix and match our craft supplies. By doing so, we create a near infinite amount of designs.
As an example of mixing and matching craft supplies, I used designer papers from one company that coordinated with solid card stock from a different company. The die-cut stems and florals I used on these cards is from one set of stamps and dies, and the sentiment is from another. So you see there are many options if we remember to go through our supplies and interchange them. Next, I’ve shared a list of supplies that I used to make this gate fold card, followed by some photos, a short video and a simple step by step tutorial. So without further ado, let’s get crafty!

List of Supplies
- 12 x 12” Card Stock: Solids from the “Silly Goose” Collection by Carta Bella
- 12 x 12” Card Stock: “Lovely & Beautiful” Designer Series Paper by Stampin’Up
- Vellum
- Nested Stitched Circle Dies: can be found at Scrapbook.com, Simon Says Stamp etc.
- “Have a Wonderful Day” Hot Foil Plate from the “Wonderful Tulips” Set by Spellbinders
- Glimmer Hot Foil: Gold
- Glimmer Hot Foil Machine by Spellbinders
- stems and florals dies from “Parcel and Post” by Spellbinders
- Die Cutting and Embossing Machine
- Paper Trimmer with Scoring Tool
- Glue or Tape Runner
- ** optional gems, sequins etc. for embellishing
Want more card making & crafting inspiration?
Follow me on social media
Let’s Get Krafty

Green Fun Fold Card with Hot Foiled and Die Cut Sentiment 
Interlocking Gate Fold Card 
Opens to 4.25 x 11”. Closes to 4.25 x 5.5” 
Use Nesting circle dies to make the interlocking feature and framed focal point 
We can die cut a piece of vellum to add interest 

These are from the “Parcel and Post” stamp and die set by Spellbinders 


I die cut some florals from a piece of gold foiled card stock 

Adhere any decorations so that they Do Not interfere with the interlocking feature. 
We can use Hot Foil on Vellum and many other surfaces 


I used a set of rectangle hot foil plates + “Just wanted to say” + “Happy Birthday” Letterpress/hot foil plates for the inside message. 

WANT TO SEE MORE?
VISIT MY BLOG ARCHIVES
Step By Step
- First, make the card base by trimming a piece of 12 x 12” cardstock (CS) to 4.25 x 11”.
- Score the long side @ 2.75” on each side. This creates your gate fold.
- Trim 2 pieces of designed card stock to 2 5/8” x 4 1/8”. Adhere these onto each side of your card base. You could also make a couple more for the inside of your card base.
- Use the circle dies with a piece of coordinating solid CS. I used the 3” circle along with the 2 1/4” circle to create a thicker frame for which to add my little florals. It’s totally up to you. This is half of your interlocking feature.
- Die cut a piece of vellum using the smaller circle die.
- The negative circle from die cutting the frame will be your focal point. And you adhere the vellum circle onto this. This becomes half of your interlocking feature.
- Die cut pieces of greenery or florals or whatever coordinates with your design. Adhere these onto your circular frame making certain not to impede your interlocking feature.
- If you are going to Hot Foil your sentiment, do so now. ** want to learn more about hot foiling? Click HERE.
- Now, adhere just the right side of your circular frame onto the right side of your card front.
- And adhere just the left side of your circle focal point onto the left side of your card front- place this inside of the frame to line it up.
- Finish this lovely fun fold card by adding any embellishments you’d like and remember to add your message to the center panel inside of your card.
- That’s it! You’ve now made your own interlocking gate fold card! That was fun, right?
Keeping It Krafty
In closing, I’d like to thank you again for joining me here today. This interlocking gate fold makes an absolutely lovely fun fold card! It’s a simple design that can be made in one little afternoon crafting session. I made two very similar cards. One is using an olive green base with a hot foiled and die cut sentiment. The other is using a pink base with the sentiment hot foiled directly onto the vellum. I did this simply because it compliments the gold foil in my chosen designer paper. Honestly, you have many choices with this style of card. In fact, the first time I made an interlocking gate fold card was with cute and whimsical Christmas designs. It’s all about being creative.
And I think anyone and everyone can be creative. Because I believe there’s a doer, a maker, a crafter, in all of us. My goal is to inspire you to tap into your creativity. And in the process you’ll see how crafting is an amazing way to relax, reset and recharge. It’s therapy in the form of papers, inks and imagination. So no matter what it is that you decide to make, just make it your own. And always remember to keep it Krafty!
Until next time,
