
Ink Blending & Cricut-ing?
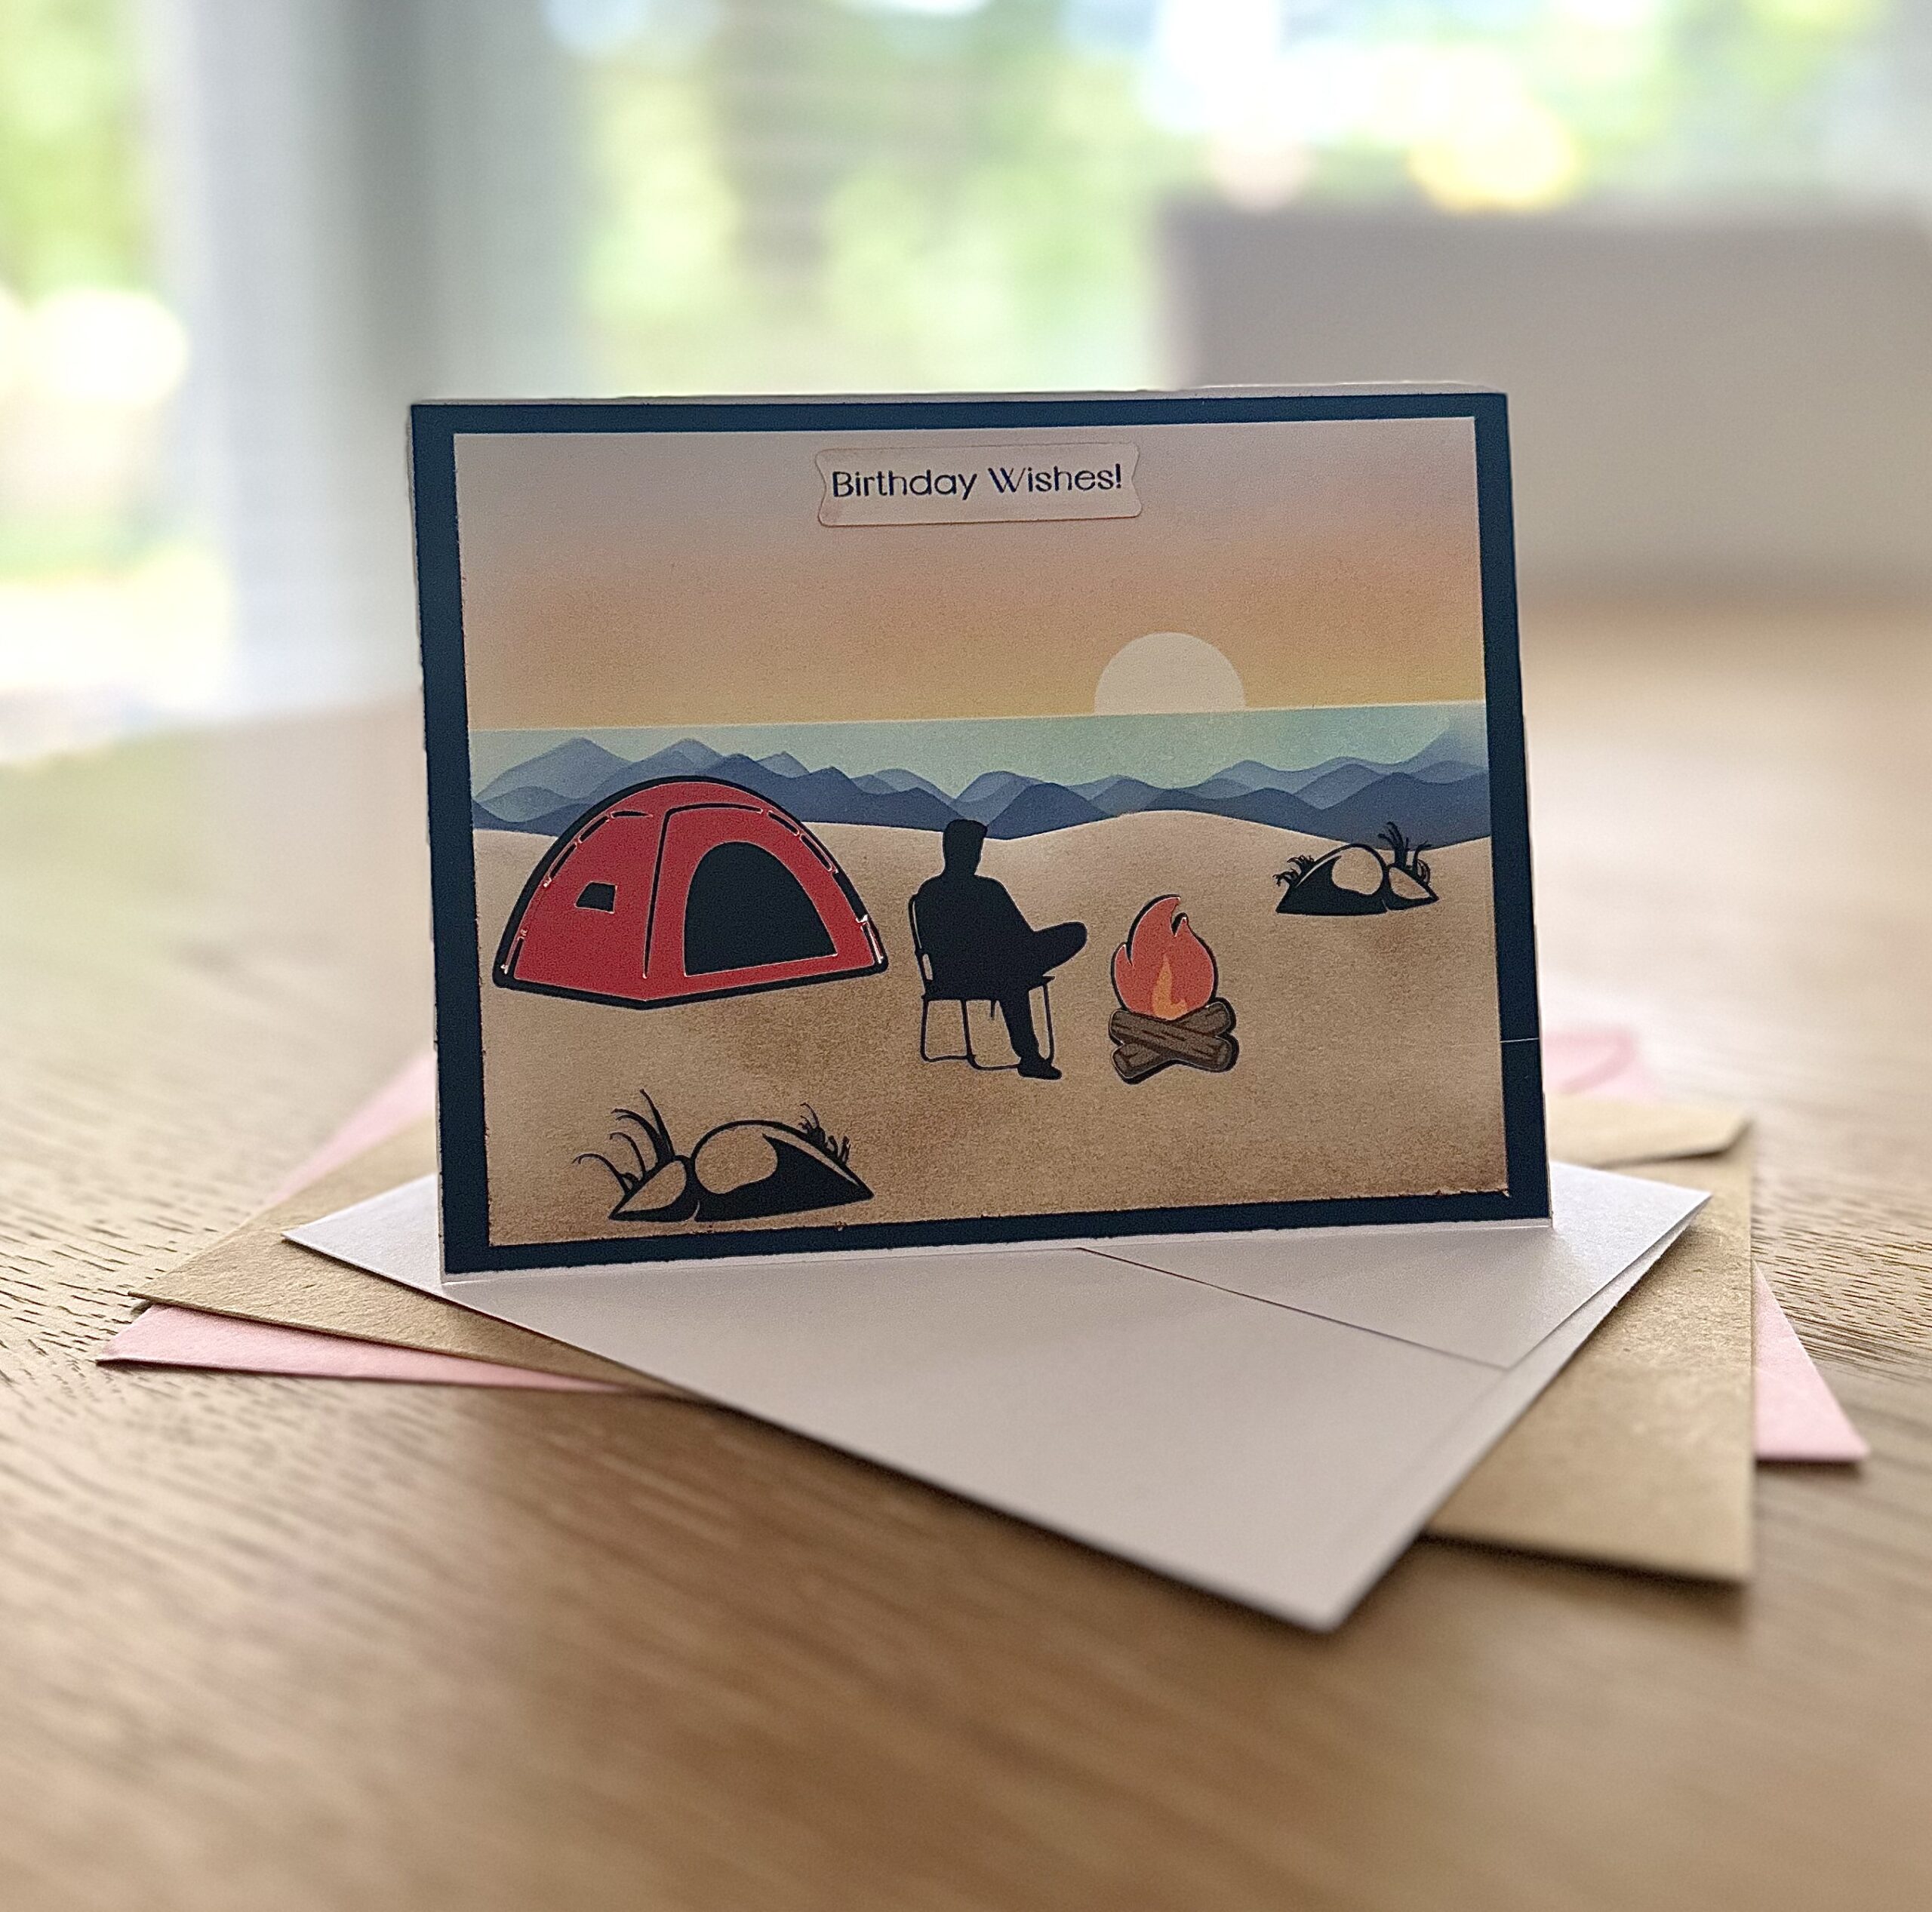
Hello and welcome to my studio! I’m so happy to have you here with me today because I love what I do and I just adore sharing my ideas with you! So today I’m sharing this picturesque camp card that features an ink blended background and die-cut (or Cricut cut) camping ephemera. You may be surprised to find that you can create a card like this in just minutes. And it’s incredibly fun to create your own scenic cards.
This scenic camp card is perfect for those who love camping! I really enjoy camping, so long as it isn’t hot or buggy. I love all sorts of camping but I must confess I’ve only ever done 2 nights at a time. And this card was inspired by a very scenic campsite at the tops. The vistas up there are absolutely breathtaking and those sunsets and sunrises are just epic. So I really wanted to try and create that sort of scene on a greeting card. And this card is my whimsical version of that lovely campsite. Keep reading below as I’ve shared a list of the supplies I used to make this card. I’ve also created an Instagram Reel of the ink-blending process for this background. I’ll share a LINK to that REEL later in this post.

List of Supplies
- Card Stock: Navy Blue, White, Red and Black
- Glue
- Paper Trimmer: HERE
- Scissors
- Sticker Paper: HERE
- Shrinky Dinks Sheets: Amazon
- Cricut Joy Xtra: Optional
These can be found at Scrapbook.com HERE
- Mint Tape
- Sticky Mat
- Ink Pads: Ranger-Distress Oxide-Tim Holtz in colors [ Tumbled Glass, Faded Jeans ]
- Ink Pads: Ranger- Simon Hurley in colors [ Slippery When Wet, Guppy, Bee Sting, Weeping Willow ]
- Pre-Scored A2 Cards and Envelopes
- Ink Blending Tools: foam domes or brushes
Want more card making & crafting inspiration?
Follow me on social media
Let’s Get Krafty

- First, gather your supplies.
- Create your own stencils by taking a sheet of “Shrinky Dinks” OR Heavy Card Stock and use your scissors to cut one piece in a large wavy edge.
- Take another piece of that paper and use scissors to create small rolling mountain tops as in the photos.
- Set these aside and grab your sticky mat. If you do not have a sticky mat, that’s okay, you can do without. But I must say that I have been paper crafting for 20 years and I’ve just recently bought the sticky mat. How have I lived without it? It’s a fantastic addition to any craft room.
- Now, grab all of your ink pads. Remember, you don’t have to use the exact same inks I used. Just choose colors that will work in the same manner.
- Trim a piece of Navy Card Stock to be just shy of 4.25 x 5.5”.
- Trim a piece of White Card Stock to about 4×5”. This is for the ink blended background.
- IF YOU ARE using your Cricut machine to make the camping elements, go ahead a do that. I’ll share a link to my FREE DESIGN, and you can use that. OR you can create your own. You may want to choose an RV or a Camper Van, Various styles of Tents etc.
- IF YOU have camping stamps and die sets, just use those!
- Once you have all of your camping elements made, set those aside.
Ink Blending The Background

Gather all of your ink pads, your sticky mat, your ink blending tools, your mint tape or any low-tack tape. Now, stick your white card stock onto the sticky mat and prepare to have some fun!
And if you’d like to see me creating this very background, click on this link to my Instagram Reel. Click HERE
If you want to use my FREE DESIGN in Cricut Design Space. Click HERE
Once you’ve created your background, adhere that to the navy blue CS. Then adhere all of your camping elements onto your background wherever you think they should be. Keep in mind that if you have a Cricut machine, your options here are almost endless. Have fun with it! You’re building a scene. Add a sentiment to the front of your card and a message to the inside and that’s it! You’ve now made a whimsically picturesque camp card in minutes!
WANT TO SEE MORE?
VISIT MY BLOG ARCHIVES
Keeping It Krafty


In closing, I’d like to thank you again for joining me here today at my little studio. This has been a fun project for me. I knew I just had to create a card that resembled that scene. That view from the plateau looking across those mountain ranges. And with that gorgeous sunset! Of course, ink blending doesn’t compare to the real thing. But I believe anyone who loves camping, or pretty scenery, or adventure will enjoy receiving a handmade card like this. So go ahead and give it a go! Also, no matter what it is that you decide to make just make it your own. And always remember to keep it krafty!
Until next time,
