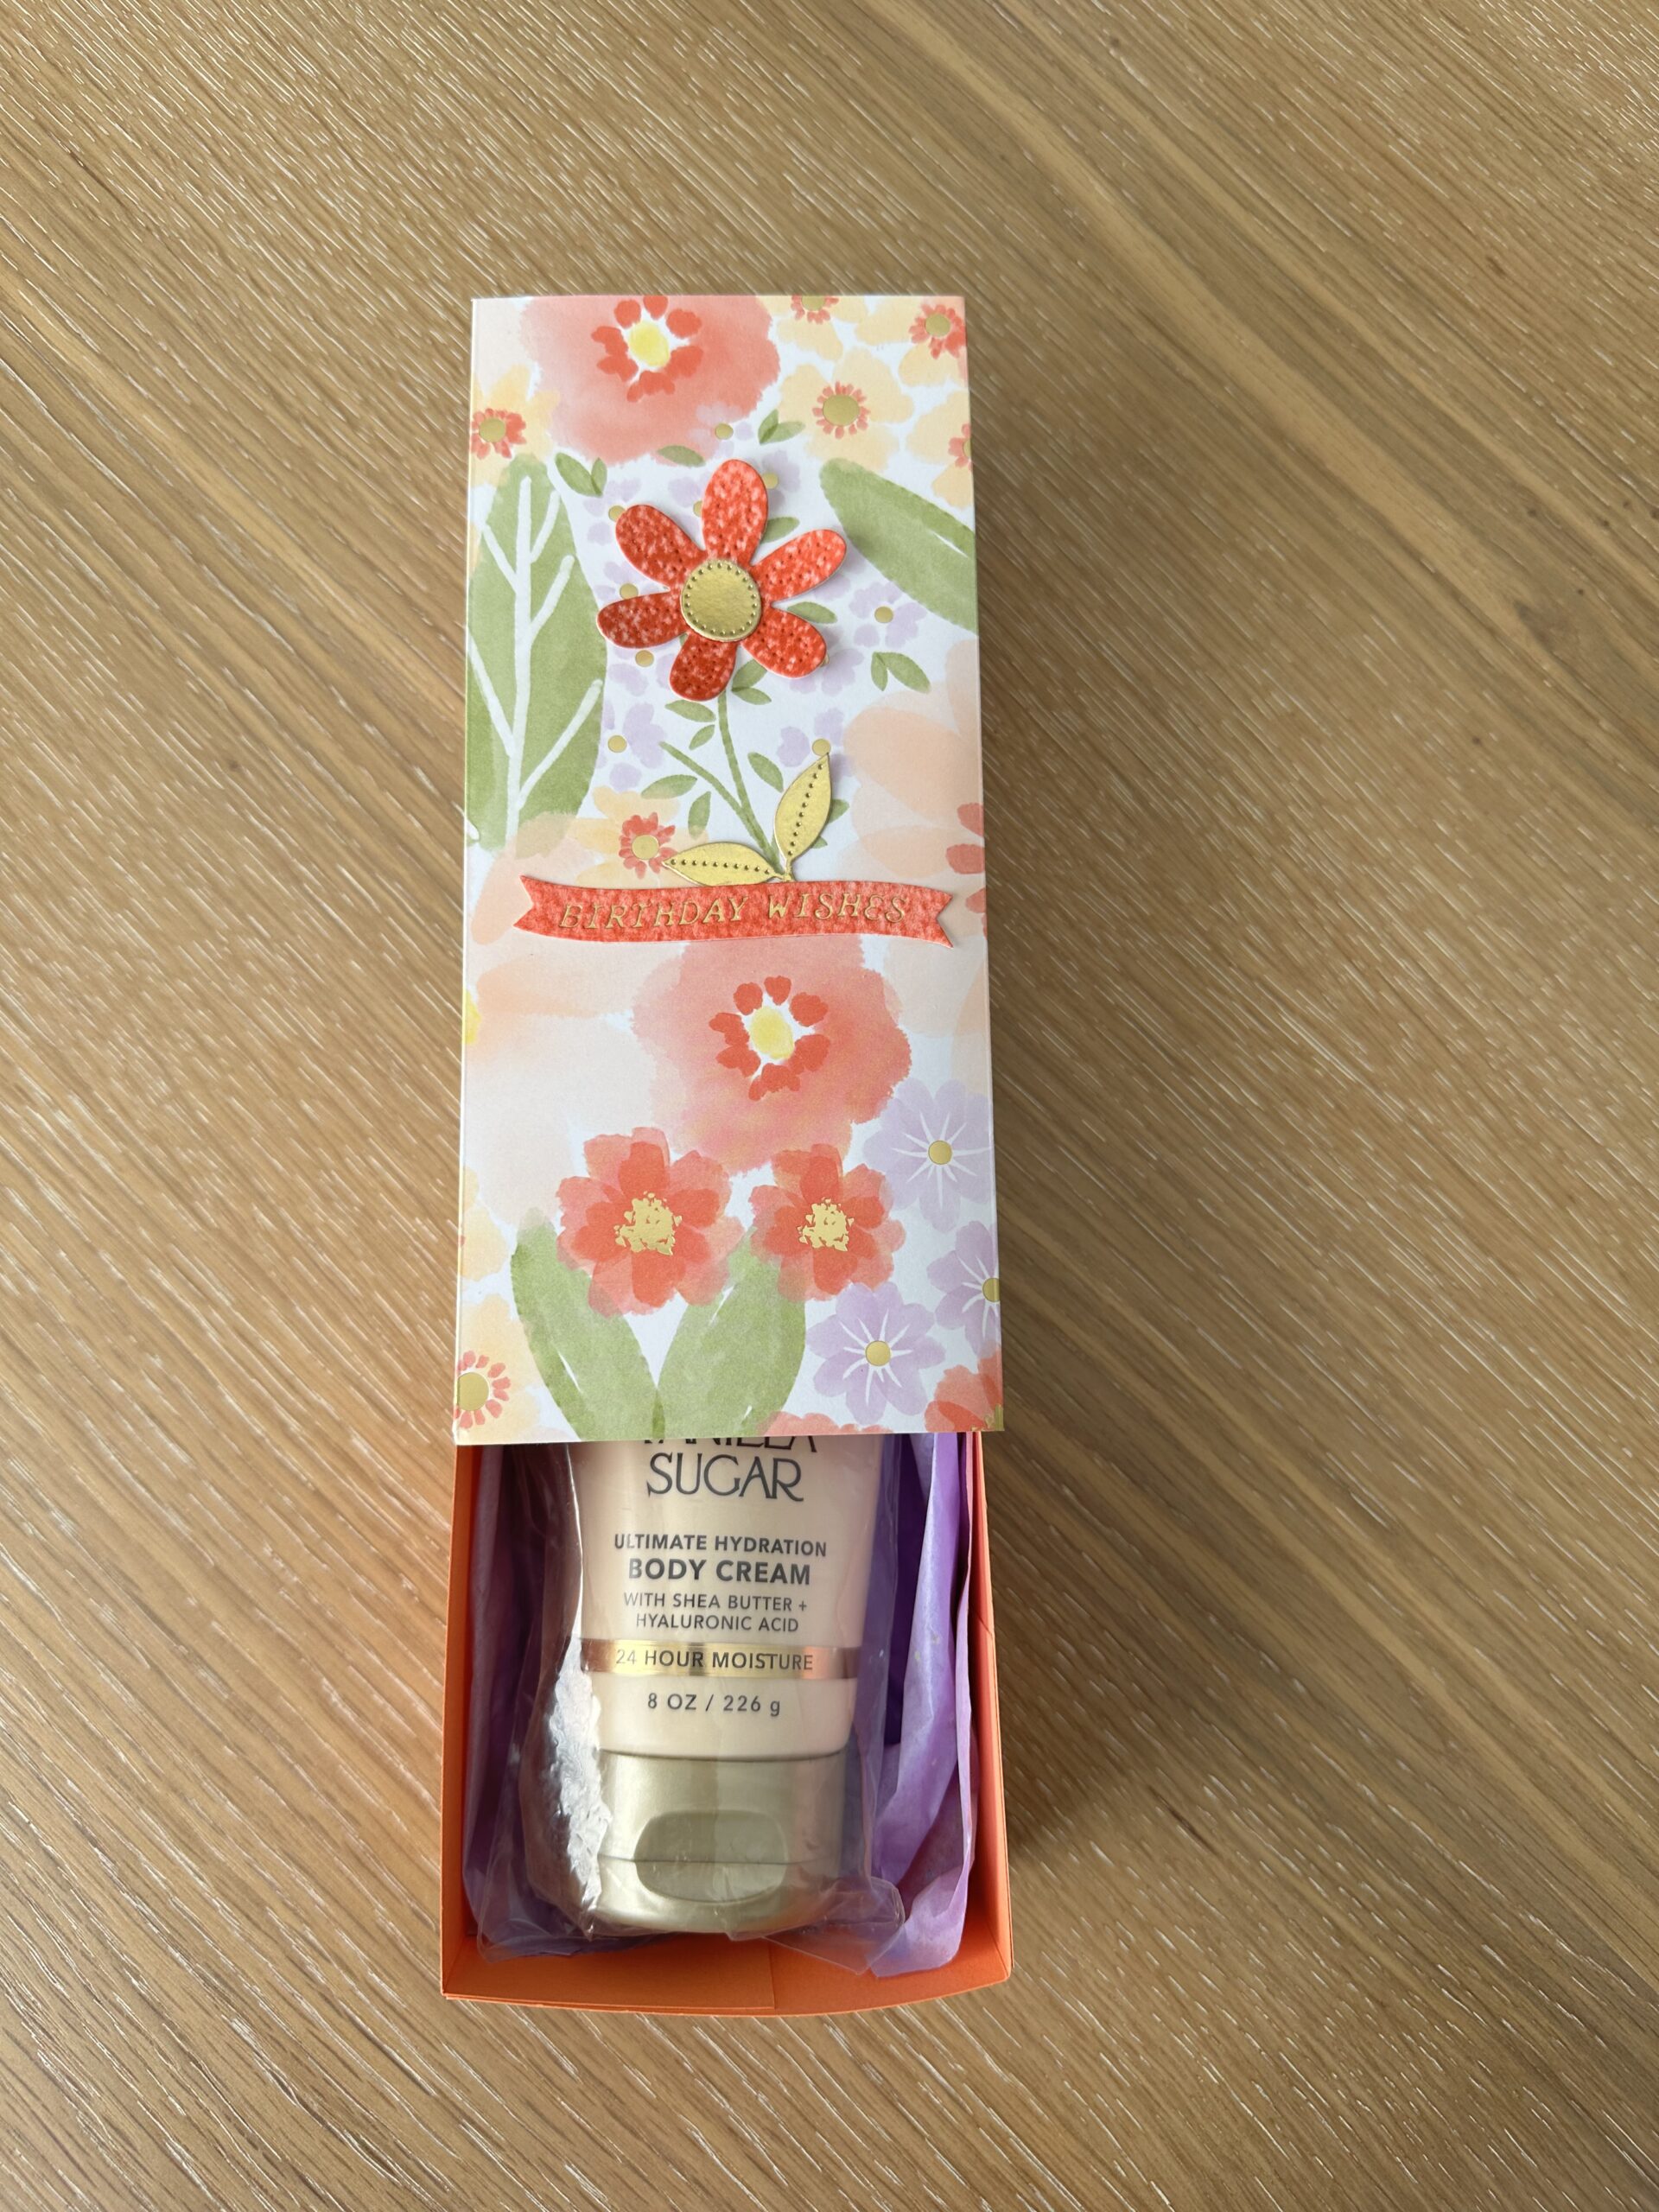

Perfect Fit For Larger Gifts
Hello and welcome to my studio! I’m delighted to have you here with me today! Because I just can’t wait to share this project with you! This is an extra large matchbox-style gift box. The finished size of this box is (3.5” wide x 8” long x 2” deep). Right, so it’s the same box I made in my last post, HERE. But it’s even bigger! I needed a box this size to hold an 8oz bottle of Bath & Body Works- body cream. I also created a near duplicate of a matching greeting card that I shared in a recent post, HERE.
And still, the paper I used for this box is just beautiful! I love using designer papers for my projects. This paper is aptly named, “Lovely and Beautiful”, from Stampin’Up! The more I work with this paper, the more I love it. It has a glossy shine and it’s full of lovely foil accents. I love that! Next, I’ve shared the list of supplies I used to make this box. And below the list of supplies, I’ve shared my free template and simple instructions so that you, too, can create your own beautiful X-Tra Large matchbox-style gift boxes. Now, let’s get krafty!

List of Supplies
- Card Stock: solid for the base (whatever coordinates with your chosen designer paper)
- 12 x 12” Designer Card Stock: “Lovely & Beautiful” by Stampin’Up!
- Paper Trimmer with scoring tool
- Scissors
- Strong double sided tape or glue
- (optional) decorative elements like: sentiments, flowers, bunnies, ribbon, colorful gems…
Want more card making & crafting inspiration?
Follow me on social media
Let’s Get Krafty
Box Template

- First, choose your papers. If you’re using patterned card stock for your lid, match your solid card stock to the colors in the designer paper.
- Refer to the TEMPLATE above.
- Once you have trimmed, scored and cut the tabs for the base of your box, use double sided tape or glue on the tabs and form your box.


- Build your box base. You’ll see exactly where the box goes together.
- Build your box lid. This is a sleeve, so it will have 4 sides but no ends. This is where the base of the box slides into. It’s like a giant matchbox!
- I chose to embellish some of my boxes with gold foiled sentiments. I used the Glimmer Hot Foil Machine from Spellbinders for those.
- I added some foil rabbits, birds, flower…embellishments to my boxes. I just used a piece of gold foil card stock and some cute dies to die cut those images. It ties in with all the lovely foil accents that are part of the designer papers I used.
- These pictures don’t really show just how beautiful and shiny this paper is. But you should check out some of the designer papers StampinUp! Has to offer. I buy lots of paper from them. I also buy a ton of papers from Scrapbook.com. These are great places to shop for all of our crafting needs.
WANT TO SEE MORE?
VISIT MY BLOG ARCHIVES
Keeping It Krafty
In closing, I’d like to thank you again for joining me here today. I love what I do and really enjoy sharing my ideas with you! This has been a fun project. It’s quick, easy and very useful! You can make several of these boxes in a flash. And by simply changing the designer papers and embellishments, you can create these boxes for any and all occasions. So no matter what it is that you decide to make, just make it your own. And always remember to keep it krafty!
