
Featuring “Long Time No See” Stamp Set by Stampin’Up!
Hello and welcome to my studio. Well, the Christmas season is over and done with and it’s been fantastic! However, it’s just the beginning of an all new year that will be filled with amazing, innovative and imaginative “krafty” fun!
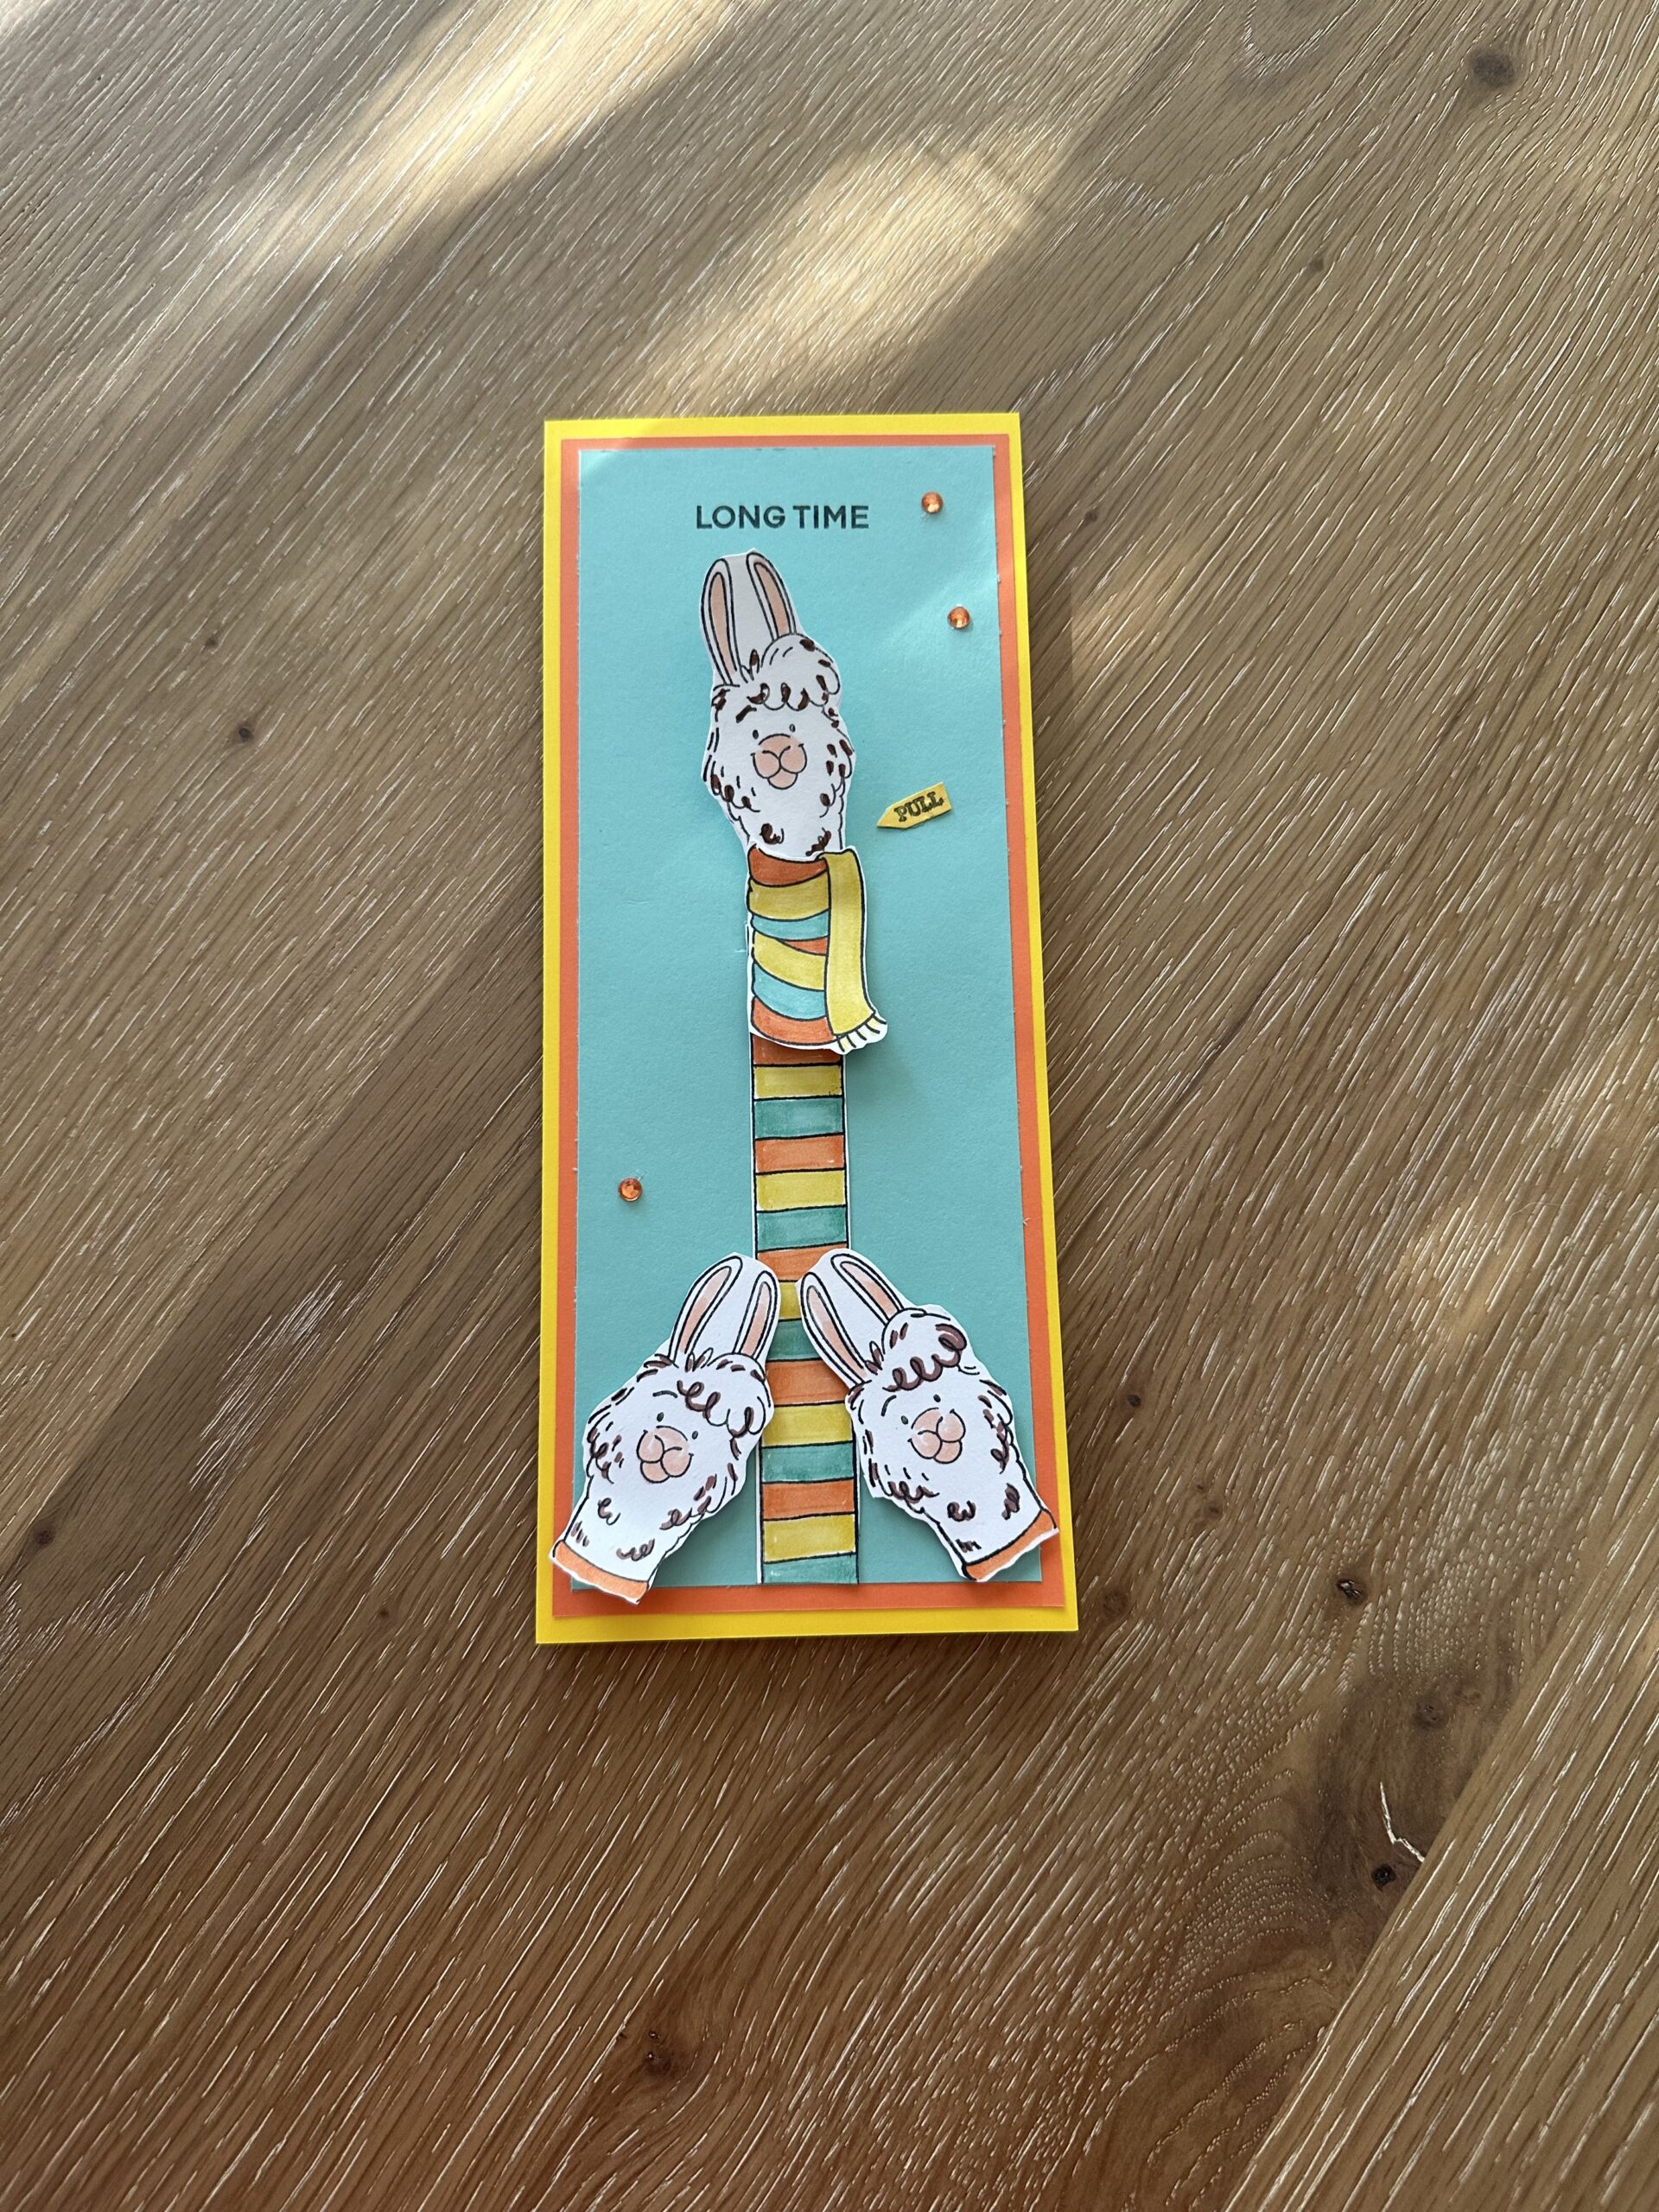
And this card with this adorable llama wearing a colorful turtleneck sweater is great fun! The stamp set — from Stampin’Up! — also has an adorable sweater-wearing dachshund, aka “wiener dog”. And THIS fun slider birthday card has a hidden slider element that stretches that long turtleneck to be even longer. That’s really fun, right? I’ve also made this a slimline card and they are always fun. Below, I’ve shared a list of the supplies I used to make this slider card followed by a few simple steps with some included photos to help visualize the process. Don’t worry, it’s a really easy card to make! So, let’s get krafty!

List of Supplies
- “Long Time No See” Stamp Set by Stampin’Up!
- Card Stock: I used “Darling Duckling”, “Timid Tiger” and “Bermuda Bay” and White : find these at Stampin’Up!
- Alcohol Markers: I used “Darling Duckling”, “Timid Tiger”, “Bermuda Bay”, “Tan”, “Skin White”
- Black Ink Pad
- Paper Trimmer
- Glue
- Colorful Gems
- Slim Line Envelopes HERE
Want more card making & crafting inspiration?
Follow me on social media
Let’s Get Krafty
- First, let’s make the base of this slimline card. Trim a piece of yellow or “Darling Duckling” Card Stock to 7 x 8.5” and score the 7” side @ 3.5” to create a card base that measures 3.5 x 8.5”.
- Next, let’s make a panel with the orange or “Timid Tiger” card stock that measures 3.25 x 8.25”.
- Now, let’s make the card front using the blue or “Bermuda Bay” card stock that measures 3 x 8 inches.
- Set the card base along with the 2 panels aside.
- And stamp the llama 3 times using the black ink pad on a piece of white card stock.
- Next, stamp the long sweater “neck” 2 times—using the black ink pad on white card. And stamp the short neck with the scarf once using black ink on the white card stock.
- Use your alcohol markers to color the llamas however you wish. And color in the sweater’s stripes however you wish. IF you’re using the colors I did, just alternate as you see in the photos starting with the orange.
- So, in all, you’ll have 3 llama heads, 2 long neck sweaters and one short neck sweater. Now, just fussy cut all of these pieces.
- Next, you’ll adhere one of the llama heads to the top of one of the long sweater necks. And adhere the shorter sweater neck to the top of that one, only gluing the very top leaving a bit of flap on the shorter scarf piece.
- The next step is to adhere the remaining long sweater neck onto your card front aligned at the bottom of the panel. Once you’ve done that, cut a slit in the blue panel about a half inch wide at the very top of the neck piece. This is where your long necked llama will slide into.
- Go ahead and slide the llama into the slot and adhere a small piece of card stock to the bottom of the slider piece to act as a stopper. Refer to the photos below.
- Now, adhere the 2 llama heads to the bottom of the card panel. I tilted them and raised them up a bit using some foam dots. This is optional.
- Stamp the sentiment, “Long time” at the top of the blue panel and stamp the “No See” onto the neck of the llama slider piece.
Assembling Your Slider Birthday Card
- It’s time to assemble the card! Use glue or tape runner to adhere the orange panel to the yellow card base. Important tip: place glue just on the very outer edges of the blue panel and adhere it to the orange panel so that the slider element isn’t impeded from sliding.
- OPTIONAL: I used a tiny stamp that says “pull” and cut it into a small arrow then adhered to the card to indicate where to pull. You could make your own little arrow and just use a pen or marker to write the word “pull”.
- Lastly, take a piece of white card stock and trim it to 3 x 8” and stamp your sentiment near the top and center. I used a “happy birthday” sentiment, that is in the stamp set, for this card. Adhere this to the inside of your card. Add some sparkly gems if you wish and your FUN Slider birthday card is complete!
Helpful Photos


WANT TO SEE MORE?
VISIT MY BLOG ARCHIVES
Keeping It Krafty
In closing, I’d like to thank you for visiting me here at my studio today! This has been a really fun slider birthday card to make. What a way to begin a new year, right? Remember, this card can be made using different colors of card stock and inks. It could also be made as a “Hello” or “Missing You” card for a friend or family member. You have many options so no matter what it is that you decide to make just make it your own. And always remember to keep it Krafty! Until next time, bye-bye!
