
With Soy Wax and Up-Cycled Jars!
Hello and welcome to my studio! I just want to say how happy I am to have you here today! Well, Christmas is just a few weeks away and I’m full on into decorating and gifting! And this year I decided to make small candles and wax melts to give as gifts. What a way to get into the Christmas Spirit!
Of course, I chose to make these myself, because I love crafting of every kind. Understand, I am not a candle maker. So my candles are simple and just serve the purpose of gifting a few handmade items to my friends and family. Below, I’ll share a list of the supplies I used to make the candles and wax melts. If you’ve never made a candle, you’ll see they can be very quick and easy to make. So, let’s get krafty!

List of Supplies
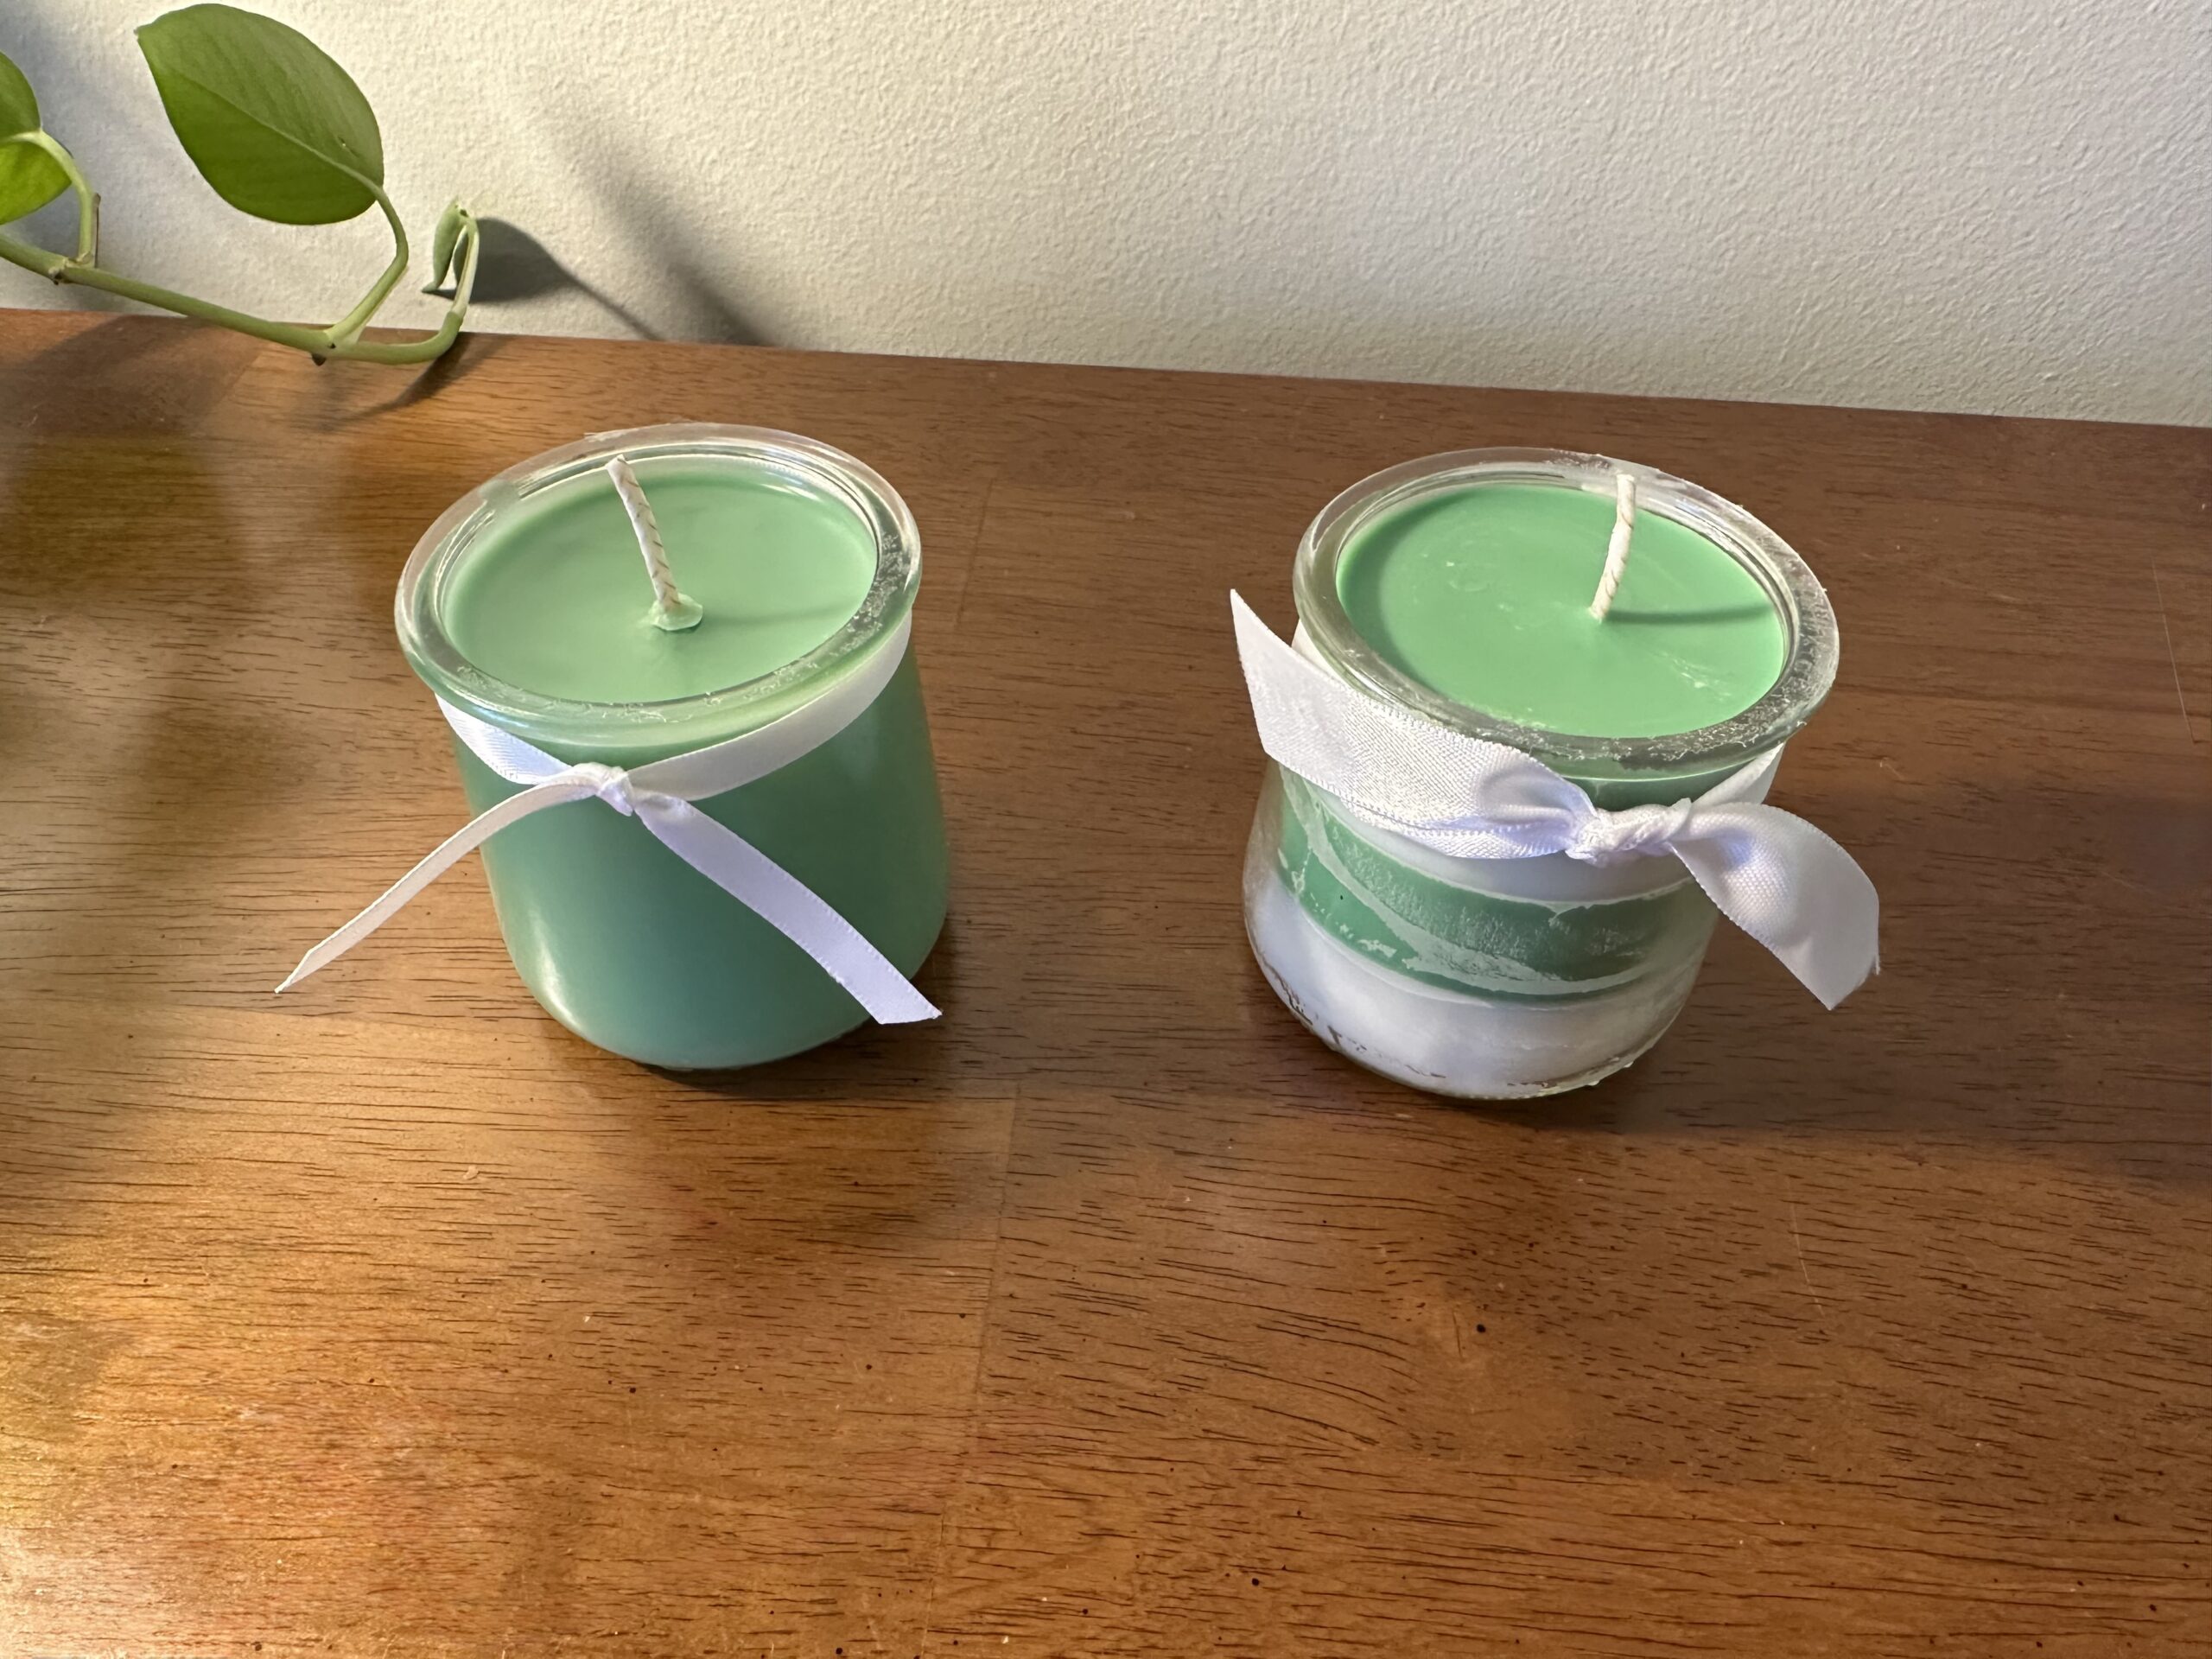
- ”Oui by Yoplait” Yogurt Jars: up-cycled OR any jars you wish to use
- Soy Wax
- Small Candle Wicks
- Wax Melting Pot OR Glass Pyrex Measuring Cup
- Candle Dye: Optional
- Silicone molds: If making Wax Melts
- Candle Scents
*** I purchase all of my candle making ingredients from an online store called Candle Science. They have everything you need, and I find it all to be of good quality. Check them out HERE
Want more card making & crafting inspiration?
Follow me on social media
Let’s Get Krafty With Candles
First, decide what you are going to make. If you’re making candles using up-cycled yogurt jars, just be certain to wash the jars very well with soap and water. Then use some rubbing alcohol on a paper towel and wipe down the inside of the jars. Remove their label from the outside of the jars and then use something like GooGone to remove the sticky residue. Set your jars on a heat safe surface covered with paper towels. Don’t forget to place your wick in the center of your jar. I hold my wicks in place by using a straw or wooden dowel across the top and the wick tip wrapped around that. This is to keep the wick straight as you pour the wax.
The next step is to get your candle scent ready and choose your dye color, if using. Now, all you have to do is pour your wax beads into your wax melting pot and place on your stove on med-low heat and allow the wax to melt completely. Alternately, you can melt your wax in a large glass microwave-safe measuring cup-in the microwave. Just heat for one minute intervals, stirring in between, till the wax is completely melted. Once the wax has melted, add your dye(if using) and stir well. Then add your candle scent.
What I found is that it takes very little dye for the candles. If you want to be specific with your color, you’ll want to trial it bit by bit. Add some dye, then place a drop of the wax on a paper plate and allow it to dry. This will show you the final color. Then, if you want more color, just add more dye. Keep in mind that the soy wax will dry to a pretty white color. So you don’t have to use dyes if you don’t want to. I also found that it takes more scent than I would have thought. So, be generous when adding your candle scents.


Let’s Get Krafty With Wax Melts
Now, for the wax melts. I have found that I prefer to make these. Both the candles and wax melts are fun to make, but I love the wax melts. It’s very easy. Just melt your wax as in the section above. Add your scent and add your dye, if using. Then just carefully pour your wax into the cavities of your silicone mold. I used a silicone mold I already had. And I can’t even remember why I have it 🙂
But it was perfect for making wax melts! I saw silicone molds that are sold for wax melts and there are some cute ones out there. They have molds that make tiny Christmas trees and gingerbread people and all sorts. I’ll probably choose something festive for next year. However, my mold created 24 (1.5” square) wax melts. Once the wax sets up, you just pop them out of the mold. It’s so easy and it’s really fun! You should give it a try.


WANT TO SEE MORE?
VISIT MY BLOG ARCHIVES
KEEPING IT KRAFTY
Finally, you can dress up your candles with some ribbon or decorative rope. And you could create a label and print it out on sticker paper. Then cut it out and adhere it to the front of your jars. Also, I have designed the perfect boxes for the small candles and for the wax melts. I’ll be posting that tutorial next week. One of the boxes is a lidded 3” cube that is perfect for the candle. The other box is a 4×6” lidded rectangle that is perfect for gifting the wax melts. So be sure to follow me on Social Media to see those!
You can play around with the colors and scents of your candles and wax melts. And every batch is totally unique and just perfect for gifting! So this year, how about making your very own hand made candles and wax melts as gifts for Christmas? Your options are endless, so no matter what it is that you decide to make just make it your own. And always remember to keep it krafty! Till next time , bye-bye!
