
It’s a Fun Fold Card!
Hello and welcome to my studio! I am so happy to have you here today because I’m sharing this super easy and enchanting Christmas card with you. Christmas – Christmas Time is Here! This fun fold card is beginner friendly because the paper really does all the work for us. Honestly, the most difficult part is making your paper and element choices from the pack. Next, I’ve listed the supplies I used to make this card followed by some photos and my very simple tutorial. So, let’s get started!

List of Supplies
- Designer Paper: “Candy Christmas” by Stamperia: HERE
- 12 x 12” Card Stock: I used a tan color but you can use any color that matches your chosen paper.
- Paper Trimmer with scoring tool by Stampin’Up! HERE
- OR a paper trimmer and a ruler and bone folder will do
- glue
- (optional) 3D Embossing Folder: “Waffle Cone” by Spellbinders HERE
- (optional) but recommended glitter glue for accents ( Stardust Stickles glue) HERE
Want more card making & crafting inspiration?
Follow me on social media
Let’s Get Krafty
First, grab all of your supplies. Now choose which paper you want as your background. For me, this is the hardest part because I have a special love for designer paper! Next, choose one of the many elements that are offered in the paper pack. There are trees, the cutest snowmen, the most adorable elves… Have fun making this choice as well. So sorry 🙂
Making the Cut!
Second step; it’s time to trim your card stock and create some score lines for the fun fold Christmas card.
- Trim the[ 12 x 12” card stock] to 5.5” x 12”.
- Score the long side at [ 4”, 8” and 10” ] and Fold and Burnish your fold lines.
- Now trim your chosen background paper to 3.75” x 5.25” ( this is for the larger 4 inch card front).
- Next, trim some of that left over paper to 1.75” x 5.25” OR choose a different paper for the smaller card front section. One of the simpler backsides would work nicely here.
- At this point, take the element you chose to stand out like my (elf sitting on gift boxes) and use some small scissors to cut it out. Here, I chose to glue that to another piece of card stock and then cut it out so that it was even more enforced. But that’s not necessary.
- Right, IF you are going to use an embossing folder like I did, trim a piece of card stock to 3.75” x 5.25” and take another piece of card stock and trim it to 1.75” x 5.25”. Now, use the waffle cone[or any embossing folder you like] embossing folder and run them through your embossing machine.
- Last step is to adhere your embossed CS ( if using ) to the back side of the card panels. And then use glue to adhere your trimmed designer paper to the front panels of your fun fold card.
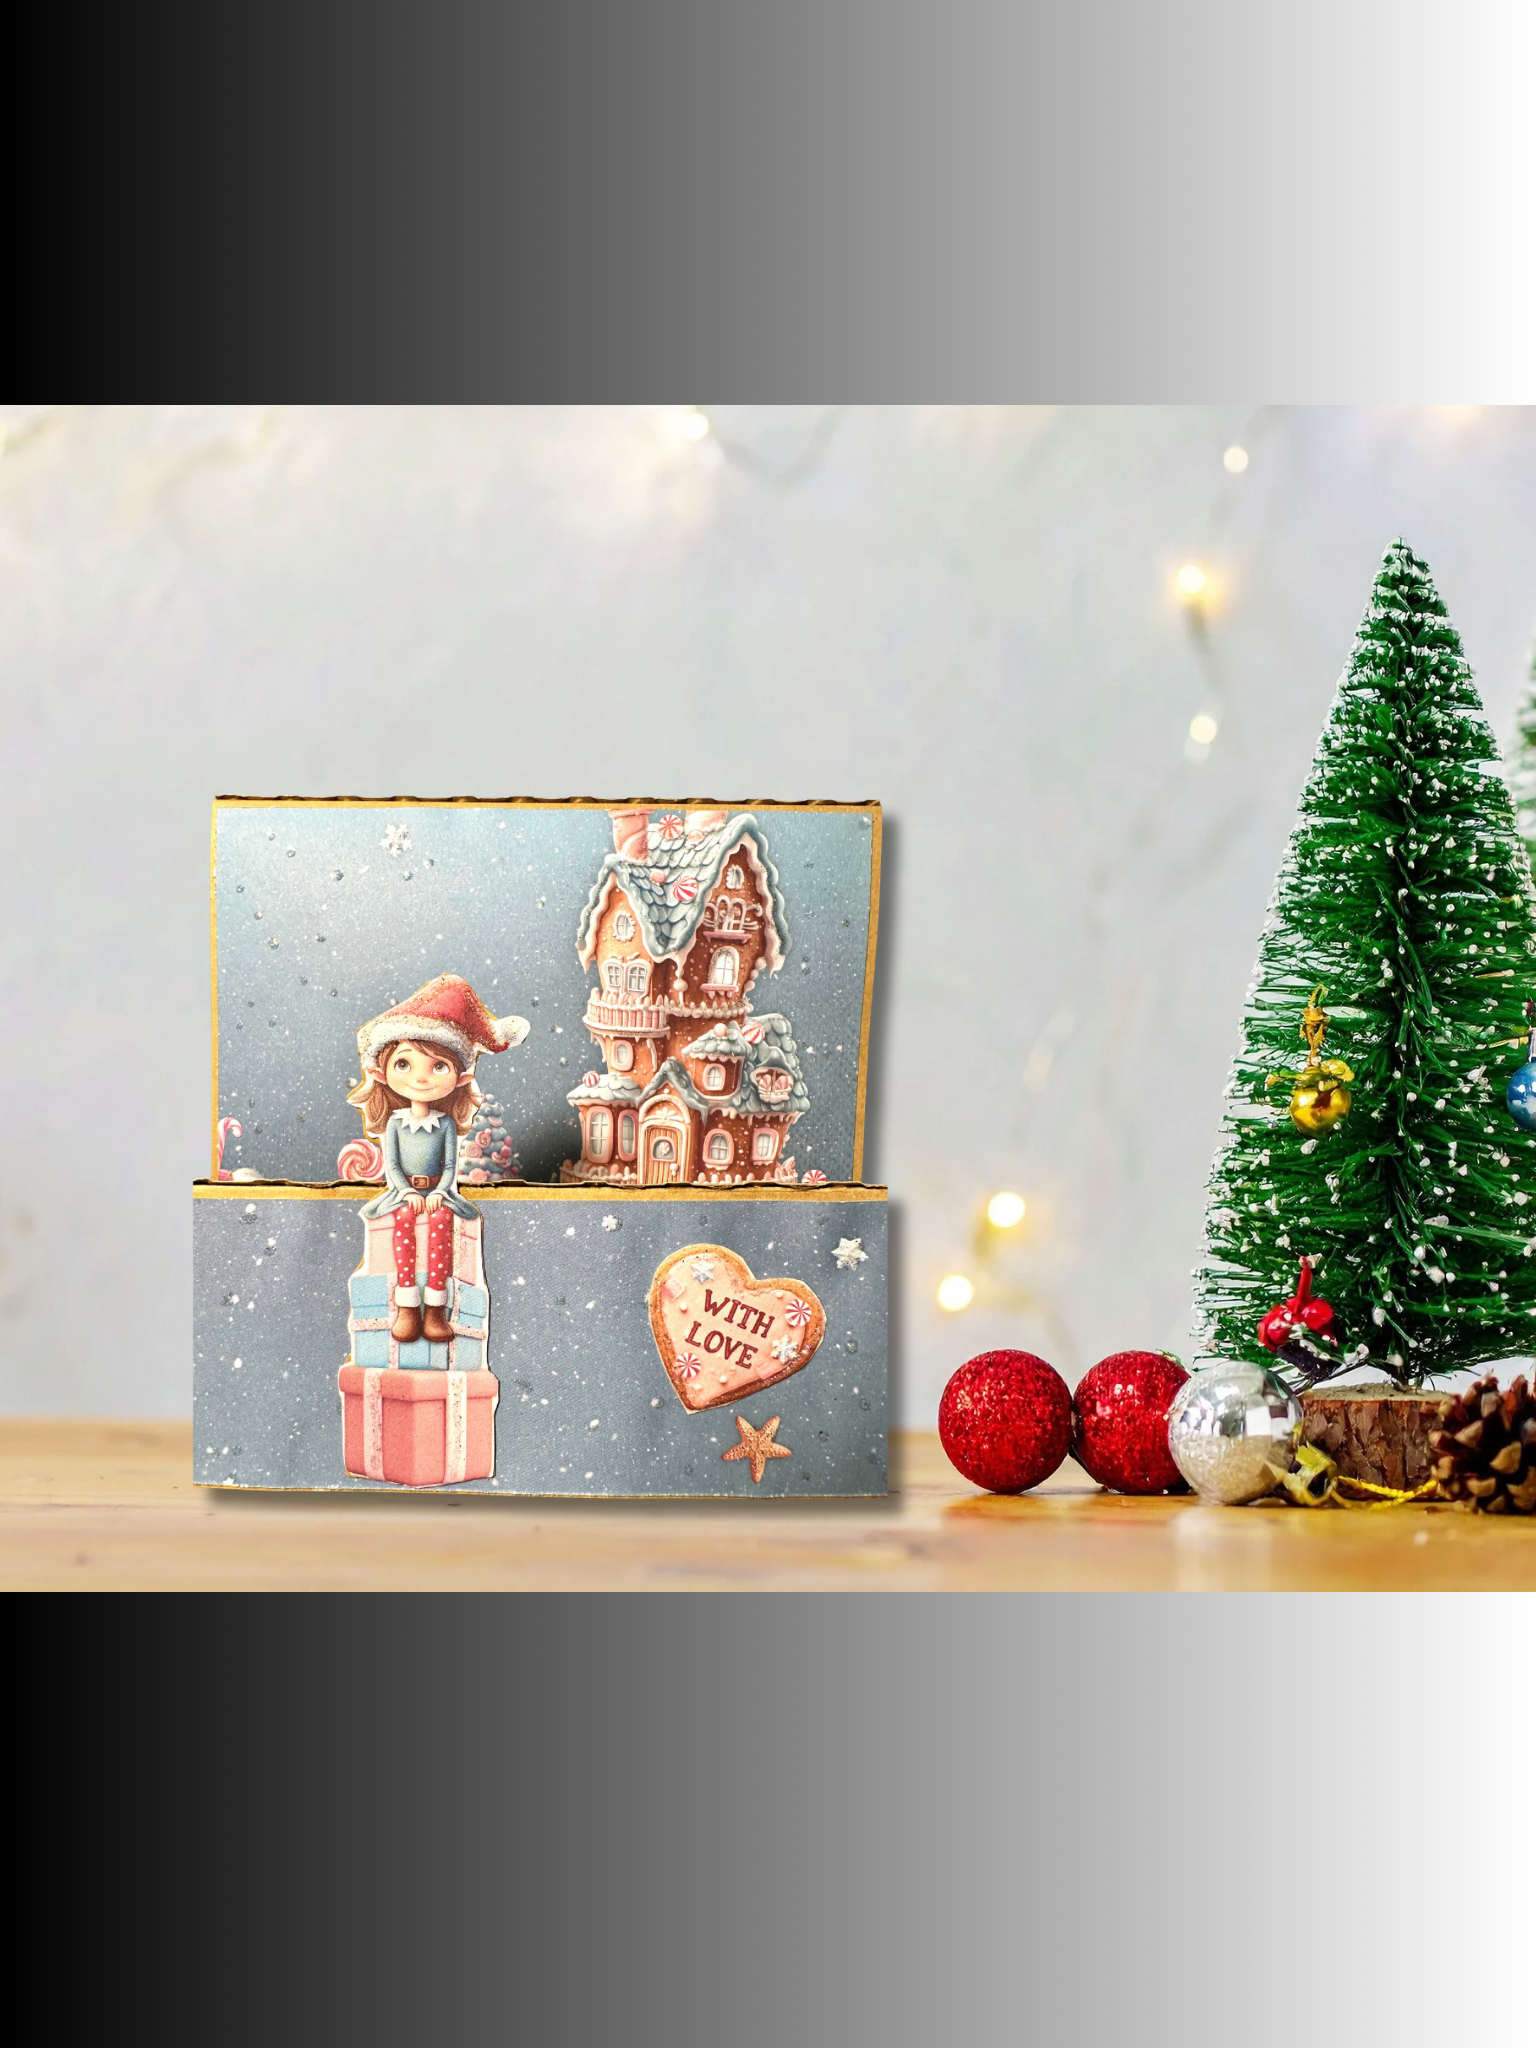
- Finish up this sweet card by adhering your chosen element(s) to the smaller front section of your card so that is has a 3D look. Remember to just add glue to the bottom half of your element. Lastly, add some glittery glue to random parts of your designer paper and elements to wake them up a bit and make them pop! This is where my photos fail me because the cards I made look super sparkly and shiny in person. That’s it! You have now made a fun fold Christmas card that is cute and whimsical thanks to the designer paper!
Helpful Photos


WANT TO SEE MORE?
VISIT MY BLOG ARCHIVES
Keeping it Krafty
In closing, I’d like to thank you again for stopping by today. It really means a lot to me. I love what I do and I absolutely adore sharing my ideas with you! There are many gorgeous Christmas Themed Designer Papers out this year. So grab some before they’re gone and make some Christmas cards this year for your friends and family. It’s really fun and people enjoy receiving something you took the time to make for them. Your choices are endless, so no matter what you decide to make just make it your own and always remember to keep it krafty! Bye-Bye!
