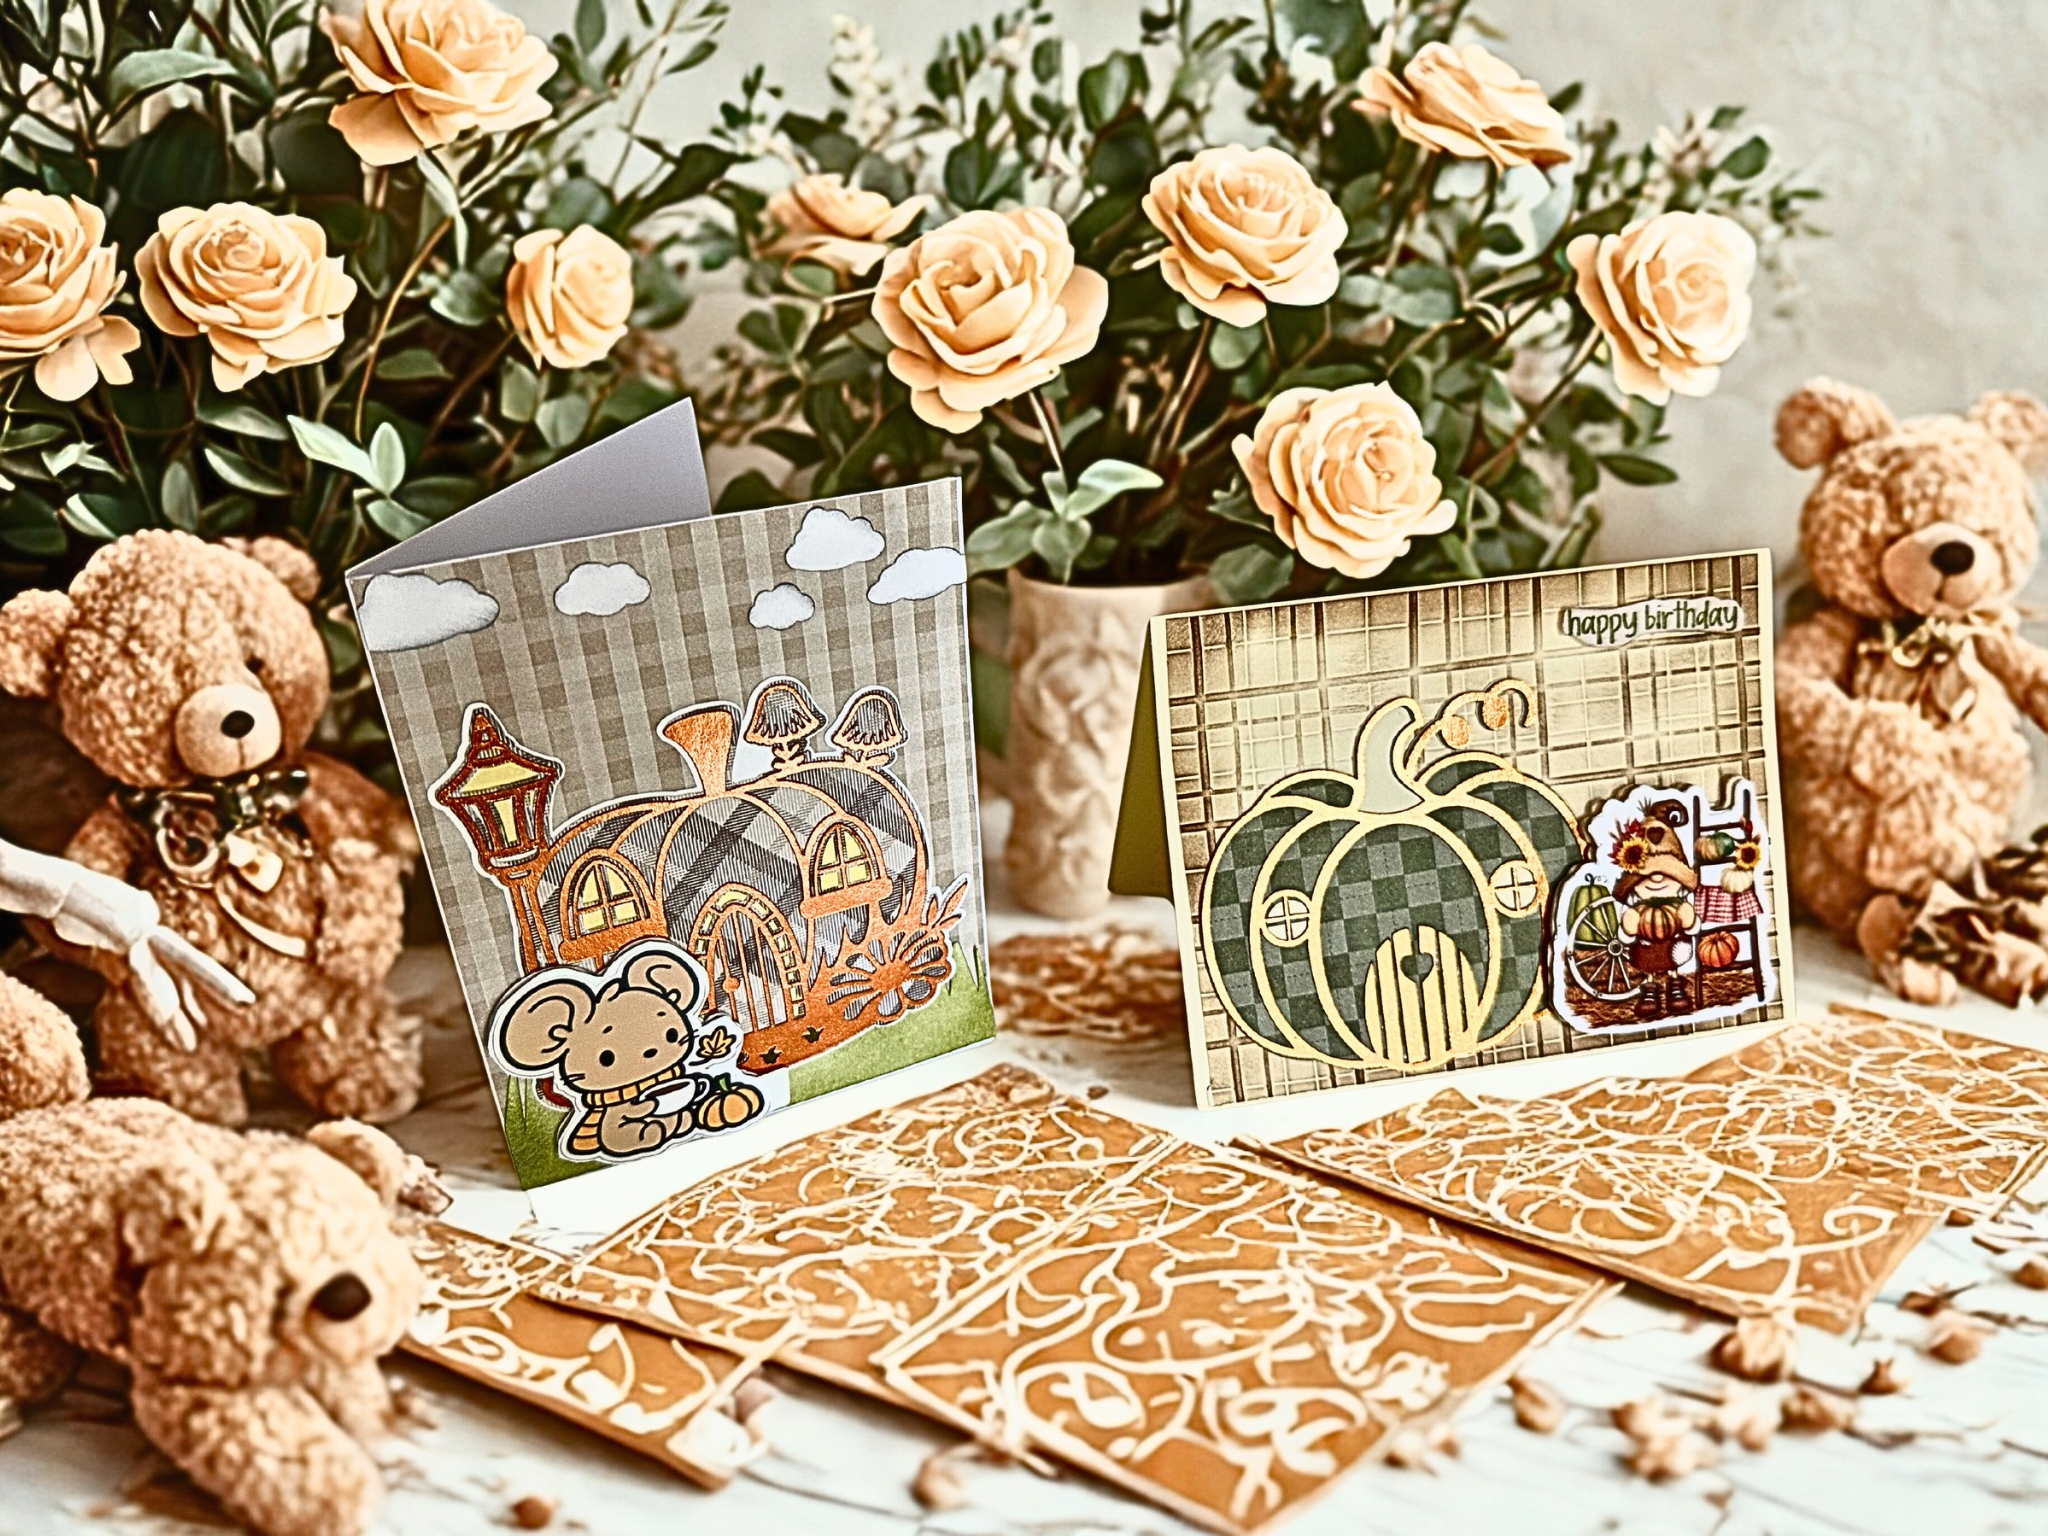

These Enchanting Cards Have a Surprise Feature
Hello and welcome to my studio! I’m so happy you’re here today so I can share this project with you. This is such an enchanting Autumn themed greeting card. And there’s a bit of a surprise right on the very front. Now you’re asking, “what is the surprise?” In this post, I’ll share not only what the surprise feature is but how I made it and how to present it on your greeting cards.
Not only that, but I’ll share with you my FREE design in Cricut Design Space. All you have to do is fire up your Cricut and your printer, grab some card stock and few more simple supplies and you’re ready to get krafty! Keep reading below to see my list of supplies along with steps to creating this enchanting Autumn surprise greeting card.

List of Supplies for the Mouse Card
LINKS ARE FOR YOUR CONVENIENCE ONLY
- CARD STOCK: “Timeless Plaid” from Stampin’Up! Find it HERE
- CARD STOCK: white
- CARD STOCK: copper foiled- Find it at craft stores like Michaels: HERE
- PRINTABLE VINYL WATERPROOF STICKER SET: CRICUT- Find it HERE
- SMALL VELCRO DOTS ( see link below )
- GLUE
- PRINTER
- CRICUT SMART CUTTING MACHINE
- MY FREE DESIGN [ LINK BELOW ]
List of Supplies for the Gnome Card
- CARD STOCK: Vanilla or light tan
- CARD STOCK: “Timeless Plaid” from Stampin’Up
- CARD STOCK: copper foiled
- PRINTABLE VINYL WATERPROOF STICKER SET
- EMBOSSING FOLDER: “Forever Plaid” from Stampin’Up-HERE.
- SENTIMENT STAMP ( happy birthday, hello, thinking of you, thank you…)
- SMALL VELCRO DOTS: Amazon: like These
- INK PAD: “Weeping Willow” by Simon Hurley- find it HERE
- PRINTER
- CRICUT SMART CUTTING MACHINE
- GLUE
- MY FREE DESIGN [ LINK BELOW ]
Want more card making & crafting inspiration?
Follow me on social media
Let’s Get Krafty
In addition to that, we are using a new product from Cricut, their Printable Vinyl Sticker Paper Set. This set comes with everything you need to create amazing removable waterproof stickers! How fun is that? In just minutes, we can make pages full of our very own stickers! Awesome. I may have become a bit addicted but that’s okay.
To begin with, grab the supplies you need for whichever card you’re making. Keep in mind you can always use different card stock, different designer papers, inks etc. These cards come together quickly and easily using my FREE Cricut design.
For the Mouse Card Click – HERE
For the Gnome Card Click – HERE
The mouse and the gnome are stickers that go onto the front of the card. But the SURPRISE is that we attach one sticker to another beneath so that the recipient of the greeting card gets a FREE STICKER GIFT to use as they please. And who doesn’t love stickers, right? Below, I’ll share more of the HOW-TO for these cards along with some helpful photos.
MAKING OUR OWN STICKERS
The next step is to make your stickers. In the design I’ve shared with you, I’ve created several stickers that are ready to be made using the “print then cut” feature of CDS. You simply add a couple of pieces of the printable sticker paper into your printer and CDS will walk you through the rest. The sticker images will print out, you’ll place the protective, glossy, waterproof film over the printed images and place it into your Cricut machine. Cricut will cut out the stickers for you! I just love it!
How To Create A Sticker in Cricut Design Space


Examples of ephemera I’ve made
CREATING THE PUMPKIN HOUSE ELEMENT


BUILDING YOUR CARD


Finalizing Your Sweet Cards
Finally, you have all of your fun stickers created. I warn you, making our own stickers and ephemera is quite addicting. You have your chosen pumpkin house all cut along with any other elements or images you wish to add to your card.
Adorable Mouse Card
Now, trim a piece of plaid designer paper to 4.25 x 5.5” and adhere it to a white A2 card base. I then adhered the grass element to the bottom of the card. Next, create the pumpkin house by adhering the three layers finishing with the foil card stock. I used a yellow alcohol marker to color in the areas for lighting. Next, add glue to adhere the entire pumpkin house onto the card. Attach the adorable little mouse element making sure the sticker -along with it’s backing is attached to the bottom one with a Velcro dot. Finish the card by taking the clouds cut from white CS and ink the edges a bit using a foam tool and a bit of gray ink. Then glue them to the top of the card.
Cute Gnome Card
Furthermore, to make it like this gnome card, use a piece of light tan card stock and the 3D plaid embossing folder. Take a foam ink blending tool and some “weeping willow” ink to highlight and add dimension to the background. Now, adhere the pumpkin element and then the gnome elements to the card. For this card, I stamped a “happy birthday” sentiment with one of the many stamps I have in my studio. That’s it! These cards come together surprisingly quickly. And anyone receiving these enchanting Autumn surprise cards is going to love them! Stickers are loved by kids and adults alike. And these stickers are removable vinyl and waterproof so they are great for our water bottles, cups, backpacks, tablets, computers and more.
Want more card making & crafting inspiration?
Follow me on social media
KEEPING IT KRAFTY
Thank you for joining me today here at Kelli’s Kraft Studio. Remember to follow me on my social media accounts ( see above for links ) for more crafty inspiration. For these enchanting Autumn “Surprise” cards, a Cricut machine and a Printer do most of the work for us and all we have to do is put it all together. I always say this but it’s true, It is so much fun to make greeting cards, ephemera elements, stickers and all sorts. Oh, and it’s also a fun idea to gift some of the stickers you’ve made to your loved ones. Whatever it is that you decide to make just make it your own and always remember to Keep it Krafty my friends! Bye-Bye!
BUT WAIT! I used some of my own ephemera and stickers in my last project. It’s the most adorable Halloween Candy Holder ever. Check out my last post HERE
