
Is It A Box or A Bag?
Hello and welcome to my studio! I am happy to have you here with me today as I’m excited to share the “how to” for this big beautiful box!
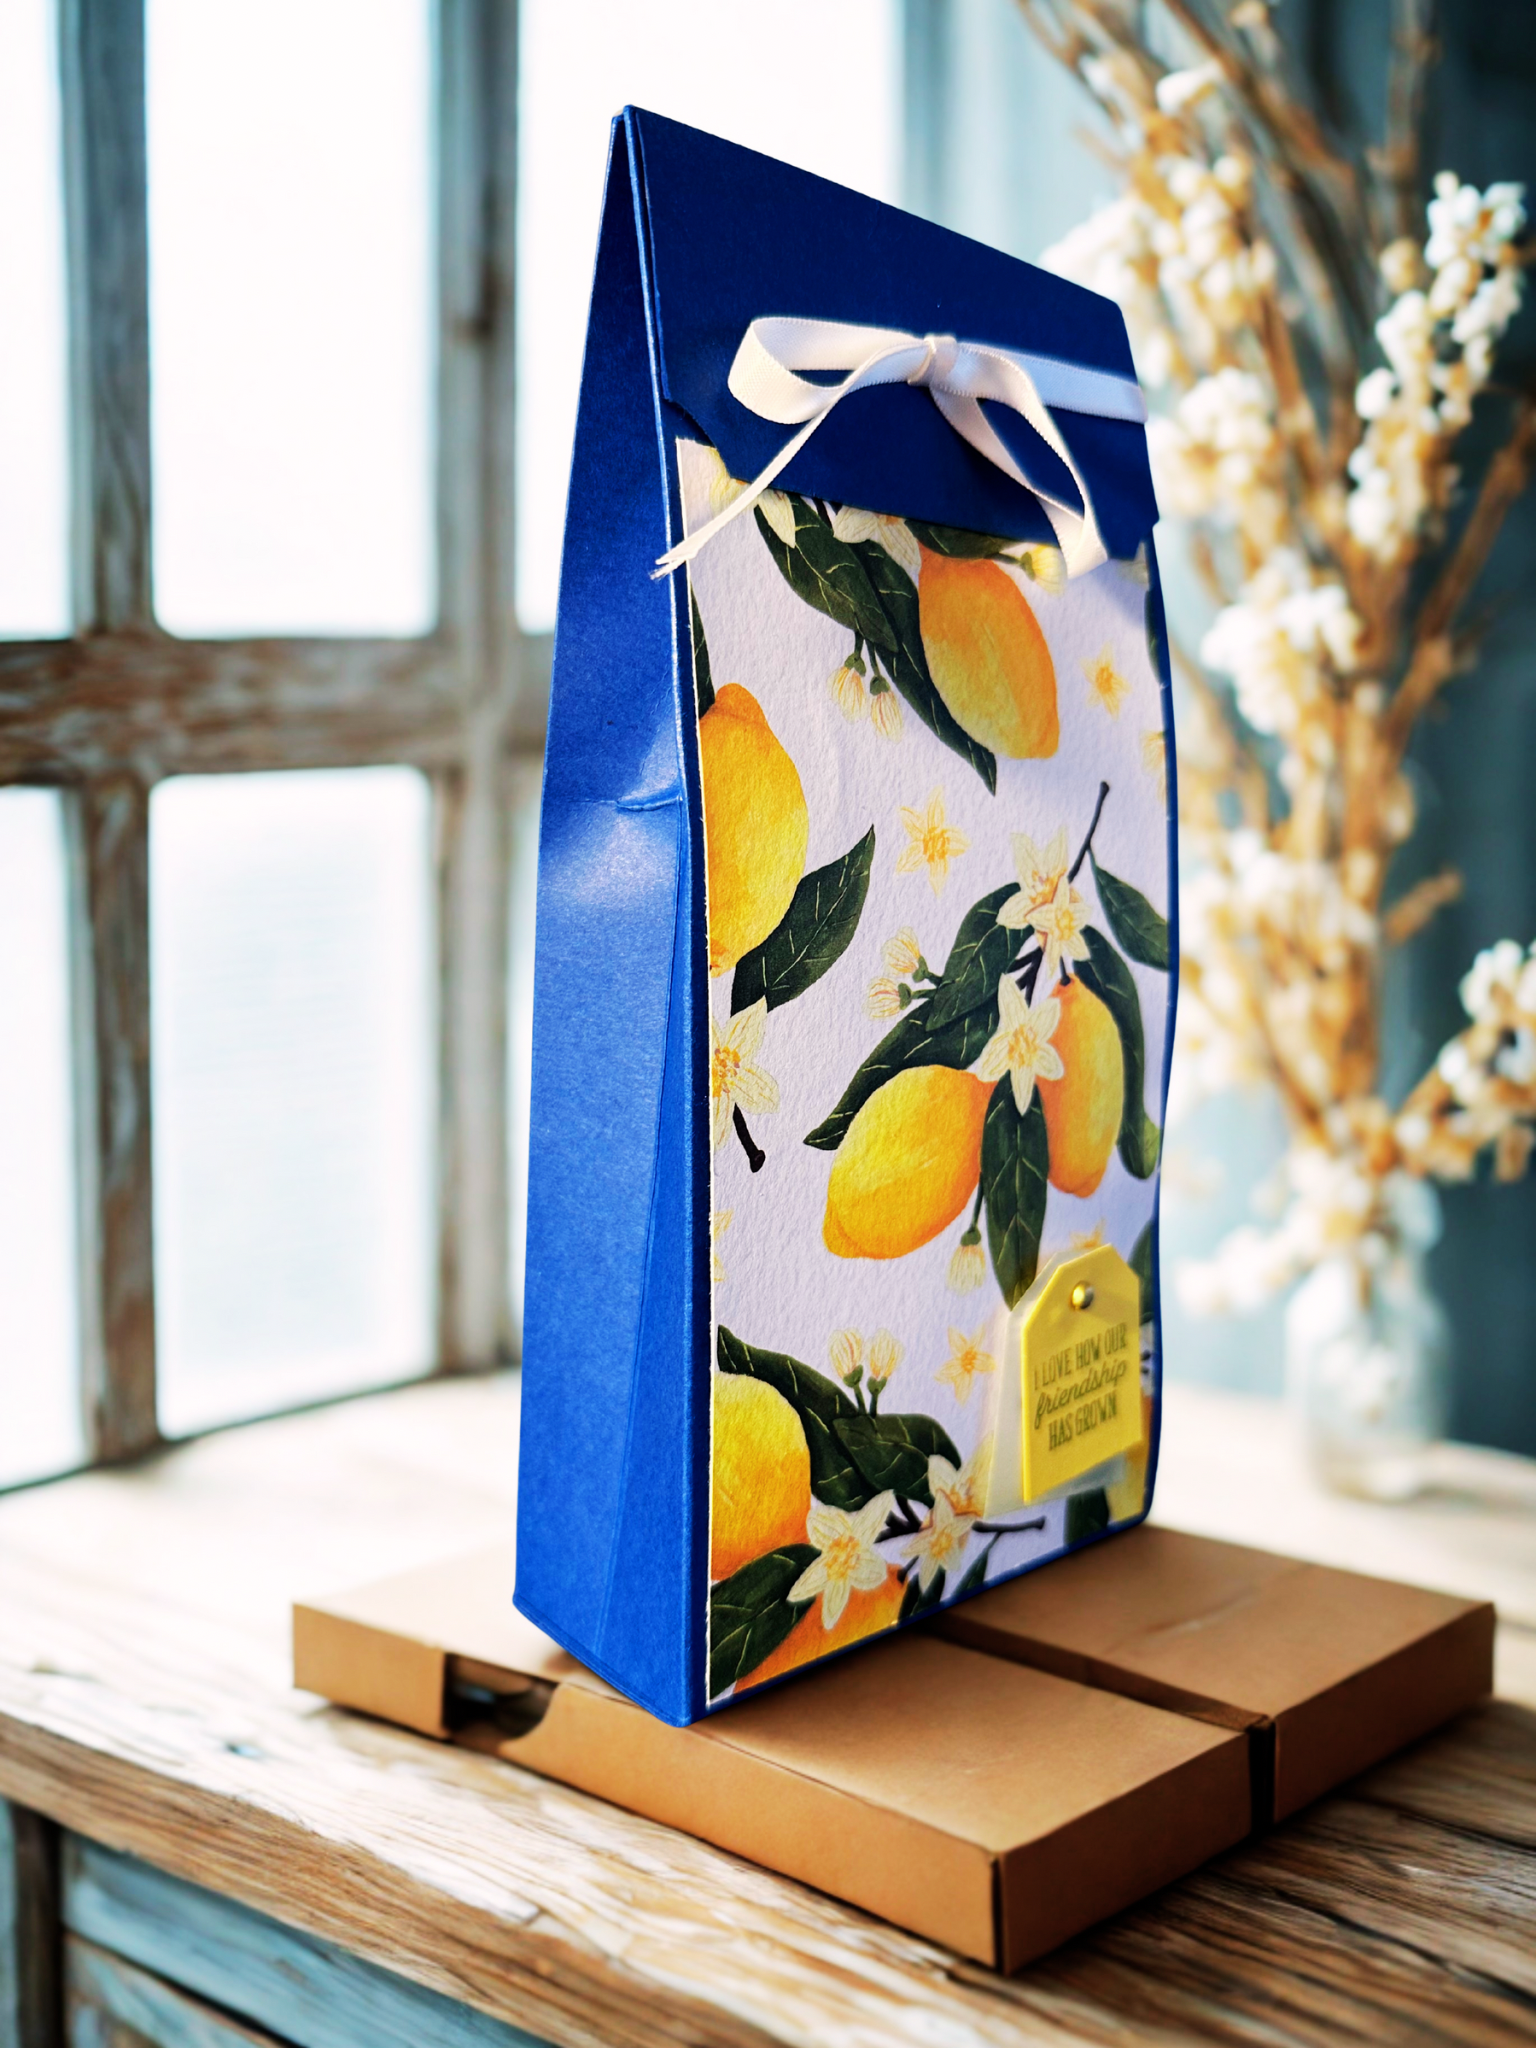
The finished measurements of this box is 8.5 inches tall, 4 inches wide and 2 inches deep. This is a nice, roomy box-for context, a stapler can fit inside-that can be decorated any way you like and used for any occasion. Don’t you just love that? Keep reading below to find my supply list and step by step tutorial. Be sure to FOLLOW ME on PINTEREST and SAVE this pin for your future projects.

SUPPLIES
- 12 x 12” CARD STOCK (65 lb or more) I used Night of Navy by Stampin’Up! https://www.stampinup.com/products/night-of-navy-12-x-12-30-5-x-30-5-cm-two-tone-cardstock
- 12 x 12” DESIGNER SERIES PAPER: MEDITERRANEAN BLOOMS https://www.stampinup.com/products/mediterranean-blooms-12-x-12-30-5-x-30-5-cm-designer-series-paper
- TAG PUNCH ( for the tag )
- VELLUM ( for the tag )
- BRASS BRAD ( for the tag )
- 1/4” WHITE RIBBON ( to close the top of the box )
- HOLE PUNCH like this one http://We R Memory Keepers- Crop-A-Dile Eyelet Setter, Blue Comfort Handle, for 1/8 or 3/16 Inch Holes, Grommet and Embelishment Crafting Puncher for Paper, Fabric, Leather, Plastic, and Metal https://a.co/d/chacgiC
- A GOOD GLUE OR A STRONG DOUBLE SIDED TAPE
LET’S GET KRAFTY
This box uses just one piece of 12 x 12” card stock. I’ve added a helpful diagram along with some photos below. This is a very easy and straightforward box to make.

PHOTO TUTORIAL


STEP BY STEP TUTURIAL
- Take a piece of 12 x 12” card stock and score one side @ ( 4, 5.75, 9.75 and 11.5” )
- On the same side, partially score about 6” down @ ( 4 7/8” and 10 5/8” )
- Rotate your card stock 90 degrees and score @ (1.75, 10, and 10 1/8”)
- Fold and Burnish your score lines.
- Refer to the diagram above and use scissors to cut up the score lines where the red highlights indicate.
- Refer to the diagram above and use scissors to remove the sections where the yellow highlights indicate.
- Add glue or double sided tape to the outer 1/8” strip and fold the card stock closed to create your box.
- Add glue or double sided tape to the 4 flaps at the bottom and close to secure your box. You’ll be left with the top flap open.
- Use your fingers to push in the sides where you made the partial score lines and fold over your top flap.
- Use your hole punch to punch 2 holes through the flap of the box.
- Take a piece of designer paper- I used the lemon design in the Mediterranean Blooms DSP and trim it to 3.75 x 6.5” and adhere this to the front of your box beneath the flap.
- Optional: To create this tag, I used a sentiment stamp. Next, I used a tag punch to punch out the sentiment. I used the larger version of the tag punch to punch a piece of vellum to adhere to the back of the sentiment tag.
- I added a brass brad to the top of the tag and used foam dots to raise and adhere the tag to the bottom right of the box.
- Take a piece of 1/4” wide ribbon and pull through the holes of the lid and tie it to close up your box.
Want more card making & crafting inspiration?
Follow me on social media
Admire Your Big Beautiful Box
Thank you again for joining me here today at Kelli’s Kraft Studio. I hope you enjoy making this box. It really is an easy and straightforward box that has many decorative possibilities. It’s a wonderful size and will become a handy addition to your box making repertoire. Remember to follow me on Pinterest and save this pin for future reference and check out my Instagram account to see some cute reels and other crafty things. Whatever it is you decide to make just make it your own and remember to always keep it krafty my friend!
